
Are you getting trouble connecting to the internet and want to install or update a Wi-Fi driver without internet? Learn 3 proven methods to install Wi-Fi drivers in Windows 11 quickly and safely.
Introduction: Why Wi-Fi Drivers Go Missing in Windows 11
If you’ve just installed or upgraded to Windows 11 and suddenly Wi-Fi is missing, you’re not alone. One of the most common issues users face is a missing or undetected Wi-Fi driver—which makes it feel like your internet just vanished overnight.
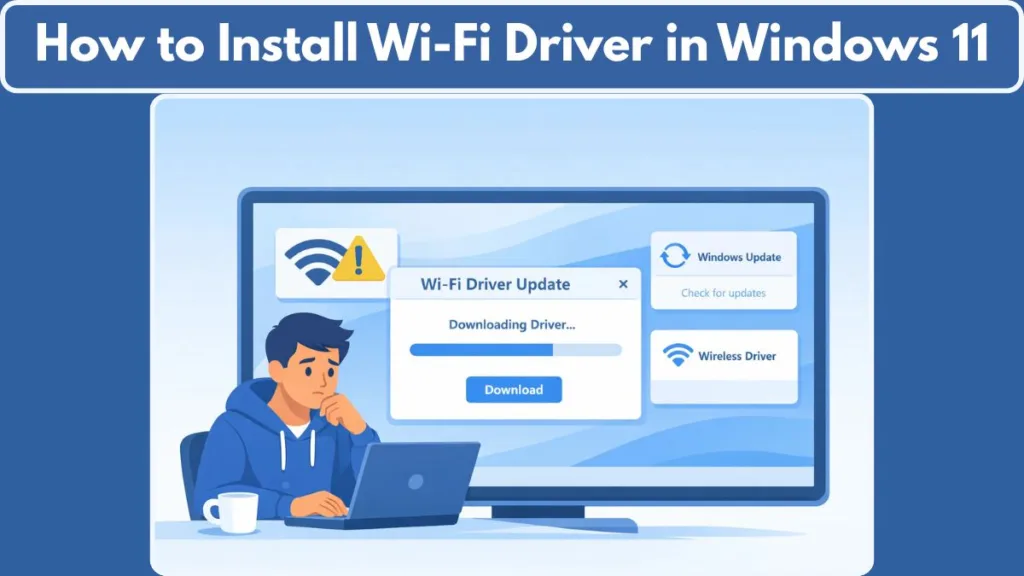
In most cases, this happens because Windows 11 doesn’t automatically recognize every wireless adapter during setup or after an update. Your system may install the OS successfully, but the Wi-Fi driver Windows 11 needs simply isn’t there yet. When that happens, you’ll notice signs like no Wi-Fi option, a network adapter not detected, or prompts asking you to connect to the internet when there’s no way to do so.
This issue can appear in different situations:
- After a clean installation of Windows 11
- During the initial setup (OOBE) when internet is required
- After a system reset or major update
- On laptops that need manufacturer-specific wireless drivers
The good news? This is not a hardware failure in most cases. It’s usually a driver gap—and once you know how to install a Wi-Fi driver in Windows 11, the fix is straightforward.
Depending on when the problem occurs, you may need to:
- Install the wireless driver after Windows 11 is running
- Install the Wi-Fi driver without internet using a USB
- Or manually load the Wi-Fi adapter driver during setup
In this guide, we’ll walk through each scenario step by step, so you can choose the right method and get back online fast—without confusion or repeated steps.
3 Proven Methods to Install Wi-Fi Driver in Windows 11
Method 1: Install Wi-Fi Driver in Windows 11 Using Device Manager (After Setup)
This method is ideal when Windows 11 is already running, but your wireless connection still isn’t working because the Wi-Fi driver is missing or outdated. It focuses on using built-in Windows tools and officially supported drivers to restore connectivity.
You should use this method when you can boot into Windows 11, but the Wi-Fi adapter isn’t connecting or isn’t listed properly. It’s also the right choice if you want to install or update the Wi-Fi adapter driver Windows 11 after setup is complete.
Steps to Install via Device Manager
First, open Device Manager by pressing Win + X and selecting it from the menu. Once inside, expand Network adapters and look for your Wi-Fi adapter. If the adapter is missing or appears as an unknown device, it usually means the correct driver isn’t installed.
Next, right-click the adapter and select Update driver. If you’ve already downloaded the correct driver, choose Browse my computer for drivers. Then navigate to the folder where you saved the Windows 11 Wi-Fi driver and proceed with the installation. After the process completes, restart your PC so the driver can load properly.
Tips for Success
It’s always best to download the latest and correct Wi-Fi driver Windows 11 download directly from your device manufacturer before installing. This ensures full compatibility and avoids performance issues.
If the adapter doesn’t appear at all, open Device Manager’s View menu and select Show hidden devices, then check if the adapter is disabled and enable it if needed. Also, keep in mind that Windows Update sometimes provides network drivers under Optional updates, which can help automatically update your wireless driver without manual installation.
Using this approach, you rely on the Device Manager Wi-Fi driver install process to get your wireless adapter detected and working smoothly—without overlapping with offline or setup-stage methods covered later.
Method 2: Install Wi-Fi Driver During Windows 11 Setup (OOBE Install Driver Option)
This method is meant for the exact moment when Windows 11 setup asks for an internet connection, but no Wi-Fi option appears at all. In most cases, this doesn’t mean your hardware is faulty—it simply means the wireless driver isn’t included in the default Windows 11 installation files.
Use this approach if you’re stuck on the “Let’s connect you to a network” screen and see no Wi-Fi or Ethernet detected. It’s the most straightforward way to install a Wi-Fi driver without internet in Windows 11 during setup. This situation is common on newer laptops and custom PCs where the installer doesn’t automatically recognize the Wi-Fi adapter driver Windows 11 needs.
How the OOBE driver install works
Windows 11 includes a built-in Install driver option right inside the setup process. This allows you to manually load the required Wi-Fi adapter driver from a USB drive—no skipping setup steps and no technical workarounds. It’s designed specifically to help users move past the internet requirement smoothly.
Steps to install Wi-Fi driver during setup
First, on another device with internet access, download the correct Wi-Fi driver Windows 11 from the manufacturer’s support page. Make sure the driver is extracted and available as a .inf file, since Windows setup cannot install drivers packaged as .exe or .zip.
Next, copy the extracted driver files to a USB flash drive. During Windows 11 setup, plug in the USB when you reach the network screen and click Install driver. Select the USB drive, browse to the driver folder, and choose the appropriate .inf file. Follow the on-screen instructions to complete the installation.
Once finished, Windows 11 should detect your Wi-Fi adapter immediately, letting you connect to the internet and continue setup without interruptions.
- It’s an official Windows 11 feature, not a workaround
- Ideal for clean installs and new hardware
- Helps you move past the setup screen without skipping or delaying configuration
If the Install driver option doesn’t appear or the driver isn’t detected, there’s still a reliable advanced method you can use next.
Method 3: Install Wi-Fi Driver Using USB + Command Prompt (Advanced / Fallback)
This is the fallback method when you’re installing Windows 11 and Wi-Fi is still not detected, even after trying other setup options. It’s more hands-on, but it’s one of the most reliable ways to get your wireless driver installed offline during setup.
Use this approach if:
- You’re in the Windows 11 installation phase and the network adapter isn’t detected
- The built-in OOBE Install driver option isn’t available or doesn’t work
- You need to install Wi-Fi driver from USB in Windows 11 manually
This method is especially helpful when you’re stuck on the network screen and can’t connect because no drivers are present.
What you’ll need
- Another PC with internet access
- A USB flash drive
- The correct Wi-Fi driver Windows 11 package (downloaded from the manufacturer)
- Driver files extracted so that the .inf files are ready for installation
It’s important that the driver files are extracted and not just in a compressed .zip or installer .exe, since the setup environment needs the .inf file to complete installation.
How the Command Prompt method works
During setup, Windows lets you open Command Prompt by pressing Shift + F10 — this gives you access to a command-line interface where you can install drivers manually.
Once you’ve opened the prompt and navigated to your USB drive’s letter, you can use a command-line tool that’s built into Windows to add the network driver directly to the system.
Steps to install Wi-Fi driver using Command Prompt
- On another computer, visit your laptop or adapter manufacturer’s support site and download the correct Wi-Fi driver Windows 11 package for your specific model.
- Extract the driver files and copy them to a USB flash drive. Make sure the .inf files are present.
- Insert the USB drive into the system where you’re installing Windows 11, then press Shift + F10 to open Command Prompt.
- Identify the USB drive letter (it may not be the same as in normal Windows) and navigate to it.
- Run a command such as:
pnputil /add-driver <USBDriveLetter>:\*.inf /installThis tries to install all.infdriver files found on the USB drive. - After the drivers install successfully, close Command Prompt and return to the installation screen.
In many cases, Windows will now detect your Wi-Fi adapter, letting you connect and continue setup normally.
Why this method works
- It lets you add the network driver manually
- Works even when the installer doesn’t have built-in support
- It uses a reliable tool that adds the driver to Windows’ driver store during setup
This won’t overwrite existing drivers, and it helps bridge the gap when no internet is available during setup. Just make sure the driver files are correct and your USB is formatted so the setup environment can access them easily.
If you need the exact command to scan devices afterward (optional but useful), Windows provides tools like pnputil /scan-devices to ensure everything is recognized.
How to Download the Correct Wi-Fi Driver for Windows 11
Getting the right Wi-Fi driver Windows 11 makes all the difference between a smooth connection and frustrating “no internet” messages. The best way to do this is by heading straight to the official support site of your laptop or adapter manufacturer. This ensures you’re getting a version that’s compatible with your hardware and Windows 11 — not a third-party driver that might cause issues.
Most manufacturers let you search by model number or use automatic tools on their support pages. For example, Intel® Wireless Wi-Fi drivers that support many Intel adapters for both Windows 10 and Windows 11 are available directly from Intel’s official download page.
If you have a Realtek-based wireless adapter, Realtek’s official driver repository provides Windows-compatible drivers you can download and extract.
Laptop makers often bundle the correct Wi-Fi drivers for their specific models. For instance, Lenovo’s support portal offers combined WLAN driver packages (Intel, Realtek, Mediatek) specifically for Windows 11 laptops.
Before downloading:
- Verify the exact model of your Wi-Fi adapter in Device Manager.
- Double-check that the driver package supports Windows 11 (64-bit).
If you’re unsure where to find it, search the official support page for your laptop brand (e.g., ASUS, Dell, Lenovo) and filter by Wireless LAN or WLAN driver to find the right package.
Once downloaded, you can transfer the files using a USB flash drive if your current system doesn’t have internet yet.
How to Update Wi-Fi Drivers in Windows 11 (Once Connected)
Once your connection is up and running, keeping your Wi-Fi adapter driver Windows 11 up to date helps maintain stable speeds and fewer disconnects.
Using Windows Update
Windows 11 can often automatically find the latest wireless drivers for you.
Go to Settings > Windows Update > Advanced options > Optional updates and check for available driver updates under this section.
Installing these can help keep your system in sync with the latest hardware improvements and fixes.
Using Device Manager
If you want more control, open Device Manager, expand Network adapters, right-click your Wi-Fi adapter and choose Update driver. Then pick “Search automatically for drivers” to let Windows check online for updates.
From Manufacturer Support
Sometimes the most up-to-date or performance-optimized drivers are released first by the device maker. Visiting your adapter manufacturer’s official pages — such as Intel’s download site for Intel® Wireless Wi-Fi drivers — ensures you’re using a version tailored for your specific hardware.
Keeping your wireless drivers updated this way can help avoid connection drops, improve speed, and ensure your network adapter works smoothly with future Windows updates.
FAQ: Quick Answers Users Are Searching For (People Also Ask)
Here are clear, no-fluff answers to the most common questions users search when dealing with Wi-Fi driver issues in Windows 11.
How do I install a Wi-Fi driver on Windows 11?
If Windows 11 is already installed, open Device Manager, find your Wi-Fi adapter, and install the correct Wi-Fi driver Windows 11 from the manufacturer. If you’re still in setup and Wi-Fi isn’t available, you can install the wireless driver from a USB using the built-in setup option.
Where do I download Wi-Fi drivers for Windows 11?
Always download Wi-Fi drivers for Windows 11 from official sources only—your laptop brand’s support page or the adapter manufacturer (like Intel, Realtek, or Broadcom). This ensures compatibility and security.
How do I install a Wi-Fi driver without internet on Windows 11?
Download the driver on another device, copy it to a USB, and install it manually. Windows 11 setup also allows installing a Wi-Fi driver without internet using .inf files during setup.
Why is my Wi-Fi adapter not detected after installing Windows 11?
This usually means the wireless driver is missing, not that the hardware is broken. Installing the correct Wi-Fi adapter driver Windows 11 fixes it in most cases.
How do I update Wi-Fi drivers in Windows 11?
Use Device Manager, check Windows Update > Optional updates, or download the latest driver directly from the manufacturer’s website for best results.
Can Windows Update install Wi-Fi drivers automatically?
Yes. Windows Update often installs basic network drivers, but manufacturer drivers usually provide better performance and stability.
What if my Wi-Fi driver shows an error in Device Manager?
An error icon usually means the driver is corrupt or incompatible. Reinstalling the correct wireless driver for Windows 11 resolves this.
Do I need to uninstall the old Wi-Fi driver before updating?
Not always. But if you’re facing connection drops or errors, uninstalling the old driver first can prevent driver conflicts.
Is it safe to use third-party driver updater tools?
It’s safer to avoid them. Official manufacturer drivers are the most reliable and reduce the risk of malware or wrong installations.
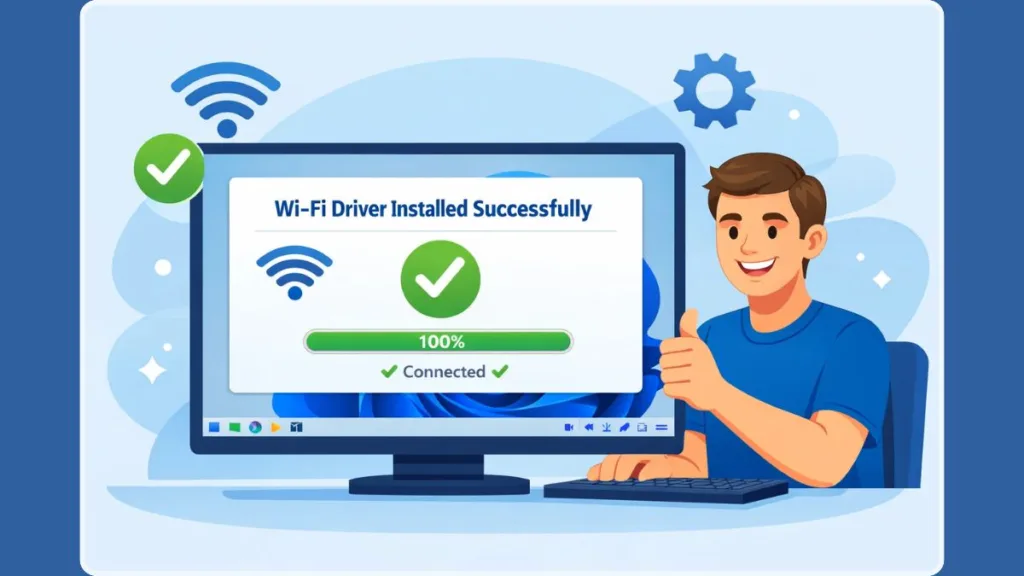
Conclusion: Get Your Windows 11 Wi-Fi Working Fast
Losing Wi-Fi on Windows 11 can feel frustrating—but in most cases, it comes down to a missing or outdated Wi-Fi driver, not a hardware problem. Once you understand how to install a Wi-Fi driver in Windows 11, the fix becomes quick and manageable.
Choose the Right Installation Method
Whether you needed to install the wireless driver after setup, load a Wi-Fi driver from a USB during installation, or manually install a driver when no network was detected, there’s a solution for every situation. The key is choosing the method that matches when and where the issue appears.
Keep Your Wi-Fi Driver Updated
After you’re back online, don’t forget to update your Wi-Fi driver in Windows 11 regularly. Updated drivers help maintain stable connections, fewer dropouts, and better compatibility with newer wireless standards like Wi-Fi 6 and Wi-Fi 7, which Windows 11 supports for improved performance and security.
Keeping your Wi-Fi adapter driver current helps ensure your system takes full advantage of these modern wireless technologies, smoothing out connectivity and boosting overall performance. It also helps guard against unexpected issues that can arise when older drivers aren’t optimized for the latest updates or networking protocols.
Enjoy Stable Wireless Connectivity
With the right driver installed and updated, your system can deliver stable, reliable wireless connectivity—so you can get back to work, streaming, or gaming without interruptions.
Visit Our Post Page: Blog Page