
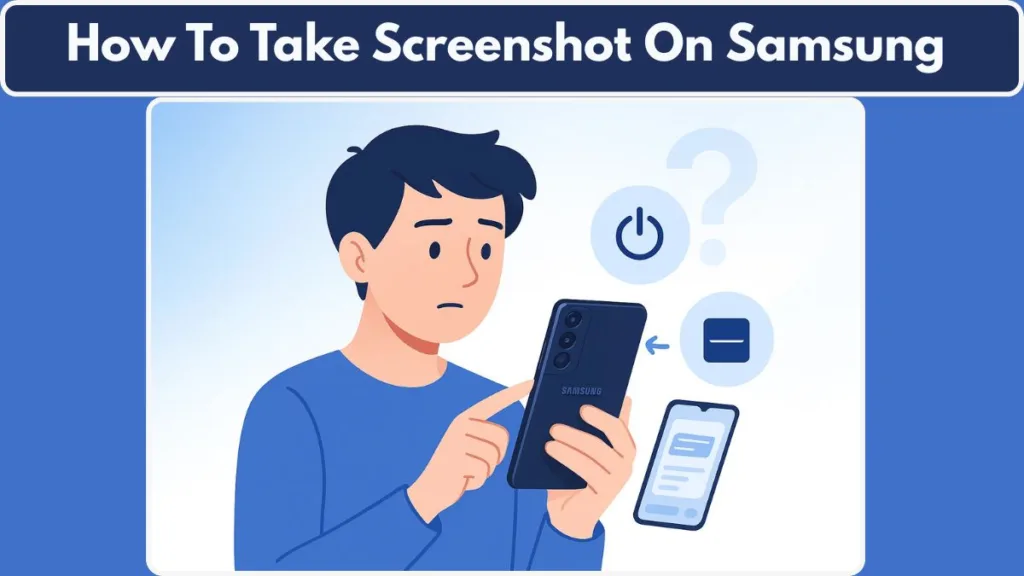
Need to save what’s on your Samsung screen? Learn 7 built-in ways to take screenshots instantly using your Galaxy phone’s native options.
Screenshots are one of the most useful features on your Samsung device. Whether you need to save important information, share an image, or show an error message to tech support, knowing how to take a screenshot can save time and effort. Fortunately, Samsung has made this process quick and flexible, with multiple built-in methods that suit different preferences.
If you own a Samsung Galaxy phone or tablet — whether it’s the latest Galaxy S24 Ultra, a mid-range Galaxy A-series, or even a Note or Fold device — this guide will walk you through every official method to capture your screen. Each step is easy, fast, and doesn’t require installing any third-party apps.
Let’s dive right in.
Why Taking a Screenshot on Samsung Devices Is So Useful
Screenshots help you capture what’s important at the moment — instantly. You can:
- Save chats, payment confirmations, or game scores.
- Keep a recipe, map, or image you want to reference later.
- Capture an error message for troubleshooting.
- Record information from social media or a website.
Samsung’s One UI design ensures that all screenshot options are consistent across models. With regular updates, the interface becomes smoother, and features like the Smart Capture toolbar and Edge Panels are now faster and easier to use. You’ll notice improved responsiveness and cleaner icons on the screenshot toolbar since the rollout of One UI 6, making it easier to share or edit immediately after capture.
The 7 Built-In Ways to Take a Screenshot on Samsung
- Power + Volume Down buttons – the classic and fastest method.
- Palm swipe gesture – capture the screen with a quick hand movement.
- Scroll capture – take long screenshots of full webpages or chats.
- Edge Panels / Smart Select – capture specific parts of your screen.
- S Pen tools – available on Galaxy Note, S Ultra, and Tab S devices.
- Bixby Voice – use voice commands for hands-free screenshots.
- Google Assistant – another easy voice-controlled option.
Each method works slightly differently, so choose the one that fits your workflow best.
Method 1: How to Take a Screenshot Using Power and Volume Down Buttons
Steps to Capture Your Screen
- Open the screen you want to capture.
- Press and hold the Power and Volume Down buttons together for one second, then release immediately.
- You’ll see the screen flash or hear a shutter sound — that’s your confirmation the screenshot was taken.
A toolbar called Smart Capture will appear briefly at the bottom of the screen with options to Edit, Share, or Scroll Capture.
How to Take a Screenshot on Older Samsung Models
If your device has a physical Home button, press Power + Home instead. Some models like the Galaxy S7 and early A-series still support this.
Where to Find Your Saved Screenshots
Go to Gallery > Albums > Screenshots. You can also access them through the My Files app > Internal storage > DCIM > Screenshots for file management.
Pro Tip: Make sure you press both buttons simultaneously — not too long — to avoid launching the Power menu.
Update for 2025: On some devices running One UI 6, Samsung slightly adjusted the timing of the button combination. If it doesn’t work, go to Settings > Advanced features > Side key and check your button configuration. The update also improved touch detection, making quick presses more accurate.
Method 2: How to Take a Screenshot on Samsung with Palm Swipe Gesture
If pressing buttons feels inconvenient, Samsung offers a hands-free gesture called Palm Swipe to Capture.
How to Enable Palm Swipe to Capture
- Open Settings > Advanced features > Motions and gestures.
- Turn on Palm swipe to capture.
How to Use Palm Swipe to Take Screenshots
- Open the screen you want to capture.
- Place the side of your hand vertically on one edge of the screen.
- Swipe across the display (left to right or right to left).
- The screen will flash — your screenshot is saved automatically.
This method is simple and intuitive once you try it. It’s perfect for one-handed use or when you don’t want to fiddle with buttons.
Note: Some budget models and certain tablets, like the Galaxy Tab S6 Lite, don’t support this feature.
Tip: If it suddenly stops working after a system update, toggle it off and on again under Settings > Advanced features. You can also recalibrate gesture sensitivity under Motions and Gestures settings in newer updates.
Method 3: How to Take Long Screenshots on Samsung with Scroll Capture
When you need to capture a long conversation, webpage, or article, Samsung’s Scroll Capture feature lets you take an extended screenshot.
Steps for Scroll Capture
- Use any screenshot method (button or gesture).
- When the Smart Capture toolbar appears, tap the Scroll Capture icon — a rectangle with downward arrows.
- Keep tapping (or press and hold) to extend the screenshot further down the page.
- Tap Save when you’re finished.
Your device automatically stitches multiple screenshots together into one seamless long image.
New in One UI 6: Samsung made Scroll Capture smoother and faster. You can now hold the icon to automatically capture the entire page in one go — perfect for full webpages, chat logs, or documents. The feature also automatically adjusts brightness to ensure consistent lighting across long images.
Method 4: How to Take a Partial Screenshot Using Edge Panels and Smart Select
Edge Panels are Samsung-exclusive sidebars that give you quick access to shortcuts. One of the most powerful is Smart Select, allowing you to capture precise portions of your screen.
How to Enable Smart Select in Edge Panels
- Go to Settings > Display > Edge panels.
- Tap Panels > Smart Select to activate it.
How to Use Edge Panels for Screenshots
- Swipe the transparent tab on the side of the screen to open Edge Panels.
- Tap Smart Select and choose a shape — Rectangle, Oval, or Lasso.
- Drag the selector to cover the desired area.
- Tap Done, then choose Save or Share.
This feature is great for grabbing specific text, cropping photos, or capturing only what you need.
Update for 2025: Edge Panels have been enhanced. You can now add a Take Screenshot shortcut inside the Tasks Panel for one-tap screen capture.
To add it, go to Settings > Display > Edge panels > Tasks > Edit > Add Take Screenshot. You’ll also find smoother swipe animation when opening panels, even with gesture navigation enabled.
Method 5: How to Take a Screenshot with the S Pen on Samsung Galaxy Devices
If you’re using a Samsung device with an S Pen — like the Galaxy S24 Ultra, Note 20, or Tab S9 Ultra — you have even more screenshot tools available.
Steps to Take a Screenshot with the S Pen
- Pull out the S Pen or hover it near the screen to open Air Command.
- Tap Smart Select or Screen Write.
- Smart Select: Capture a specific part of the screen in any shape.
- Screen Write: Capture the full screen, then draw or add notes directly on it.
- Tap Save or Share when finished.
This feature is perfect for creative professionals, students, or anyone who frequently annotates.
Latest Update: The newer S Pen Pro and Fold Edition models now support Air Actions that can be customized for screenshots.
Assign a gesture — like double-tapping in the air — to trigger a screenshot instantly. You can configure this in Settings > Advanced features > S Pen > Air Actions.
Method 6: How to Use Bixby Voice to Take a Screenshot on Samsung
Samsung’s built-in voice assistant, Bixby, can also take screenshots for you — perfect when your hands are busy or when demonstrating something on-screen.
Steps to Take a Screenshot Using Bixby
- Activate Bixby by saying “Hi Bixby” or by long-pressing the Side key.
- Say “Take a screenshot.”
- Bixby captures the screen automatically and saves it in your Gallery.
You can even say “Take a screenshot and share it on WhatsApp” or “Take a screenshot and open Gallery.” Bixby executes both commands seamlessly.
Update for 2025: The Bixby Routines feature now allows automated screenshots. You can set conditions such as time, location, or specific app activity to trigger an automatic capture. Access this through Settings > Advanced features > Bixby Routines and add “Take Screenshot” as an action.
Method 7: How to Take a Screenshot Using Google Assistant on Samsung
If you prefer Google Assistant, it can also take screenshots using voice commands.
Steps to Capture a Screenshot with Google Assistant
- Say “Hey Google” or “OK Google.”
- Then say “Take a screenshot.”
- The image is captured and stored in Gallery > Screenshots.
This works on all Galaxy phones and tablets with Google Assistant enabled.
Tip: Ensure Screen Context is enabled under Settings > Google > Settings for Google Apps > Search, Assistant & Voice > Google Assistant > General > Use screen context.
Without this, the command may fail on some Android 14 builds.
Where Screenshots Are Saved and How to Edit Them on Samsung
Every screenshot you take is automatically saved in:
- Gallery > Albums > Screenshots, or
- Google Photos > Library > Screenshots.
You can instantly edit, annotate, or share from the notification preview or Smart Capture toolbar.
Editing Tools You Can Use
- Crop and resize images for social sharing.
- Draw or highlight directly on the screenshot.
- Add text or stickers for quick notes or fun visuals.
New Option: You can now change file types between JPEG and PNG in
Settings > Advanced features > Screenshots and screen recorder > Screenshot format.
PNG produces clearer text but uses slightly more storage. JPEG remains faster for social media sharing.
Troubleshooting Screenshot Problems on Samsung Devices
If a screenshot doesn’t work as expected, try these fixes:
- Gesture not working: Toggle Palm swipe to capture off and on again.
- Buttons open Power menu: Press both keys simultaneously for one second.
- Scroll Capture missing: Certain apps (banking or streaming) block screenshots for security reasons.
- Toolbar not appearing: Enable it under Settings > Advanced features > Screenshots and screen recorder > Show toolbar after capturing.
- After update glitches: Restart your device and re-enable Edge Panels or Palm Swipe.
If issues persist, perform a settings reset via Settings > General management > Reset > Reset all settings. It won’t delete data but restores default configurations.
Expert Tips to Take Screenshots Faster on Samsung
- Hold the scroll icon to automatically capture a full webpage.
- Use Edge Panels for one-tap screenshot shortcuts.
- Back up screenshots to Samsung Cloud or Google Photos for safety.
- Tag screenshots in the Gallery for easier searching.
- Try voice commands for quick, no-touch captures.
- Automate screenshots using Bixby Routines or Google Assistant scripts.
- Pin important screenshots to the top of the Gallery for faster access.
Frequently Asked Questions About Taking Screenshots on Samsung
1. How do I take a screenshot on my Samsung Galaxy?
Press Power + Volume Down simultaneously for one second.
2. How can I take a long screenshot?
Use the Scroll Capture option on the Smart Capture toolbar.
3. Can I take screenshots without using buttons?
Yes, try Palm Swipe, Smart Select, or Voice Commands with Bixby or Google Assistant.
4. Where are my screenshots saved?
Gallery > Albums > Screenshots or Google Photos > Library > Screenshots.
5. Can I edit or draw on screenshots?
Absolutely! Use the editing toolbar or open the image in the Gallery’s built-in editor.
6. Why can’t I take screenshots in some apps?
Certain apps block screenshots for privacy or security reasons (like banking apps).
Quick Post-Update Checklist for Samsung Screenshot Settings
- Confirm Smart Select and Tasks Panel are active under Edge Panels.
- Set your preferred format (JPEG or PNG) under Screenshots and screen recorder.
- Re-enable Palm Swipe if it turns off after updates.
- Adjust Side Key behavior if Power + Volume Down isn’t working properly.
- Visit your local Samsung Support page for region-specific updates and instructions.
Final Thoughts: Mastering Screenshots on Your Samsung Galaxy
Taking a screenshot on a Samsung device is simple, fast, and incredibly versatile. You can use buttons, gestures, the S Pen, or even your voice — whichever feels most natural to you. With Samsung’s consistent One UI experience, each method works reliably across models, making it easy for anyone to capture, annotate, and share.
Whether you’re saving a recipe, documenting a chat, or troubleshooting a problem, now you have seven powerful, built-in methods to do it. Explore them all, find your favorite, and master screenshots like a pro on your Samsung Galaxy today.
Visit Our Post Page: Blog Page