
Facing the HYPERVISOR ERROR 0x20001 Blue Screen on Windows 11 or 10? Learn what causes this virtualization crash and discover 5 proven methods to fix “The Hypervisor Has Encountered a Fatal Error.
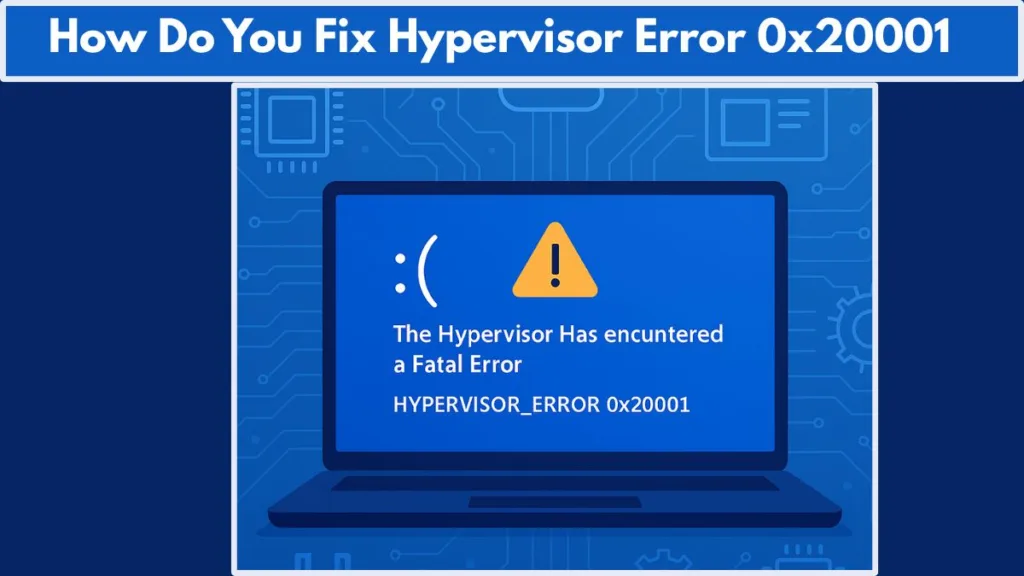
When Windows encounters a Blue Screen of Death (BSOD) with the message HYPERVISOR_ERROR (Stop Code 0x00020001), it indicates a critical malfunction in the virtualization subsystem — the underlying layer that allows multiple operating systems or virtual machines (VMs) to operate on the same physical machine.
The hypervisor is the foundation of virtualization technologies like Hyper-V, VMware, and VirtualBox, managing how system hardware interacts with virtual environments. When this layer fails, Windows halts operations immediately to prevent data corruption or kernel instability.
This comprehensive guide explains everything you need to know about hypervisor error 0x20001, including its meaning, causes, and official solutions verified by Microsoft and industry experts. It also links to trusted sources like Microsoft’s official bug check reference for HYPERVISOR_ERROR and their Hyper-V troubleshooting documentation.
Understanding Hypervisor Error 0x20001 and Its Technical Meaning
What Is the Hypervisor and Why It Matters in Windows 10/11
The hypervisor (or “virtual machine monitor”) is a system-level software layer that enables virtualization — allowing a single computer to host multiple operating systems. In Windows, this role is managed by Hyper-V, an optional component available in both Windows 10 and Windows 11 Pro or Enterprise editions.
When Windows displays the HYPERVISOR_ERROR (0x00020001), it means the hypervisor encountered a fatal condition that prevented it from continuing operations safely.
This typically occurs when:
- Virtualization is disabled or incorrectly configured in BIOS/UEFI.
- Conflicts exist between Hyper-V and third-party hypervisors like VMware or VirtualBox.
- Critical system drivers or firmware are outdated or incompatible.
- The CPU or memory encounters low-level hardware instability.
For an in-depth breakdown, Microsoft documents this in their official driver development reference, stating that “this error indicates that the hypervisor has encountered a fatal problem and cannot continue operating.”
Recognizing the Symptoms of HYPERVISOR_ERROR BSOD (0x20001)
How This Error Appears in Windows 10/11
You may experience one or more of the following symptoms when hypervisor error 0x20001 occurs:
- Blue Screen showing “The hypervisor has encountered a fatal error.”
- Random BSODs even during light usage or idle time.
- Virtual machines freezing or failing to start in Hyper-V or VMware.
- Event Viewer logs displaying critical kernel crashes referencing
ntkrnlmp.exeoramdppm.sys. - System hangs or reboots when enabling virtualization or Hyper-V services.
These symptoms often align with kernel-level crashes, and the stop code is typically recorded in Event Viewer > Windows Logs > System.
To analyze the crash dump in more detail, use the official WinDbg Preview tool provided by Microsoft. It allows you to interpret the crash file (.dmp) and identify whether the error originated from hardware, driver conflicts, or virtualization misconfiguration.
Common Causes of the Hypervisor Fatal Error 0x20001
Why Windows Encounters Virtualization Conflicts
The HYPERVISOR_ERROR BSOD arises from deep hardware or firmware-level inconsistencies that prevent the hypervisor from initializing correctly. Below are the most common causes:
1. Virtualization Disabled or Misconfigured in BIOS/UEFI
Modern CPUs include virtualization extensions such as Intel VT-x or AMD-V (also called SVM mode). These features must be enabled in BIOS/UEFI for Hyper-V to operate.
To verify and enable virtualization correctly, follow Microsoft’s official guide on how to enable virtualization on Windows 11/10 PCs.
2. Outdated, Corrupted, or Incompatible Drivers
Chipset or CPU power management drivers, such as intelppm.sys or amdppm.sys, play a vital role in virtualization. Outdated or incorrect drivers can interfere with the hypervisor’s control of CPU virtualization instructions. Always ensure your drivers are updated via the Windows Update Catalog or the manufacturer’s official website.
3. Hyper-V Conflicts with Third-Party Virtualization Software
Running Hyper-V concurrently with other hypervisors such as VMware Workstation, VirtualBox, or Bluestacks can lead to resource contention. Since these tools rely on different hypervisor architectures, only one can typically control CPU virtualization at a time.
You can disable Hyper-V safely by following Microsoft’s official Hyper-V removal guide.
4. Corrupted System Files or Faulty Windows Updates
Sometimes, a corrupted update or damaged system file breaks the hypervisor configuration. Running integrity checks like SFC and DISM repairs these issues.
5. CPU Overclocking and Power Instability
Overclocking can destabilize CPU virtualization instructions. Precision Boost Overdrive (PBO) or custom voltage settings may cause hypervisor-related crashes. Reset BIOS/UEFI to factory defaults to eliminate this variable.
6. Faulty or Incompatible Hardware
Bad RAM modules or outdated motherboard firmware often trigger non-maskable interrupts (NMIs) that the hypervisor cannot handle, forcing a BSOD. Microsoft recommends using Windows Memory Diagnostic or Windows Hardware Lab Kit (HLK) for in-depth hardware validation.
Step-by-Step Fixes to Resolve HYPERVISOR_ERROR 0x20001 BSOD
Fix 1: Restart and Disconnect External Devices
Before performing complex diagnostics, restart your computer and disconnect unnecessary USB devices or peripherals. Sometimes, device drivers interfere with hardware-level virtualization.
Fix 2: Enable Virtualization Support in BIOS/UEFI
Virtualization is essential for Hyper-V functionality.
Steps:
- Restart your PC and press Del, F2, or Esc to enter BIOS/UEFI.
- Locate settings like Intel Virtualization Technology (VT-x) or AMD SVM Mode.
- Set the feature to Enabled.
- Save changes and restart.
For further details, refer to Microsoft’s BIOS virtualization setup guide.
Important: Always save your current BIOS configuration before making changes to prevent system instability.
Fix 3: Disable Hyper-V (If Not Needed)
If you are using VMware, VirtualBox, or Android emulators, disable Hyper-V to avoid conflicts.
Method 1: Using Control Panel
- Open Control Panel > Programs > Turn Windows features on or off.
- Uncheck Hyper-V.
- Restart your system.
Method 2: Using Command Prompt
bcdedit /set hypervisorlaunchtype off
Restart afterward.
You can also use Microsoft’s official PowerShell commands for Hyper-V management.
Fix 4: Update BIOS, Chipset, and Drivers
Driver mismatches are a frequent cause of BSODs. Update your BIOS and chipset firmware using the manufacturer’s utility or the Windows Update service.
Fix 5: Reset CPU Power and Boost Settings
Return CPU settings to their default to eliminate instability.
Disable any form of overclocking or Precision Boost Overdrive (PBO) from BIOS.
Fix 6: Repair System Files (SFC and DISM)
Corrupted Windows system files can interfere with the hypervisor. Run these official repair commands in an elevated Command Prompt:
DISM /Online /Cleanup-Image /RestoreHealth
sfc /scannow
Refer to Microsoft’s official DISM guide for more details.
Fix 7: Uninstall Recent Windows Updates
Go to Settings > Windows Update > Update History > Uninstall updates and remove the most recent patch if the BSOD appeared after a Windows update.
Fix 8: Perform a Clean Boot
A clean boot helps identify third-party conflicts by disabling non-Microsoft services. Learn how to perform one using Microsoft’s official clean boot instructions.
Fix 9: Test RAM and Hardware Stability
Use the built-in Windows Memory Diagnostic tool (mdsched.exe) or advanced diagnostics from your manufacturer to detect faulty RAM modules or voltage issues.
Fix 10: Restart Hyper-V Core Services
If you use Hyper-V regularly, restarting its services may restore functionality.
net stop vmms
net start vmms
net stop hvservice
net start hvservice
Quick Fix Summary (Top 5 That Work Most Often)
| Rank | Fix | Why It Works |
|---|---|---|
| 1️⃣ | Update BIOS & Chipset Drivers | Resolves CPU virtualization bugs and hardware incompatibilities. |
| 2️⃣ | Enable Virtualization in BIOS/UEFI | Ensures Hyper-V can initialize correctly. |
| 3️⃣ | Disable Hyper-V (If Not Needed) | Prevents conflicts with VMware, VirtualBox, or emulators. |
| 4️⃣ | Run SFC & DISM Repairs | Repairs damaged kernel and system files. |
| 5️⃣ | Reset CPU/Disable Overclocking | Fixes hardware instability affecting virtualization. |
If stability returns after these steps, gradually re-enable features to isolate the root cause.
Advanced Troubleshooting for Persistent Hypervisor Errors
If the issue persists after all standard fixes:
- Analyze crash dumps using WinDbg Preview (
!analyze -v). Learn how with Microsoft’s WinDbg analysis tutorial. - Use Driver Verifier to detect driver conflicts.
- Re-flash BIOS if current firmware has virtualization-related bugs.
- Test hardware components one by one (RAM, GPU, CPU).
- As a final resort, perform a repair installation of Windows to rebuild core virtualization files.
Prevention Tips to Avoid Future Hypervisor BSOD Errors
- Keep BIOS, Chipset, and Windows Updates Current: Regular updates often contain firmware and microcode fixes for virtualization.
- Avoid Overclocking and Manual Voltage Tweaks: Overclocking can corrupt virtualization control registers.
- Use a Single Virtualization Platform: Don’t mix Hyper-V with VMware or other hypervisors.
- Maintain System Health: Run
sfc /scannowmonthly and check logs under Event Viewer > Applications and Services Logs > Microsoft > Windows > Hyper-V-Worker. - Perform Regular Hardware Diagnostics: Tools like Windows Memory Diagnostic and Device Health Attestation (DHA) can detect early signs of failure.
For ongoing management, Microsoft’s Hyper-V Best Practices Analyzer helps monitor virtualization health and performance.
Frequently Asked Questions About Hypervisor Error 0x20001
How do I fix the hypervisor error 0x20001?
Enable virtualization in BIOS, update BIOS and chipset drivers, and use official DISM/SFC commands to repair system files.
What causes the HYPERVISOR_ERROR Blue Screen?
Common causes include virtualization misconfiguration, outdated firmware, and driver conflicts between hypervisors.
Should I disable Hyper-V to fix the BSOD?
Yes, if you use VMware, VirtualBox, or similar software. Follow Microsoft’s guide to disable Hyper-V safely.
How do I enable virtualization in BIOS?
Access BIOS/UEFI > Locate Intel VT-x or AMD SVM Mode > Enable > Save changes > Restart.
Is hypervisor error a hardware or software issue?
It can be both. While misconfigured drivers or BIOS settings are the main culprits, unstable RAM or CPU firmware can also contribute.
Conclusion: Fixing the Hypervisor Error 0x20001 Permanently
The HYPERVISOR_ERROR (0x20001) may appear complex, but it’s often caused by a handful of correctable configuration issues.
By following this structured, official guidance — enabling virtualization, updating firmware, running SFC/DISM, and ensuring hardware stability — you can restore normal operation and prevent future BSODs.
Pro Tip: Bookmark Microsoft’s Hyper-V Troubleshooting Hub for continuous monitoring and official fixes related to virtualization.
Bonus Tip for Virtualization Professionals
If you regularly run virtualized environments, consider investing in a workstation-grade PC with ECC memory and hardware-assisted virtualization. Certified systems designed for Hyper-V or VMware ESXi are built for reliability and minimize hypervisor-related BSODs, ensuring smooth virtualization and improved uptime.
Visit Our Post Page: Blog Page