
Defeat Takezo the Unrivaled in Ghost of Yotei with the best strategy, armor, and loadout guide. Win every duel with expert parry and weapon tips.
If you’ve reached the legendary Takezo the Unrivaled duel in Ghost of Yotei, congratulations — you’ve stepped into one of the most demanding and rewarding encounters in the entire game. Takezo is not just another boss; he is the embodiment of discipline, precision, and adaptability. Every strike, every parry, and every dodge in this fight tests your mastery of the combat system.
Whether you’re attempting this duel for the first time or trying to conquer it on Lethal difficulty, this detailed guide will walk you through every phase, tactic, and preparation method — all explained in a way that ensures you walk away victorious.
Take a deep breath, sharpen your blade, and let’s dismantle Takezo’s legend step-by-step.
Who Is Takezo The Unrivaled In Ghost Of Yotei
Takezo the Unrivaled is a mythical ronin whose story echoes through Mount Yotei. Known for his unmatched skill with dual katanas and the creation of the Dual Slashes Spirit Attack, he represents the culmination of The Five Teachings Mythic Tale.
You’ll first hear about him from Ugetsu the storyteller, a wandering bard who shares Takezo’s tale near the Coastal Dueling Tree. What begins as a simple legend quickly becomes your most challenging test of focus and patience.
Unlike most bosses, Takezo’s design punishes reckless offense and rewards defensive precision. His patterns are built to exploit timing errors, making this duel as much a mental battle as it is a physical one. Once you master his rhythm, however, you’ll feel your skills elevate beyond every previous fight.
How To Unlock Takezo The Unrivaled Quest In Ghost Of Yotei
To begin the Takezo the Unrivaled Mythic Tale:
- Find Ugetsu at his camp beside the Coastal Dueling Tree in the southern Yotei Grasslands.
- Listen to his tale — this unlocks five Dueling Trees across the land of Ezo. They will only activate once you’ve heard his story.
- Complete all five duels to lure Takezo from hiding. Each duel rewards a unique charm that boosts your strength for the final confrontation.
Dueling Tree Checklist
- Duel Among Graves
- Duel Before the Mountain
- Duel Beneath Red Leaves
- Duel in the Marshlands
- Duel Among Ruins
Once you’ve cleared every duel, return to the Coastal Dueling Tree. Takezo will reveal himself — and the true challenge begins.
Dueling Tree Locations And Takezo’s Disciple Fight Tips
Each disciple of Takezo acts as a preview of his fighting style, preparing you for the final test. These battles train your parry timing, reaction speed, and counter discipline.
| Duel | Location | Combat Tip | Reward |
|---|---|---|---|
| Among Graves | Shikotsu River | Use Metsubushi (dust pouches) to blind your foe and create punishing openings. | Charm of the Unrelenting Warrior |
| Before the Mountain | Yotei River | Delay parries — this opponent loves fakeouts. Switch to Dual Katanas during phase two. | Charm of Renewed Determination |
| Beneath Red Leaves | Tokachi Range | Parry only standard attacks; avoid fancy spin combos. | Charm of Bold Deflection |
| In the Marshlands | Tomamu Marshlands | Red glint = dodge. Yellow glint = disarm opportunity. Stay calm. | Charm of Bracing Victory |
| Among Ruins | Niikappu Falls | Spear user with slow swings. Learn his rhythm; dodge instead of blocking. | Charm of the Stout Heart |
Each disciple teaches an aspect of Takezo’s combat philosophy: observe, react, and retaliate only when safe. By mastering these duels, you’ll sharpen your timing and build the reflexes needed for the main event.
How To Beat Takezo The Unrivaled Boss Fight In Ghost Of Yotei
When Takezo first challenges you at the Coastal Dueling Tree, he tests your endurance, adaptability, and composure. The duel unfolds in two phases — Katana Form and Oar (Naginata) Form — each demanding a slightly different rhythm.
Takezo’s Phase 1: Katana Form And Perfect Parry Timing
This phase focuses on speed and deception.
- Unblockable Shoulder Slice: Watch his right shoulder. When he lowers it and steps in, dodge left immediately.
- Triple-Stab Combo: Highly lethal. Block the first stab, then sidestep the remaining strikes.
- Fakeout Slice: He crouches, takes two measured steps, and then lunges. Don’t parry early; wait for his body to lean forward.
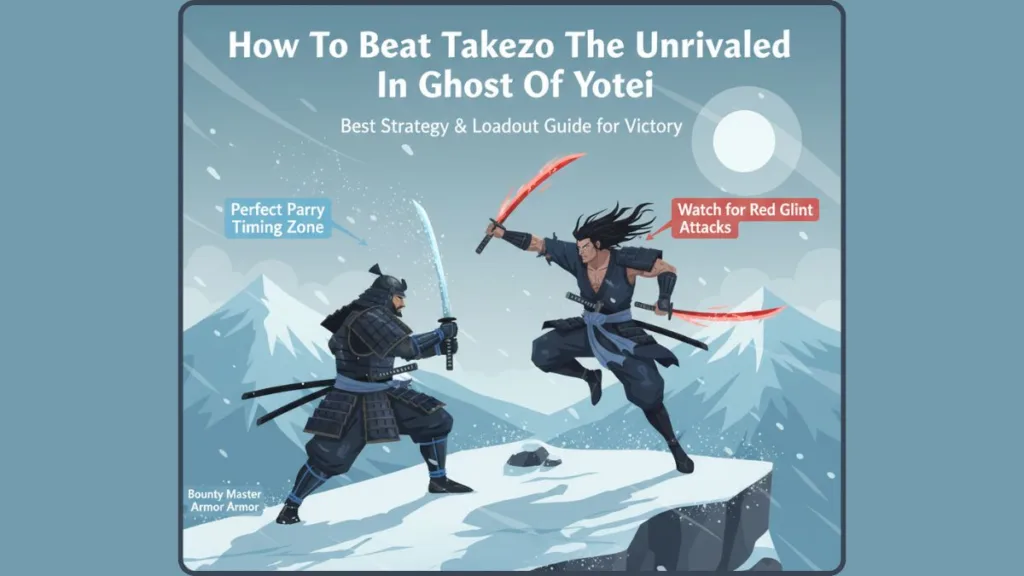
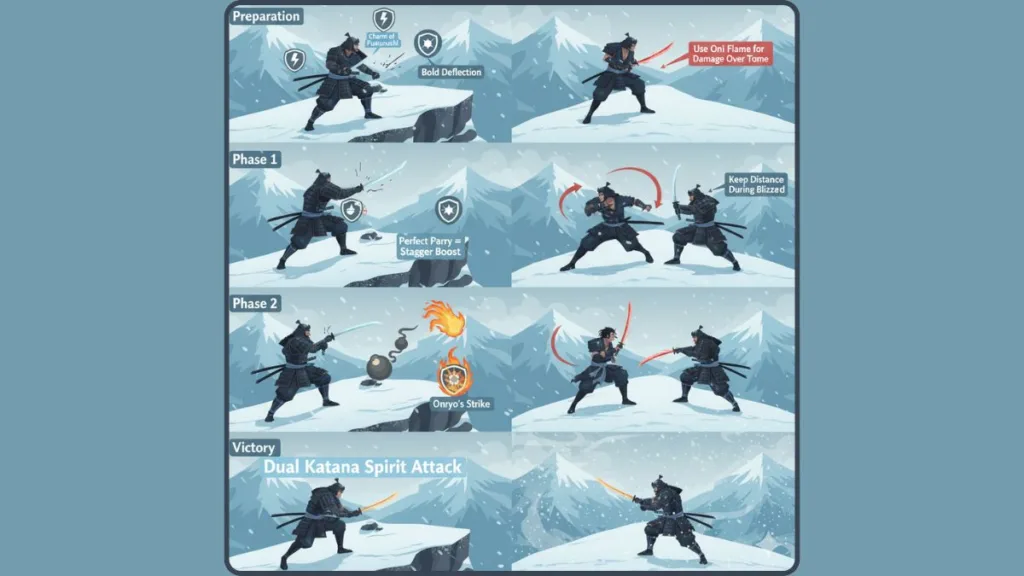
- Perfect Parry Window: Small but consistent. Parrying his final strike grants a massive stagger opportunity — ideal for triggering counter combos.
Every successful Perfect Parry grants a moment to punish him safely. Be patient. Overextending your attacks is the quickest path to defeat.
Takezo’s Phase 2: Naginata Oar Form And Attack Patterns
Once Takezo’s health reaches half, the fight shifts into a slower, more deliberate tempo.
- His oar swings are wide and punishing, but the timing for Perfect Parry becomes easier.
- Maintain medium range and force him to miss his opening sweep.
- Whenever he sheathes his oar, prepare for an unblockable red glint draw attack — dodge backward instantly.
- Use Smoke Bombs to reset the pace and create healing opportunities.
- Apply Oni’s Flame during openings to add burn damage and disrupt his combos.
Checkpoint Bonus: If you fall during this phase, you’ll restart here instead of the beginning. Use it to your advantage.
Final Duel Against Takezo At Mount Yotei – The Five Teachings Mythic Tale
The real Takezo awaits at the peak of Mount Yotei. This is the final duel of The Five Teachings and arguably the toughest fight in the game. You’ll need every skill, every charm, and every ounce of focus you’ve built along the way.
Requirements To Unlock Takezo’s Final Duel
- Equip all five Takezo Charms before reaching Mount Yotei.
- After Takezo appears, you can switch to your preferred combat loadout.
- Stock up on Sake to keep your Spirit replenished throughout the fight.
Mount Yotei Blizzard And Frostbite Management
During the battle, a blizzard will engulf the battlefield, introducing the Frostbite mechanic:
- Your stamina drains faster, and health regeneration slows drastically.
- Keep a safe distance when visibility drops — Takezo’s reach expands during the storm.
- Manage your Spirit bar carefully; you’ll need it for Onryo’s Strike and healing.
- The best tactic: Parry → Counter → Retreat. Let him waste his combos in the snow.
Takezo’s Move List And Attack Patterns
Blue Glint (Parryable): Execute a Perfect Parry for maximum stagger damage.
Red Glint (Unblockable): Dodge immediately; follow with Onryo’s Strike to disarm.
Yellow Glint (Disarm Attempt): Back away, then counter with a Heavy Attack.
Weapon Switch Cue: Whenever he sheathes his sword, expect a red draw attack immediately after.
Expert Advice: Don’t rush the finish. Takezo adapts faster in this phase. Focus on maintaining rhythm — two strikes, dodge, reset.
Best Armor, Charms, And Weapons For Takezo Boss Fight
Preparation is everything. The right gear setup can make the difference between a flawless victory and a quick defeat.
Best Armor For Takezo Fight
- Bounty Master Armor: The go-to for aggressive players. Grants three free counterattacks after each Perfect Parry — a massive advantage for staggering Takezo.
- Armor of the Undying: Ideal for defensive players. Increases parry window, reduces incoming damage, and restores health upon stagger.
Recommended Charms For Takezo Duel
Equip charms that enhance parry efficiency, Spirit recovery, and survivability:
- Charm of Futsunushi: Extends Perfect Parry and Perfect Dodge timing.
- Father’s Charm: Restores health on Perfect Parry.
- Charm of Mount Yotei: Reduces incoming damage; heals slightly on parry.
- Charm of Bold Deflection: Boosts stagger damage when parrying.
- Charm of Renewed Determination: Restores Spirit each time you take damage.
- (Optional) Charm of Enduring Resolve: Regains Spirit when performing consecutive attacks.
Best Weapons To Use Against Takezo
- Dual Katanas: Balanced between speed and power — the best all-round choice.
- Spear (Optional): Use the Triangle + Circle Focus Combo to drive him back and apply heavy stagger pressure.
- Quickfire Tools (Kunai, Tanzutsu): Perfect for interrupting Takezo mid-combo and forcing mistakes.
Takezo Boss Fight Tips For Hard And Lethal Difficulty Players
On harder difficulties, every mistake costs your life — but every Perfect Parry feels like triumph.
- Perfect Parry Blue Attacks: Builds Spirit and causes heavy stagger.
- Interrupt Red Attacks: Use Onryo’s Strike or Kunai to stop Takezo mid-animation.
- Use Smoke Bombs Wisely: They interrupt Takezo’s offense and buy healing time.
- Spirit Flow Management: Keep your Spirit gauge full — it’s your most valuable resource.
- Spear Focus Combo: Use Triangle + Circle to create knockback and gain momentum.
- Blizzard Adaptation: Movement slows; visibility drops. Rely on audio cues and glint colors to anticipate attacks.
Pro Strategy: Combine Kunai, Smoke Bombs, and Oni Flame for maximum control. It’s not flashy, but it’s reliable — especially on Lethal difficulty.
Rewards And Unlockables After Defeating Takezo The Unrivaled
Victory over Takezo marks your rise to mastery. You’ll earn rare rewards and unlock unique gameplay features:
- 🗡️ Dual Katana Spirit Attack — Takezo’s signature move, now yours to command.
- 🎖️ Unrivaled Trophy — A mark of true mastery over the hardest Mythic Tale.
- 🎴 Takezo’s Hat & Sword Kit — Exclusive cosmetics that signify your achievement.
- ✨ Enhanced Charm Synergies — New combinations unlock when equipping all five Takezo Charms.
- 💧 Stat Boost Tip: Visit Hot Springs, Fox Dens, and Shrines before the fight to increase your maximum health, charm capacity, and Spirit. These cumulative bonuses drastically improve survival.
Expert Takezo Tips And Common Mistakes To Avoid
Mistakes To Avoid
- Parrying fakeouts too early — wait for the animation’s final frame.
- Trying to block red-glint attacks — always dodge.
- Wasting Spirit on resurrection instead of Onryo’s Strike.
- Staying too close during the blizzard; his AoE can chain multiple hits.
Tips To Remember
- Drink Sake before combat to ensure consistent Spirit regeneration.
- Swap to your optimized charm loadout after summoning Takezo.
- Keep your cool. Patience, timing, and precision win this duel — not aggression.
Remember: Takezo is designed to test your mastery, not your reflexes. The calm samurai wins this fight.
Final Thoughts On Takezo The Unrivaled Duel In Ghost Of Yotei
The duel against Takezo the Unrivaled is more than a battle — it’s a lesson. Every strike, parry, and stagger teaches you patience. Every defeat hones your control.
When you finally bring Takezo to his knees in the snowstorm at Mount Yotei, you’ll realize that this fight isn’t about glory — it’s about growth. You didn’t just survive the hardest boss in Ghost of Yotei; you became the Unrivaled yourself.
FAQ: Takezo The Unrivaled Ghost Of Yotei
How do you beat Takezo the Unrivaled easily?
Equip Bounty Master Armor, master Perfect Parries, and use Smoke Bombs to create breathing room.
What armor should I use to fight Takezo?
Use Bounty Master Armor for an offensive playstyle or Armor of the Undying for defense.
Where is the final Takezo fight located?
At the summit of Mount Yotei, unlocked after equipping all five Takezo Charms.
What charms do I need for Takezo?
Equip Charm of Futsunushi, Father’s Charm, Mount Yotei, Bold Deflection, and Renewed Determination.
Can you parry Takezo’s red attacks?
No — red glints are unblockable. Dodge immediately or counter with Onryo’s Strike.
Visit Our Post Page: Blog Page