
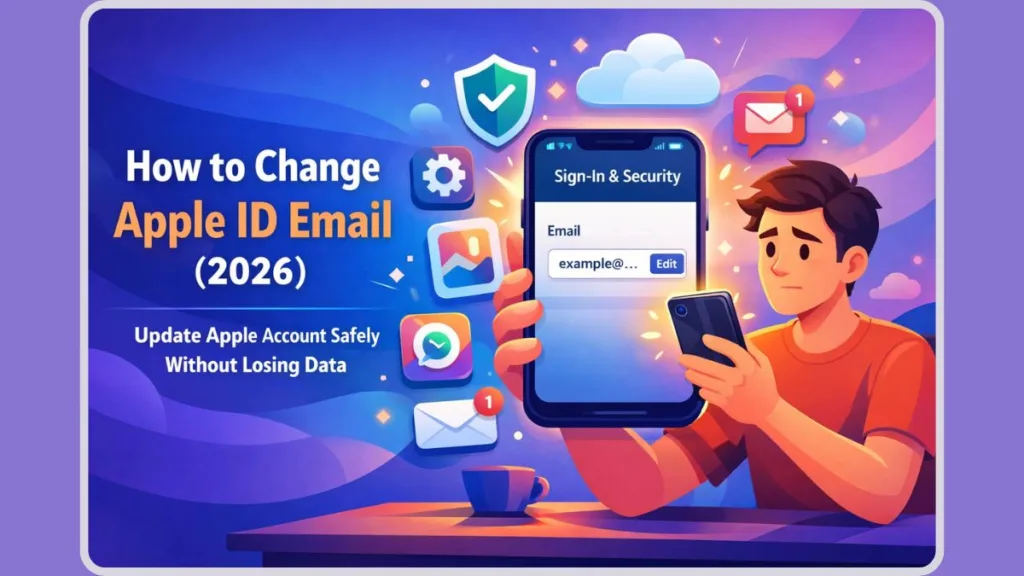
Want to update your Apple ID email without losing any data? Learn how to safely change your Apple Account email without affecting apps, photos, or subscriptions.
Good News: You Can Change Apple ID Email Without Losing Photos
Let’s cut through the noise and address the panic immediately: Changing your email does not wipe your data.
If you are here, you are likely staring at your settings screen with a mild sense of dread. Maybe you lost access to an old email from your university days. Maybe you are locking down security after a breach. Or maybe you are just done with an unprofessional address you made a decade ago.
The fear is valid—you don’t want to lose your photos, messages, or app subscriptions.
Here is the reality: You won’t. As long as you follow the protocol below, you are simply swapping the key to your house, not emptying the furniture.
Note: Apple is transitioning the name from Apple ID to Apple Account. It’s the same ecosystem. We will use both terms here so you know what you’re looking at.
Let’s get this sorted.
Wait—Are You Trying to Merge Two Apple IDs?
Before we touch a single setting, we need to filter out a common mistake.
A massive number of users search how to change their Apple ID email when their actual goal is to combine two separate accounts—usually an old iTunes account and a new iCloud login.
If that is your plan, stop. Apple does not allow you to merge two Apple IDs.
Trying to “change” one account into the other to force a merge will not work. It will only create sync conflicts. If you need to share purchases between a personal and work account, do not try to merge. Set up Family Sharing instead. It is the only legitimate workaround.
However, if you have one single account and simply need to update the login credential, proceed to the steps below.
Why Users Update Apple ID Email Addresses (The Context)
Understanding why you are doing this helps clarify the stakes. Most users fall into one of three specific scenarios:
1. The Access Crisis (Lost Email)
Your Apple ID is tied to a defunct server—an old work email or a student account that has been deactivated. You are terrified Apple will demand verification from an inbox you can’t open.
- The Fix: If you are already signed in on a trusted iPhone or Mac, you can update your Apple ID email without accessing the old inbox. The device itself acts as your verification.
2. The Security Pivot
You are moving away from compromised providers. Switching your Apple ID email to Gmail or a secure Outlook address is standard operational security (OpSec).
3. The Identity Update
You are rebranding. You want a professional Apple Account email that matches your current identity, not who you were ten years ago. This is a safe, cosmetic change that preserves your entire purchase history.
Before You Update Apple ID Email: The Pre-Flight Check
Don’t rush this. A botched update can trigger a lockout. Execute these four prep steps first:
- Use a Trusted Device: Perform this update on the iPhone or Mac you use daily. This signals to Apple’s fraud detection that it is actually you making the change.
- Verify the New Inbox: Ensure you have immediate access to the new email address. You will have a 60-second window to grab a verification code.
- Run a Backup: While data loss is extremely rare during an email swap, we never work on core account settings without a fresh iCloud backup.
- The “Logout” Protocol: For the cleanest transition, sign out of your peripheral devices (iPads, secondary Macs) before starting. It prevents “login loops” later.
How to Change Apple ID Email on iPhone (The Primary Method)
This is the most direct route.
- Open Settings on your iPhone.
- Tap your Name banner at the top.
- Select Sign-In & Security.
- Tap Edit next to “Email & Phone Numbers”.
- Tap the red minus (-) button next to your current email to remove it.
- Tap Choose Another Email when the prompt appears.
- Enter your device passcode if prompted.
- Type the new email address you intend to use.
- Check the new inbox immediately. Apple will send a numeric code.
- Enter that code on your iPhone to finalize the handshake.
Your Apple ID is now updated.
How to Change Apple ID Email on Computer (The Web Method)
If you prefer a desktop interface:
- Navigate to appleid.apple.com and log in.
- Click Sign-In & Security in the sidebar.
- Select Email & Phone Numbers.
- Remove the old address using the minus icon.
- Enter your new email address.
- Input the verification code sent to that new address.
System Check: Your mobile devices may prompt you to re-authenticate. This is standard behavior. Enter the new email and your existing password.
What Happens When You Change Apple ID Email?
Let’s verify the outcome.
When you change your Apple ID email, the backend UUID (Universally Unique Identifier) of your account remains unchanged.
- Photos: Still in iCloud.
- Apps: Still purchased.
- Subscriptions: Still active.
You are simply changing the label on the account.
Warning: The iCloud Domain Trap
Be aware of this constraint: If you switch your Apple ID to an @icloud.com address, it is often a one-way trip. Apple generally prevents users from reverting to a third-party email (like Gmail) once an account has been converted to an Apple domain. Ensure you are committed to the ecosystem before making that specific switch.
Troubleshooting: Apple ID Email Change Errors
If the process fails, it is usually one of two errors:
“Email already in use” This is a database conflict. The email you want to use is likely attached to another Apple ID—perhaps as a forgotten “Rescue Email” or on a partner’s account. You must log into that secondary account and release the email before it can be claimed here.
“Edit button is greyed out” This is a restrictions issue. Check your Screen Time settings. If “Content & Privacy Restrictions” are active, Apple locks account changes. Disable Screen Time temporarily to proceed.
Frequently Asked Questions About Changing Apple ID Email
Can I switch my Apple ID to a Gmail account?
Yes. You can use any valid email provider—Gmail, Outlook, Yahoo, or custom domains.
Do I lose my app subscriptions?
No. Subscriptions are linked to the account ID, not the email text string.
Do I need to sign out before changing my Apple ID email?
It is recommended, not mandatory. Signing out of secondary devices prevents sync errors, but your primary device handles the transition seamlessly.
Final Thoughts
Changing your digital identity shouldn’t be a source of anxiety. It is a standard administrative task.
As long as you understand that you are updating a single account rather than trying to merge two, the risk is non-existent.
Follow the protocol. Verify the code. Secure your account.
Official Apple Resources for Changing Apple ID Email
Change Your Apple Account Primary Email Address: This is Apple’s official step-by-step guide explaining how to update the primary email used to sign in to your Apple Account. It covers iPhone, iPad, and web methods, along with important notes about iCloud email restrictions and verification.
Apple Account (Apple ID) Support Hub: This is Apple’s central support page for everything related to Apple ID or Apple Account management. Readers can find help for updating login details, security settings, verification codes, and account access issues.
About Your Apple Account Email Addresses: This page explains how Apple handles primary, notification, and rescue email addresses. It also clarifies verification rules and email eligibility requirements.
Account Recovery and Password Reset: If someone needs to reset access before updating their Apple ID email, this official resource explains Apple’s recovery process and what to expect.
Sign In & Manage Your Apple Account on iPhone: This guide explains how to navigate the Sign-In & Security section on iPhone, where users can edit their email and phone numbers.
Visit Our Post Page: Blog Page