
Do you want to rename your Windows system? Learn how to change your username in Windows 11 easily with our step-by-step guide. Discover 3 effective methods for both local and Microsoft accounts, plus tips to ensure a smooth update without affecting your files or settings.
Personalizing your computer can make it feel truly yours. One of the simplest ways to do this is by updating your username. Whether your PC came with a generic name like “User” or “Admin”, you inherited it from someone else, or you simply want to correct a typo from setup, changing your username can make your Windows 11 experience more personal and organized.
Let’s walk through the process in a way that’s straightforward and easy to follow.
Can You Change Your Username in Windows 11 Without Admin Rights?
If you’re using a local account, changing your username does require administrative privileges. This ensures that only someone with control over the system can make adjustments that affect login credentials. Without admin rights, the options to rename your account won’t appear, and any attempt to modify them will be blocked.
How Microsoft Account Changes Work Without Admin Rights
On the other hand, if your account is linked to Microsoft, you can update your display name online. Since the change happens through the Microsoft account portal, you don’t need administrative access on your PC to make it happen. This distinction is helpful if you don’t have full control over the device but still want your name to appear correctly across Microsoft services.
What’s the Difference Between Your Local and Microsoft Account Usernames?
Understanding the type of account you’re using is key to picking the right method.
Local Accounts and Their Limitations
A local account is confined to your device. Its name appears on the login screen, in the Start menu, and in some folder paths. You can change it freely within character limits (up to 20 characters), and the change only affects that PC.
Microsoft Accounts and Cloud Synchronization
A Microsoft account, however, is tied to cloud services. Your name will appear not just on the PC but also across Outlook, OneDrive, and other Microsoft services. The first and last names for these accounts can be up to 64 characters. When you update this name, it synchronizes across devices, ensuring a consistent identity wherever your account is used.
Knowing which account you’re using prevents confusion and ensures you follow the right steps without unnecessary trial and error.
How Can You Change Your Username in Windows 11?
Windows 11 gives you several options, depending on your account type, and it’s important to pick the right method so your changes are applied smoothly.
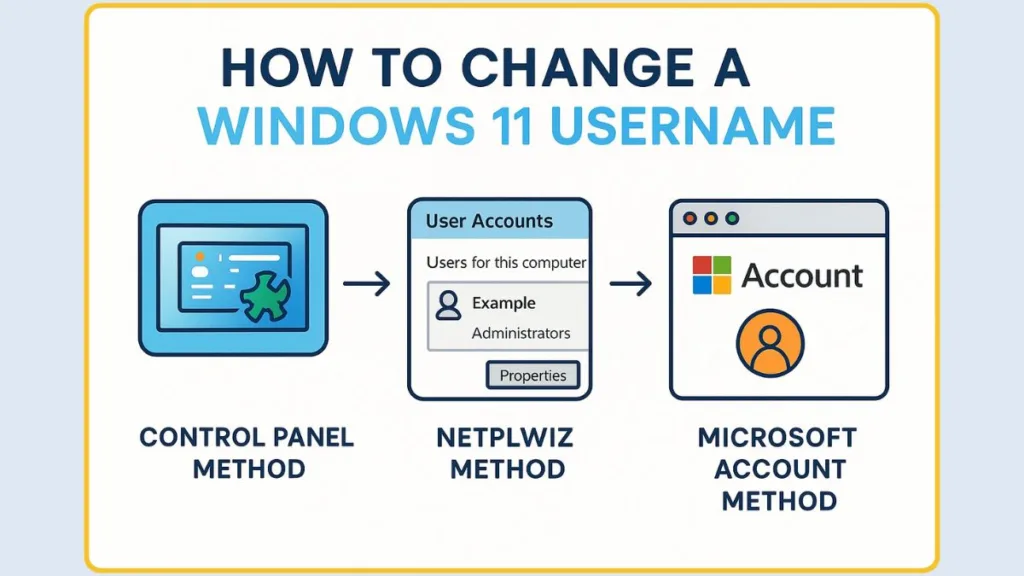
Here’s a detailed guide with extra context and tips for each method.
Rename Your Local Account Quickly Using Control Panel
For local accounts, the Control Panel method is the most straightforward and reliable way to change your username.
Step-by-Step:
- Open the Control Panel from the Start menu by typing “Control Panel” in the search bar and pressing Enter.
- Navigate to User Accounts > select User Accounts again.
- Click on “Change your account name”.
- Enter the new name you want and click Change Name.
- Restart your PC to ensure the change is applied across the system.
Using the Control Panel method ensures your new name appears consistently on the login screen, Start menu, and in the user folder paths.
If you have multiple local accounts, it’s important to select the correct profile to avoid renaming the wrong one.
Restarting your PC is a crucial step because, without it, some system apps or menus might continue displaying the old username temporarily. This method is also reliable for ensuring system-wide changes without needing to access advanced tools.
Manage Multiple Accounts Efficiently with Netplwiz
The netplwiz method offers a slightly more advanced way to adjust your username and can be helpful if you manage multiple accounts.
Step-by-Step:
- Press Windows + R to open the Run dialog.
- Type
netplwizand press Enter. - Select the user profile you want to rename and click Properties.
- Enter the new username in the text box and confirm.
- Restart your computer to see the change reflected across the system.
The netplwiz method allows quick access to account properties without navigating multiple menus, which can save time for users with several profiles.
It also provides the option to change the account type, such as promoting a standard user to an administrator, making it a versatile tool for managing accounts.
Restarting ensures the new username is properly applied across all areas of the system.
Update Your Microsoft Account Name Seamlessly Online
If your Windows 11 account is linked to Microsoft, the process is slightly different since changes happen online.
Step-by-Step:
- Open the Settings app (gear icon in the Start menu or search for “Settings”).
- Click Accounts > go to Your Info.
- Select “Manage my account” to open the Microsoft account portal in your web browser.
- Sign in if prompted.
- Click “Edit name” on the Your Info tab.
- Enter your first and last name as you want them to appear and click Save.
When you update your Microsoft account name online, the change automatically syncs across all devices using that account, including Windows PCs, Outlook, OneDrive, and Teams.
You can also update your profile picture and other personal information at the same time, ensuring a consistent identity across Microsoft services.
Keep in mind that Microsoft account names have a 64-character limit for first and last names, so plan your new name accordingly. This method ensures a seamless and synchronized update without affecting your local PC files.
Practical Tips to Ensure a Smooth Username Change Across Devices
If you want to preview your username on the login screen or in system apps, consider creating a temporary secondary account first to see how it appears.
Avoid using special characters or overly long names for local accounts, as these might cause issues in certain system folders or older applications.
If you’re switching from a local account to a Microsoft account, make the Microsoft name change online first, then link the account to your PC.
By following these methods carefully, you can ensure that your username change is reflected consistently across Windows 11, your login screen, and any connected Microsoft services, without impacting your files or applications.
What’s the Easiest Way to Change Your Local Account Name in Windows 11?
If you’re looking for simplicity, the Control Panel method is the most direct approach.
Step-by-Step:
- Open Control Panel > User Accounts > Change your account name.
- Type in the new name and hit Change Name.
- Restart your computer to apply the change fully.
Restarting is a small step that makes a noticeable difference, ensuring that your new username is displayed correctly on the login screen, in folder paths, and throughout the system.
Will Changing Your Username Affect Your Files?
You can relax—updating your username won’t delete or move any of your files or installed applications. The change only affects how your account is displayed on your PC and linked services.
The only areas to double-check are linked Microsoft services or shared accounts. If other devices or services use your Microsoft account, make sure any personal references to your old name are updated, although these cases are rare.
Best Practices for a Smooth Username Update
Choose a lasting name: Pick something you’ll be happy with long-term to avoid repetitive changes.
Backup important files: It’s a small precaution that can save time and stress.
Update linked accounts: If using a Microsoft account, review connected services so your new name reflects consistently.
Check admin privileges: For local accounts, ensure you have full access before attempting any changes.
Verify folder names if needed: Sometimes your user folder in File Explorer will still display the old name. While it usually doesn’t affect functionality, you can rename it if you want complete consistency.
Update shared devices and apps: If you’re on a network or use shared apps, ensure the new username is recognized where needed.
Inform other users if necessary: On shared computers, letting other users know about your username change can prevent confusion.
Take note of login credentials: Make sure your new username is correctly reflected on any login prompts to avoid temporary access issues.
Allow some time for changes to sync: For Microsoft accounts, updates may take a few minutes to appear across all devices and services.
Keep track of changes for troubleshooting: If you experience any issues after renaming, noting the steps you took can help resolve problems quickly.
This expanded set of tips ensures a smoother transition and helps prevent minor issues that can arise after updating your Windows 11 username.
Frequently Asked Questions About Changing Your Username
Can I revert my username?
Yes. You can repeat the same steps to return to your old name whenever needed.
What are the character limits?
Local usernames: 20 characters. Microsoft account names: 64 characters for first and last names.
How often can I change my Microsoft account username?
While display names can be updated freely, the primary alias linked to your account can only be changed twice a week.
Conclusion: Personalize Your Windows 11 Experience
Changing your username in Windows 11 is simple, safe, and a great way to personalize your computer or fix any errors from initial setup. With clear steps for both local and Microsoft accounts, you can make the update quickly and confidently.
Once you’ve updated your name, consider exploring other personalization features—like profile pictures and themes—to make your Windows 11 experience uniquely yours.
By taking a few minutes to adjust your username, you not only make your PC more personal but also ensure it accurately reflects your identity across devices and services.
Visit Our Post Page: Blog Page