
Is your GitHub Copilot active? Learn how to check your GitHub Copilot license, confirm subscription status, and fix the “no subscription found” error.
If you’re asking yourself “is my GitHub Copilot active?” or you suddenly see errors like “No subscription found” inside your editor, you’re not alone.
As a developer, you rely on Copilot to stay productive, so when it stops working, it’s frustrating. The reason this happens so often is that your GitHub Copilot license status depends on multiple layers: your GitHub account, your IDE authentication, and sometimes your organization’s license settings.
This guide walks you through how to check your GitHub Copilot license, confirm your subscription status, and verify access across personal accounts, VS Code, Visual Studio 2022, IntelliJ, and organization setups. You’ll also find out why Copilot suddenly stops working and how to fix the most common errors.
What Is a GitHub Copilot License?
Your GitHub Copilot license is the key that unlocks AI features in supported editors. Even if you have the Copilot extension installed, it won’t work unless your license is valid and your account is properly authenticated.
Copilot relies on an authentication token linked to your GitHub account, which gets checked every time your IDE requests suggestions.
Licenses can be tied directly to your personal account or assigned through an organization. This explains why Copilot might work on one machine or editor but fail on another if the license context changes.
Types of GitHub Copilot Plans
GitHub currently offers multiple Copilot plans.
- Copilot Free provides limited access and is often available if you are a verified student or eligible user.
- Copilot Pro is an individual paid plan that includes a monthly quota.
- Copilot Business is designed for teams, where admins manage copilot seat assignment.
- Copilot Enterprise adds enterprise-grade controls, reporting, and enterprise license usage visibility.
Each plan handles authorized users, renewal date, and usage limits differently. You need to understand which plan you’re on when you check GitHub Copilot status.
How to Check GitHub Copilot License from GitHub Account Settings
The most reliable way to check your GitHub Copilot license for a personal account is directly from GitHub’s billing area.
Step 1: Open GitHub Billing Settings
Start by signing in to your GitHub account in a browser. Open Settings, then navigate to Billing & plans, and access Subscriptions or Billing & Licensing. This section allows you to manage subscription, review your payment method, and confirm your renewal date.
For the quickest access, use this direct link to jump straight to the relevant page at https://github.com/settings/copilot.
To navigate there manually, click your profile photo in the top right corner, select Settings, choose Billing and plans from the left sidebar, and finally click on Plans and usage. Once you are on this page, look for the “GitHub Copilot” section in the main view to find your details.
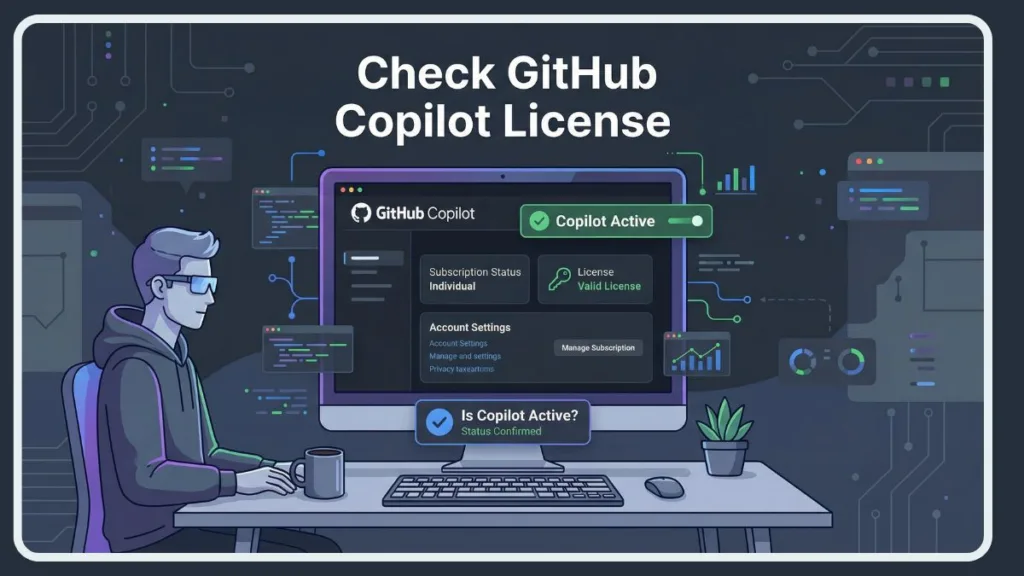
Here, you can clearly see whether Copilot Pro or another Copilot plan is active under your account.
Step 2: Check GitHub Copilot Subscription Status
Inside the subscriptions list, look for Copilot. This confirms your GitHub Copilot subscription status, whether the plan is active or expired, and whether Copilot Free access (such as student eligibility) is applied.
You can perform a quick visual check by looking for the plan status next to the plan name. An active license will clearly display a green “Active” status.
Conversely, if there is a billing issue or your payment has failed, you might see a warning banner or a status label marked as “Past Due”.
Keep in mind that GitHub currently does not show detailed usage metrics for Copilot personal plans. You can verify status, but you won’t see precise remaining quota information.
How to Check GitHub Copilot Status in VS Code
If Copilot issues appear while coding, VS Code is usually where you notice them first.
Check Copilot Status from the VS Code UI
Open VS Code and look at the Copilot icon in the bottom-right corner of the status bar. When you hover over it, you’ll see whether Copilot is enabled, paused, or unavailable.
This is the quickest method to check GitHub Copilot status in VS Code directly from the interface.
The icon serves as a detailed status indicator. A solid Copilot icon means the service is active and ready for use. If you see an icon with a slash through it, Copilot is either globally disabled or disabled for the current file type, and you can click the icon to re-enable it.
A spinning circle indicates that Copilot is currently attempting to reconnect or generate a suggestion.
Verify Copilot Authentication in VS Code
When Copilot is installed but not responding, authentication is often the problem. Open the Output Panel, select GitHub Copilot, and review the extension logs.
Errors related to telemetry or authentication tokens usually indicate that your GitHub session has expired. Messages such as “Copilot verify credentials error” mean you need to re-authenticate.
To perform a step-by-step log check, begin by opening the Output Panel using the shortcut Ctrl + Shift + U on Windows/Linux or Cmd + Shift + U on Mac.
Next, locate the dropdown menu at the top right of the panel and select “GitHub Copilot” from the list of channels. Finally, analyze the logs by looking for lines starting with [INFO] [auth].
If you spot an error message like [ERROR] [default] ... Invalid token, it confirms that your session has timed out.
How to Check GitHub Copilot License in Visual Studio 2022
In Visual Studio 2022, Copilot licensing issues can look different than in VS Code.
Open Visual Studio 2022, go to Extensions, and select GitHub Copilot. Confirm that you’re signed in with the correct GitHub account, especially if you use both personal and work accounts.
If Copilot is installed but inactive, review the output panel and ensure the license matches the signed-in account. This process resolves many check GitHub Copilot license Visual Studio 2022 issues related to account mismatches.
To verify your account settings, navigate to the File menu and select Account Settings. Under the “All Accounts” section, ensure that the GitHub account holding the license is listed.
If you see a yellow warning message asking you to “Re-enter credentials,” click it immediately to refresh the token and restore access.
GitHub Copilot Status Check in IntelliJ / JetBrains IDEs
To perform a GitHub Copilot status check in IntelliJ, open IDE settings and navigate to the GitHub Copilot section. Verify that Copilot is enabled, the correct GitHub account is connected, and the authentication token is still valid.
The exact menu path varies slightly by operating system. On Windows or Linux, go to File, then Settings, select Languages & Frameworks, and click on GitHub Copilot.
On a Mac, click IntelliJ IDEA in the top left corner, open Settings, select Languages & Frameworks, and choose GitHub Copilot.
Once in the menu, ensure the “Authentication” status explicitly says “Signed in as [username]” to confirm the connection is active.
JetBrains IDEs are especially sensitive to expired tokens, which is why Copilot may suddenly stop working even when your subscription is active.
GitHub Copilot License Verification via Command Line
Many developers search for a GitHub Copilot license verification command line option. Currently, no CLI command exists that directly checks Copilot license status. Command-line tools can only confirm GitHub authentication, not Copilot entitlement.
CLI checks are useful for debugging login issues, but they cannot replace checking GitHub billing settings or organization seat assignments.
While you cannot check the license specifically, you can verify your connection to GitHub by running the command gh auth status.
If this command returns the message “Logged in to github.com as [username]”, your network connection and basic authentication are working, which effectively rules out internet connectivity issues.
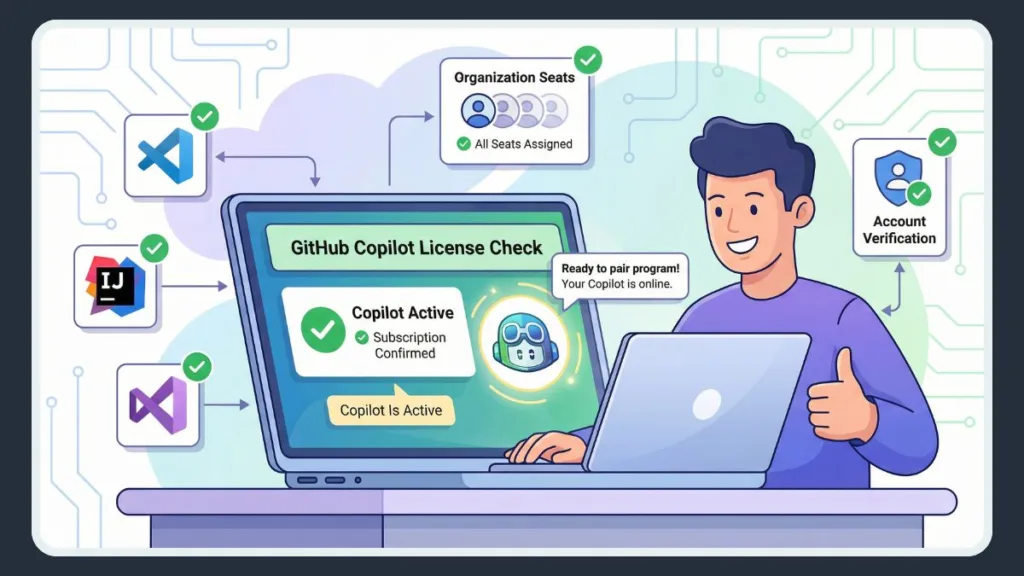
How to Check If GitHub Copilot Is Enabled for Organization
If you use Copilot through work, the license is usually managed by your organization.
For Organization Members
If you’re wondering “How do I check if my organization has enabled Copilot for me?”, start by confirming that a Copilot seat has been assigned to your account. You should also verify that you’re logged into the correct organization-linked GitHub account inside your IDE.
For a quick check, visit your organization’s settings page if you have access, or check your email for a “Welcome to GitHub Copilot” invitation subject line, which confirms a seat assignment.
For Organization Admins
Admins can view assigned seats GitHub Copilot, monitor check Copilot usage organization-wide, manage copilot seat assignment, and review enterprise license usage. If a seat is removed, Copilot will immediately show as inactive for that user.
To access the admin dashboard, go to your Organization page and click on Settings. From the sidebar, select Code Planning and then choose Copilot.
Finally, click on Access management to view a complete list of all users who currently hold active seats.
Why Does GitHub Copilot Say “No Subscription Found”?
Seeing the “GitHub Copilot no subscription found” error is one of the most common hurdles developers face.
Common Causes
This error may occur when Copilot cannot find a subscription to reactivate, when credentials fail verification, when an organization seat is removed, or when a subscription expires due to billing issues.
You might see Error: 401 Unauthorized in your logs, which specifically points to an invalid or expired token rather than a missing license.
Fixes That Work
In most cases, re-authenticating your GitHub account inside the IDE fixes the problem. Organization users should confirm seat assignment, while personal users should review billing status and renewal dates.
Restarting the IDE after re-login helps refresh authentication tokens.
GitHub Copilot Subscription Expired? Here’s How to Fix It
If your GitHub Copilot subscription expired, update your payment method and renew Copilot Pro from GitHub billing settings. If you’re using Copilot through an organization, ask an admin to reassign a seat.
After renewal, sign out and back into your GitHub account in the IDE to ensure the license is recognized.
Why Did GitHub Copilot Suddenly Stop Working?
When GitHub Copilot suddenly stopped working, it’s usually due to token expiration, IDE updates, monthly quota limits, organization policy changes, or blocked network access affecting telemetry.
Checking logs and re-authenticating resolves most of these problems quickly.
Frequently Asked Questions
How do I know if I have GitHub Copilot access?
You can confirm access by checking GitHub billing settings for personal plans or by verifying copilot seat assignment in your organization.
Where can I see my GitHub Copilot expiration date?
Your expiration or renewal date appears under GitHub billing settings > subscriptions.
Why does my GitHub Copilot say “No subscription found”?
This usually means your license expired, your organization seat was removed, or your authentication token is no longer valid.
How do I check if my organization has enabled Copilot for me?
Ask your admin to confirm seat assignment under Copilot licenses.
Is GitHub Copilot included in GitHub Enterprise?
Copilot is only available in GitHub Enterprise when the organization enables it and assigns seats.
Final Checklist: Verify GitHub Copilot License in 2 Minutes
You should start by checking GitHub billing settings to confirm your subscription. Next, confirm which Copilot plan you’re using—Copilot Pro, Copilot Business, or Copilot Enterprise.
Then verify your IDE authentication token and confirm organization seat assignment if applicable. Finally, restart your editor so all changes take effect.
Conclusion
Knowing how to check GitHub Copilot license status helps you avoid hours of lost productivity. Whether you’re managing a personal subscription or using Copilot through an enterprise setup, always verify your subscription, authentication, and seat assignment directly in GitHub before diving into deeper IDE troubleshooting.
Visit Our Post Page: Blog Page