
Tired of typing the same email addresses every time? Learn how to create an email group in Outlook 365 (2026) for Desktop, Web, and Mac to send messages instantly.
If you regularly email the same team, project members, or clients, typing individual email addresses every time is slow, repetitive, and error-prone. You might find yourself searching through your Global Address List – GAL or manually copy-pasting addresses from Excel, hoping you didn’t miss anyone. Outlook 365 solves this with email groups – often called distribution lists – a simple way to send one email to many people instantly.
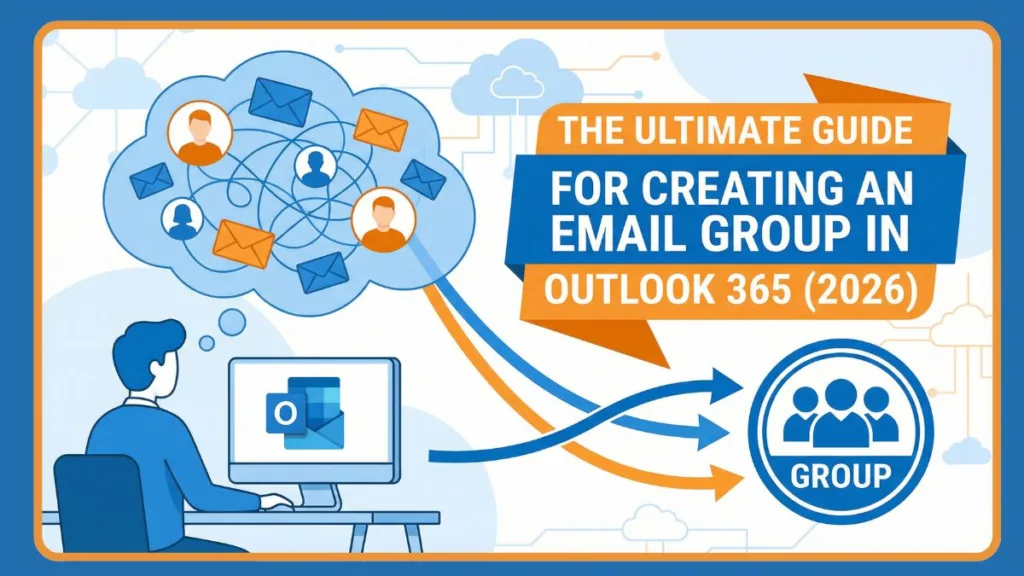
This guide walks you through exactly how to create an email group in Outlook 365, explains the critical differences between group types like Contact Groups and Microsoft 365 Groups, and shows you how to manage, edit, and use your group efficiently – so your communication stays fast and organized.
Why Creating an Email Group in Outlook 365 Makes Communication Easier
When your work involves frequent updates, follow-ups, or announcements, emailing contacts one by one quickly becomes frustrating. An email group helps you streamline this process by allowing you to send a single message to everyone at once. Instead of manually entering multiple addresses each time, you can rely on one saved group name to reach your entire team.
Pro Tip: “Using a saved email group doesn’t just save time; it ensures consistency. You never have to worry about accidentally leaving a stakeholder off an important update thread.”
Using an email group also reduces the risk of forgetting recipients or accidentally emailing the wrong person. It keeps communication consistent across projects or clients and saves time on a daily basis without requiring you to change how you normally use Outlook. Whether you are trying to organize project contacts or just want to send a newsletter to employees, mastering this feature is a high-value skill for anyone using the Microsoft ecosystem.
What Is an Email Group in Outlook 365?
An email group, also known as a contact group or distribution list, is a saved collection of email addresses stored under one group name. When you send an email to that group name, Outlook automatically delivers the message to every person included in the group.
Think of it as a shortcut alias. Instead of typing 20 separate email addresses, you simply type “Marketing Team,” and Outlook’s Auto-Complete list handles the rest. This feature is integrated directly into the People pane and works seamlessly with your existing Outlook contacts.
Email Group vs. Microsoft 365 Group: Important Difference
One of the most common points of confusion for users is the difference between a standard personal contact group and the more complex Microsoft 365 Group.
Many users confuse contact groups with Microsoft 365 Groups, but they serve different purposes. A contact group or distribution list is designed specifically for sending emails to multiple people quickly. It works like a saved address list and does not include shared inboxes, files, or calendars. This makes it ideal for emailing teams, clients, or project stakeholders without added complexity.
A Microsoft 365 Group, on the other hand, is built for collaboration. It includes a shared inbox, calendar, SharePoint file storage, and it requires ongoing group management and permissions – often managed via the Office 365 admin center.
Fact: “If your main goal is fast and simple emailing rather than setting up a complex collaborative workspace with shared files, a Contact Group is the better choice.”
When to Use Which?
- Use a Contact Group – Distribution List – when: You are a project manager or assistant who needs to blast updates to a static list of vendors, clients, or internal staff. You just want the email to land in their personal inboxes.
- Use a Microsoft 365 Group when: You need a shared calendar, a space to store documents, and a dedicated “Team” inside Microsoft Teams.
How to Create an Email Group in Outlook 365: Desktop App Windows
This method offers the most complete set of features and is the most reliable way to create and manage email groups. The desktop application provides deep integration with the Global Address List – GAL and allows for granular control over Outlook contact cards.
Step-by-Step Instructions
1. Navigate to the People Pane: Start by opening Outlook 365 on your computer. From the main Outlook window, you need to access your contacts. Look for the Navigation bar – usually on the left side or bottom left, depending on your version. Click the People icon – it looks like two silhouette figures.
2. Initiate the Group Creation: Once you are in the People section, look at the top ribbon menu under the “Home” tab. Select New Contact Group.
Note: “If the ‘New Contact Group’ button is greyed out, it may be due to a restriction in your cached exchange mode or a policy set by your IT administrator. Check the troubleshooting section below for fixes.”
3. Name Your Group: Next, a new window will pop up. In the “Name” field, enter a clear and recognizable Group Name, such as “Marketing Team,” “Q3 Project Updates,” or “Client Updates.” Be specific – if you just name it “Team,” you might confuse it with other teams later.
4. Add Members to Outlook Contact Group: After naming the group, click Add Members in the ribbon. You will see three distinct options to source your contacts:
From Outlook Contacts: This pulls from the personal contacts you have manually saved.
From Address Book: This opens your organization’s Global Address List – GAL. This is best for adding internal colleagues.
New E-mail Contact: This allows you to manually type in an email address for someone not currently in your contacts – e.g., a new vendor.
5. Finalize and Save: Add all the email addresses you want included in the group. You can double-click names from the list to add them to the “Members” field at the bottom. Once you are satisfied with the list, click OK, and then click Save & Close in the top left corner of the group window.
Your email group is now created and ready to use. It will appear in your contacts list alphabetically under the name you assigned.
How to Create an Email Group in Outlook 365: Web Version
Many users operate entirely within the browser via Outlook on the Web – OWA. While the desktop app refers to them as “Contact Groups,” the web version often refers to this feature as a “Contact List.”
Outlook on the web supports contact groups, but the features may be more limited depending on your account. The interface is cleaner but hides some advanced functionality found in the desktop version.
Creating a Contact List in Outlook Web App
- Access the People App: To create a group, go to Outlook on the web – https://www.google.com/search?q=outlook.office.com – and click the People icon in the left-hand vertical rail.
- Locate the Dropdown: Click the arrow next to the blue “New Contact” button.
- Select New Contact List: From the dropdown menu, select New Contact List.
- Enter Details: A pop-up window will appear. Give your list a name – e.g., “Remote Team”.
- Add Email Addresses: Start typing the names or email addresses of the people you want to add. Outlook will search your directory as you type.
- Description – Optional: You can add a description if you want to remind yourself who this group is for.
- Save: Click Create or Save to finish.
If you do not see this option, it is recommended to use the Outlook desktop app, which provides full contact group functionality, or check if you are trying to create a list inside a synced folder – like LinkedIn contacts – which may not support new lists.
How to Create an Email Group in Outlook 365 on Mac
Mac users often face a different interface than Windows users. Fortunately, Mac users can also create email groups directly within Outlook, though the steps vary slightly depending on whether you are using the “New Outlook for Mac” or the “Legacy Outlook.”
Steps for Outlook for Mac
- Open Outlook for Mac and navigate to the People section – contacts view – at the bottom left.
- Look at the ribbon at the top. Choose New Contact List. – Note: In some versions, this might be under File > New > Contact List.
- Enter a group name in the title field.
- Click the
+– plus – button or “Add Member” to add people. You can search your directory or type new emails manually. - Once added, the list functions the same way as it does on Windows, allowing you to email multiple contacts at once using the group name.
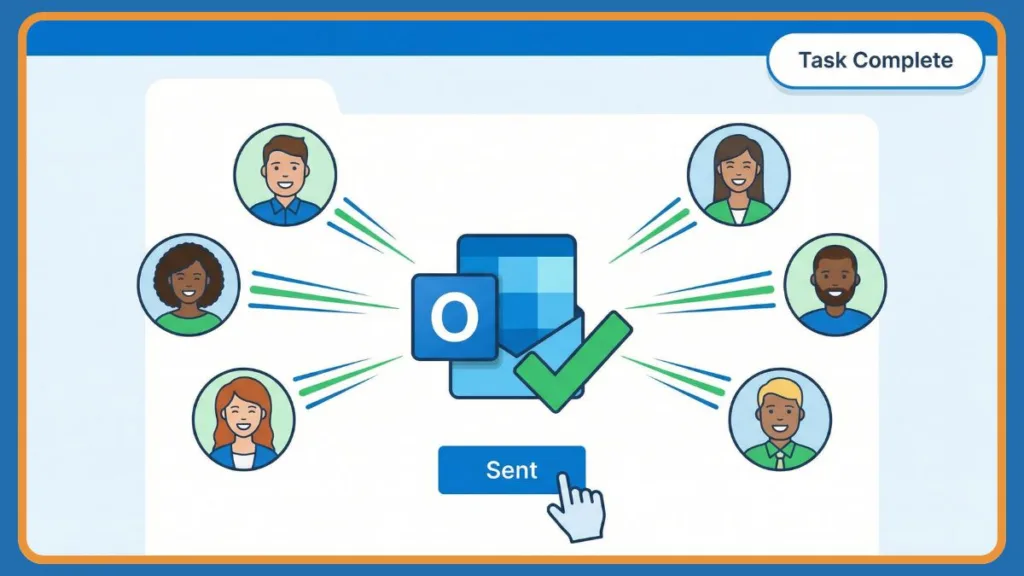
How to Send an Email Using an Email Group in Outlook 365
Once your email group is created, sending an email becomes simple. This is where the efficiency really kicks in.
- Click New Email to open the message compose window.
- Type the group name – e.g., “Marketing Team” – into the To field.
- Outlook should recognize the name and display it. If it doesn’t immediately pop up, click the “Check Names” button or press
Ctrl + K. - Select the group when it appears.
- Write your subject and message, then send it. Outlook will automatically deliver the email to everyone included in the group.
Using Bcc for Privacy – Crucial Step
When emailing a group of people who don’t know each other – like a list of independent clients or diverse vendors – privacy is critical.
Privacy Warning: “If you put the group name in the ‘To’ field, every recipient can see the email address of every other recipient. This can lead to privacy complaints or accidental ‘Reply All’ storms.”
To prevent this, use the Blind Carbon Copy – Bcc field:
- Compose your new email.
- If you don’t see the Bcc field, go to the Options tab and click Bcc.
- Type your Email Group Name in the Bcc field.
- In the To field, put your own email address.
- Send the email.
Each recipient will receive the email as if it were sent only to them, protecting their privacy and preventing them from seeing the rest of the distribution list.
How to Edit an Email Group in Outlook 365
Teams change. People leave companies, and new members join. You can modify an email group at any time to keep it up to date. Managing your group members regularly ensures you don’t send sensitive internal data to someone who has left the organization.
To Add or Remove Members
- Open the People section in Outlook.
- Use the search bar to find your contact group.
- Double-click the group name to open it.
- To Remove: Select the person’s name from the list and click the Remove Member button in the ribbon.
- To Add: Click Add Members and select the source – Outlook Contacts or Address Book – to find the new person.
- Save & Close: Always remember to click save to apply the changes.
This is especially helpful when a new team member joins, a client leaves a project, or your communication list needs reorganization.
How to Update an Email Address Inside a Group
If a member changes their email address, you generally cannot “edit” the line item inside the group directly. You usually have to remove the old entry – with the old email – and add the person again as a new entry with the correct email address.
How to Delete an Email Group in Outlook 365
If an email group is no longer needed – perhaps the project has finished – you can delete it easily to keep your address book clean.
- Go to the People section.
- Select the contact group you want to remove.
- Right-click the group and choose Delete, or simply press the delete key on your keyboard.
Reassurance: “Deleting a group removes only the group wrapper itself. It does not delete the individual contacts from your Outlook or your saved contacts list. The original contact cards remain safe.”
Advanced Tips: Sharing Groups and Importing Contacts
How to Share an Outlook Contact Group
Sometimes a colleague will ask, “Hey, can you send me that list of vendors?” You don’t need to read the emails out loud. You can share the group directly.
- Open a new email.
- Go to your Contacts, find the Group.
- Drag and drop the Group icon into the body of the new email.
- It will attach as an Outlook Item or a vCard. The recipient can drag it into their Contacts folder to save it.
Import Contacts to Outlook Group
If you have a list of emails in Excel, you cannot directly “import” them into a single group in one click. However, you can import them into your Contacts folder first using the Import/Export wizard, and then bulk-add them to a group by selecting multiple names using the Ctrl key – Windows – or Command key – Mac.
Troubleshooting Outlook Contact Group Error
Even with a straightforward feature like this, issues can arise. Here is a troubleshooting guide for the most common user complaints.
Email Group Not Showing in Outlook 365
If your email group is not visible or searchable:
- Check the Profile: Make sure you are signed into the correct Outlook profile.
- Check the View: Ensure you are looking in the People section rather than the Mail view.
- Cached Mode: Sometimes the Offline Global Address List is out of sync. Go to File > Account Settings > Download Address Book to force an update.
- Restart: Try restarting Outlook after creating the group.
Email Group Not Working
When an email group does not work as expected:
- Validation: Verify that all email addresses in the group are valid. One corrupt email address can sometimes block the sending for the whole group.
- Expansion Failure: If Outlook fails to expand the group – show the plus sign next to the group name in the To field – try removing and re-adding the specific members causing issues.
- Web vs. Desktop: If you created the group in the Desktop app, it might take time to sync to the Web app, and vice versa.
Group Size Limit Issues
Outlook contact groups have practical size limits. While the theoretical limit is quite high – often around 100-120 members depending on file size – large groups become unmanageable and often trigger spam filters.
- The Fix: If you need to email a very large number of people – over 100 – switching to a Microsoft 365 Group or a third-party email marketing tool – like Mailchimp – is a better solution than a local distribution list.
“New Contact Group” Button Greyed Out
This is a frequent “People Also Ask” query. If the button is greyed out:
- You might be trying to create a group inside a Global Address List – which is read-only for users.
- Make sure you have selected your personal “Contacts” folder under “My Contacts” on the left sidebar before trying to create the group.
FAQ About Outlook Distribution Lists and Groups
Here are answers to the most common questions regarding how to create an email group in Outlook 365.
Can I edit an email group after creating it?
Yes. You can add, remove, or rename members at any time by opening the group in the People pane and clicking “Edit.”
Is a contact group the same as a distribution list?
Yes. Outlook uses both terms to describe the same feature. “Contact Group” is the modern term in the interface, while “Distribution List” is often used in IT and admin contexts.
Can I use email groups for clients?
Yes. Many users create separate email groups for teams, projects, and clients. Just remember to use Bcc to protect client privacy.
Do email groups work offline?
Yes, as long as the group is stored locally in your Outlook contacts, you can draft emails to the group while offline. They will send once you reconnect.
How many people can be in an Outlook distribution list?
There is no hard “number” limit, but there is a size limit for the distribution list file – usually around 8 KB. Practically, this means you can add roughly 50-100 contacts before the group becomes unstable or difficult to send.
Why can’t I see the “New Contact Group” option in Outlook for Mac?
In newer versions of Outlook for Mac, the feature is labeled “New Contact List.” If you are in the “New Outlook” toggle mode, some legacy features might be moved or hidden. Check the File > New menu directly.
Can I add a contact group inside another contact group?
Yes, this is called nesting. You can add an existing group as a member of a new group. However, be careful, as nested groups can sometimes cause delivery errors if the nesting is too deep.
How do I share an Outlook email group with another user?
You can forward the contact group as an Outlook Contact item. Open a new email, attach the group – via Insert Item – and send it. The recipient can then save it to their own contacts.
Can I create a group from an Excel file?
Not directly in one step. You must first import the Excel contacts into your Outlook Contacts folder, and then select those contacts to add them to a new Group.
Does a Contact Group have a shared calendar?
No. A Contact Group is strictly a list of email addresses. If you need a shared calendar and file storage, you should create a Microsoft 365 Group instead.
Final Thoughts: The Easiest Way to Email Your Team in Outlook 365
If your goal is to streamline communication, avoid repetitive typing, and send emails faster, creating an email group in Outlook 365 is one of the simplest productivity improvements you can make. It transforms a tedious 10-minute daily chore into a 5-second task.
Whether you are using the Outlook desktop app, the Outlook Web App, or a Mac, the ability to create a contact list ensures that you can focus on the content of your message rather than managing the recipients. Once the group is set up, every future email to your team, project members, or clients becomes quicker, more reliable, and professional.
Start by creating your first group today – perhaps for your immediate team or your most frequent collaborators – and experience the immediate time-saving benefits.
Visit Our Post Page: Blog Page