
Manage or remove an unused Facebook group? Learn the only official way to delete a Facebook group by removing members and leaving the group. Get step-by-step instructions for desktop, Android, and iPhone.
Managing Facebook Groups has become second nature for millions of community leaders around the world. They are fast, convenient, and filled with endless options for connection. But sometimes, cleaning up your digital space matters more than keeping inactive communities alive. Whether your brand direction has changed, engagement has dropped, or you simply wish to remove unused spaces, learning how to delete a group on Facebook can help you maintain control over your account.
In 2026, Facebook has maintained a strict rule—there is no simple “delete” button immediately available if a group still has members. This setup has left countless admins searching for ways to close their groups effectively.
Fortunately, there are still reliable methods and workarounds that let you remove, organize, and archive your Facebook groups. Let’s explore these options in detail and walk through every step to clean up your account today.
Things to Know Before You Delete a Facebook Group
Before you move forward with the deletion process, there are a few important rules and considerations to understand. Deleting a group is permanent, so it’s best to prepare beforehand.
Professional Tip: Before hitting the delete button, use the “Download Your Information“ tool in your Facebook Settings. This allows you to keep a permanent record of group posts, photos, and member lists for your own archives.
Only Group Owners Can Delete a Facebook Group
Not every admin has the authority to remove a group permanently. In most cases, the group creator or primary admin must initiate the deletion process.
- If you are an administrator but not the owner, you may only be able to manage members, moderate discussions, or archive the group.
- If the creator leaves the group and you become the primary admin, then you may gain permission to delete it.
This is why many users searching how to delete a Facebook group as admin discover that they first need ownership rights.
You Must Remove Members Before Deleting
Facebook requires that the group has no remaining members before deletion.
This means you must:
- Remove every member manually.
- Remove any additional admins or moderators.
- Become the last member remaining in the group.
Once you are the only person left, leaving the group will automatically trigger the option to delete the Facebook group permanently.
What Happens When You Delete a Facebook Group
When a group is deleted, the following changes occur:
- All posts, comments, files, and photos are permanently removed.
- Members immediately lose access to the community.
- The group disappears from Facebook search results.
- The group page URL stops working.
Warning: Because this action cannot be undone, it’s always wise to download any important files or discussions before deleting the group.
How to Delete a Group on Facebook You Created (Desktop Method)
If you created the group or manage it as the primary admin, you can remove it using a web browser. The desktop method is the most common way to delete a Facebook group page, especially for groups with many members.
Step 1: Open Facebook Groups You Manage
Log in to your Facebook account and navigate to the Groups section in the left sidebar of your homepage. Inside the groups dashboard, locate the section labeled Groups You Manage. This shows every community where you have administrative privileges. Click on the group you want to delete.
Step 2: Remove Members from the Facebook Group
Once inside the group, open the Members tab. Here you will see a list of all participants, including moderators and admins. Next to each member’s name, click the three-dot menu and select Remove Member.
2026 Shortcut: In the latest interface, you can often select “Ban from Group” instead of just “Remove.” This prevents the member from seeing the group or trying to rejoin while you are in the middle of the deletion process.
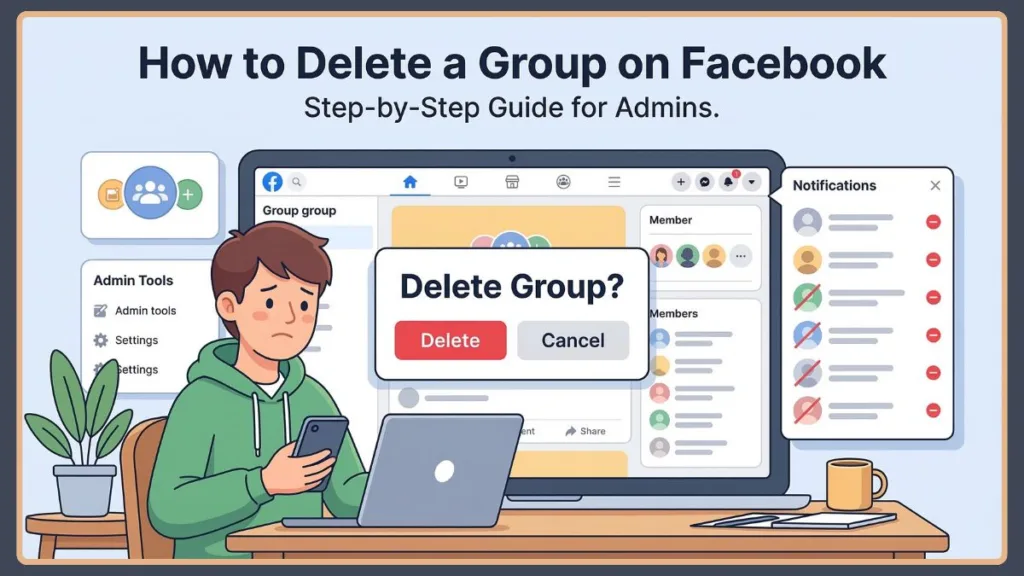
Step 3: Leave the Group to Delete It
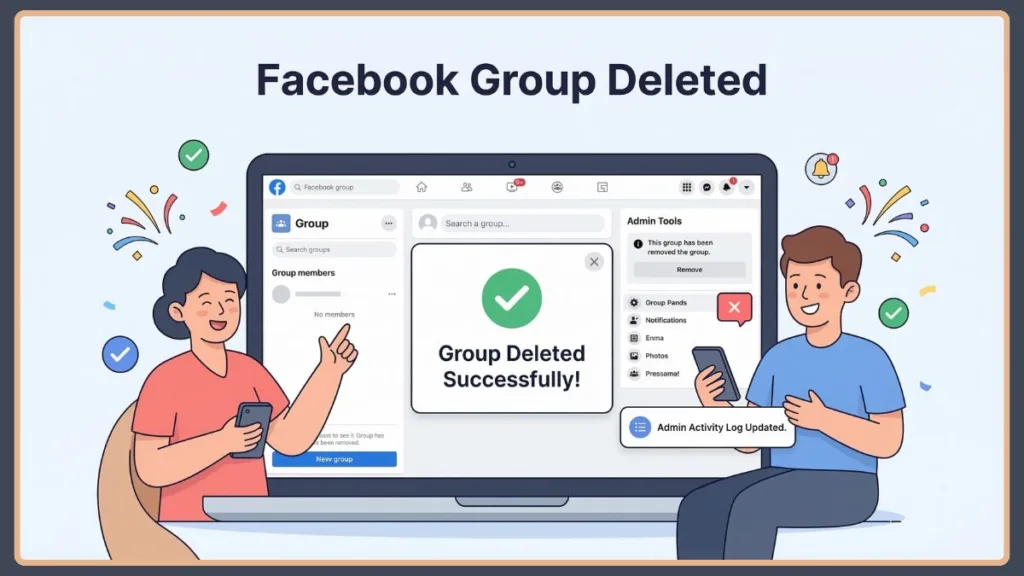
When you become the final member remaining in the group, a new option will appear. Instead of the usual Leave Group button, Facebook displays Delete Group. Click the button and confirm the action. At that moment, the system will remove the group from Facebook permanently, including all content associated with it.
How to Delete a Facebook Group on Mobile
Many users manage their communities directly from their phones. Fortunately, Facebook allows you to delete a group on Facebook mobile using the official app. The overall process remains similar: remove members first, then delete the group.
How to Delete a Facebook Group on Android
- Open the Facebook app.
- Tap the Menu icon (three horizontal lines).
- Select Groups > Your Groups and find the group you manage.
- Open the group and tap the group name or the Shield icon (Admin Tools).
- Select People or Members and remove each member individually.
- Once you are the only one left, tap Manage (the gear icon) and choose Delete Group.
How to Delete a Facebook Group on iPhone
- Open the Facebook app and tap the Menu icon.
- Go to Groups > Your Groups and select the group you created.
- Open the member list by tapping the group name.
- Remove every member by tapping their name and selecting Remove from Group.
- Tap the Admin Tools (Shield icon) > Delete Group.
How to Delete a Facebook Group on Messenger
Some users assume that deleting a group chat in Messenger will remove the Facebook group itself. However, the two features are different.
Important Distinction: A Facebook Messenger group is simply a chat thread. Deleting the group chat only removes the conversation, not the actual community page. To delete a group on Facebook Messenger, you must leave the chat, but the main group will still exist until an admin follows the steps above.
How to Close or Archive a Facebook Group Instead of Deleting It
Sometimes deleting a group is unnecessary. If you simply want to pause activity or stop new members from joining, archiving may be the better option.
How to Archive a Facebook Group
Archiving a group prevents new activity while keeping all previous posts intact. To archive a group, open the group settings, click the three-dot menu under the cover photo, and select Archive Group.
Pausing Your Group: The 60-Day Alternative
If you aren’t ready to archive or delete, you can Pause the group.
Note: In 2026, the Pause feature allows you to temporarily halt a group for up to 60 days. It makes the group “read-only,” giving admins a break while keeping the community searchable.
Can You Delete a Facebook Group Without Removing All Members?
A common question from administrators is whether it’s possible to delete a group without manually removing members. Unfortunately, Facebook does not currently allow this through official channels.
- Bulk Removal Tools: Some admins use browser extensions like “Group Member Remover” or custom JavaScript scripts (e.g., facebook-delete-all-members.js) to automate this.
- Caution: Use third-party tools with extreme care, as they can lead to account flags or security risks.
Common Problems When Trying to Delete a Facebook Group
- You Are an Admin but Not the Creator: If you aren’t the original owner, the delete button won’t appear. You must ask the creator to Transfer Ownership to you first.
- Members Still Exist: Even one hidden admin or “Expert” in the list will block the deletion.
- Pending Requests: You must decline all pending membership requests before the system recognizes the group as empty.
Frequently Asked Questions (FAQ)
Q: Can you really delete a group on Facebook? Yes. You can permanently delete a group if you are the creator, but you must manually remove all members first. Once deleted, it cannot be restored.
Q: What is the fastest way to remove members? On desktop, you can use the Admin Tools dashboard to sort members by “Newest” or “Oldest” to track your progress. Manual removal remains the only official method.
Q: Can I recover a deleted Facebook group? No. Unlike archiving, which is reversible, deletion is a permanent wipe of the database.
Q: What is the difference between archiving and deleting? Archiving hides the group from search but keeps the data; deleting removes the group and all its data from Facebook forever.
Final Thoughts on Deleting a Facebook Group
Knowing how to delete a group on Facebook gives you full control over communities you manage. Whether your group has become inactive or you simply want to reduce clutter, the process is straightforward once you clear the member list.
Final Checklist: Remove all members -> Remove all admins -> Remove yourself -> Confirm Deletion.
Before taking this final step, consider whether archiving or pausing might be better alternatives for preserving your community’s legacy.
Visit Our Post Page: Blog Page