
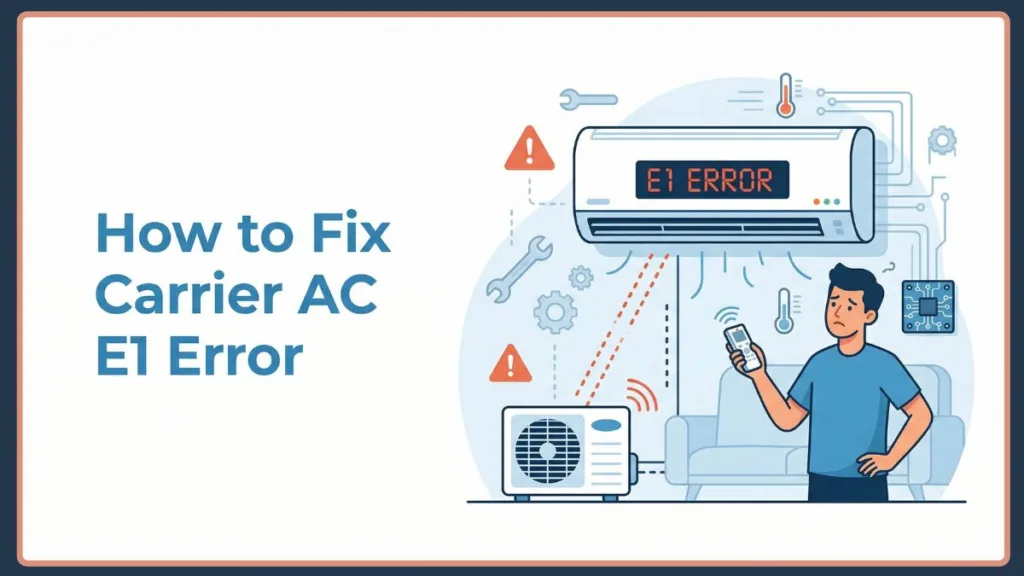
Is your Carrier AC showing an E1 error and not cooling properly? In this blog post, we will tell you how to fix the Carrier AC E1 error quickly and easily.
If your air conditioner suddenly stops cooling or refuses to turn on and shows an E1 error in Carrier AC, you’re not alone. This is one of the most common issues users face with Carrier systems—especially in split and inverter models.
You might notice symptoms like:
- The AC turning on but not cooling
- The indoor unit running while the outdoor unit stays inactive
- Sudden shutdowns after a few minutes
- A blinking indicator along with the Carrier AC E1 error code
The good news? In most cases, this error is fixable without major repairs—especially if you act early.
In this guide, you’ll learn what the Carrier AC E1 error means, why it happens, how the system detects it, and step-by-step solutions to fix it quickly and safely.
What is E1 Error in Carrier AC?
The E1 error in Carrier AC is a system-generated warning that indicates something abnormal within the unit’s internal operation.
In simple terms, E1 means a communication failure between the indoor and outdoor units.
However, there’s also a deeper technical explanation behind this. Carrier air conditioners are equipped with an internal diagnostic system that continuously monitors temperature sensors, airflow readings, voltage signals, and communication signals between components. When these readings fall outside predefined safe limits, become inconsistent, or stop transmitting correctly, the system triggers the Carrier E1 code and may stop operation to protect the unit. This means an E1 error on your Carrier air conditioner isn’t just a random fault—it’s a protective response.
How Carrier AC Detects the E1 Error (System Insight): To better understand the issue, it helps to know how your AC “thinks.” Modern Carrier AC systems rely on sensor circuits (thermistors) to measure temperature, a control board (PCB) to process signals, and communication wiring to link indoor and outdoor units. If any of these fail, the PCB cannot verify correct operation, data becomes unreliable, and the system halts and shows E1 error.
This prevents further damage to critical components like the compressor or capacitor.
Possible reasons for this error include:
- Communication Failure Between Units: This is the most common cause. The indoor and outdoor units communicate through wires and signal protocols. In technical terms, this communication happens via a pulsating DC voltage signal sent across the terminal block. If this communication breaks (signals are not transmitted, commands are not received, the system cannot synchronize operations) this results in a communication failure between the indoor and outdoor unit.
A healthy communication line will typically show a fluctuating DC voltage—often between 0 to 24V or up to 50V depending on your specific Carrier model—when tested. A flat 0V reading confirms a broken connection.
- Sensor or Thermistor Fault: Carrier ACs depend heavily on sensors. If a sensor sends incorrect temperature readings, stops responding, or gets disconnected the control board interprets this as a fault. This is often referred to as a Carrier AC thermistor error or a Carrier control board sensor fault.
- Wiring or Electrical Problems: Electrical issues are another major trigger. Common problems include loose wiring connections, burnt or damaged cables, corroded terminals, and short circuits. Even a small break in wiring can stop signal transmission, triggering an E1 error on your Carrier split AC. Specifically, the signal wire (often labeled ‘S’ or ‘3’) and the neutral wire (labeled ‘N’ or ‘2’) are highly sensitive to electrical noise and resistance drops.
- Control Board (PCB) Malfunction: The PCB is the “brain” of your AC. If it misreads sensor data, has internal circuit damage, or experiences firmware glitches it may trigger an E1 code on your Carrier AC even if other components are working fine.
- Power Fluctuations and Voltage Issues: Sudden voltage changes (power cuts, voltage spikes, inconsistent power supply) can disrupt system behavior. Consequently, these fluctuations can cause temporary or persistent E1 errors.
- Dirty Filters and Airflow Blockage: This might seem unrelated, but it’s important. Blocked airflow affects sensor readings, temperature imbalance occurs, and the system detects abnormal conditions. As a result, restricted airflow can indirectly trigger an indoor unit E1 fault.
- External Interference: Electronic devices nearby (Wi-Fi routers, heavy appliances, magnetic fields) can interfere with signals and disturb communication between units.
- Internal Component Wear and Tear: Over time, components degrade (compressor wear, fan motor issues, expansion valve faults, condenser problems). These hardware issues can affect system performance and eventually lead to E1 errors.
Step-by-Step Solutions for Fixing Carrier AC E1 Error
1. Reset the AC
This is often the quickest fix.
- Turn off the AC.
- Disconnect it from the power supply.
- Wait 5–10 minutes.
- Turn it back on. This allows the system to reset its sensors and clear temporary glitches.
This step alone resolves many Carrier AC E1 troubleshooting cases.
2. Check Indoor–Outdoor Wiring
Inspect the wiring connection thoroughly. Look for:
- Loose connections.
- Frayed or cut wires.
- Burn marks.
- Corrosion. Ensure all wires are properly connected and intact.
3. Clean Filters and Airflow System
Proper airflow is essential.
- Remove and clean filters.
- Check vents for blockage.
- Clean indoor unit grills. Regular cleaning prevents sensor misreading and improves cooling efficiency.
4. Remove Electrical Interference
Move electronic devices away from the AC.
- Keep routers, TVs, and other appliances at a distance.
- Avoid placing magnets or heavy electronics near units.
5. Inspect Sensors & Control Board
If the issue persists:
- Check sensor connections.
- Ensure they are properly seated.
- Look for visible damage. If comfortable:
- Inspect PCB for burnt components.
- Check connectors.
- Use a multimeter to check the terminal block for that fluctuating DC voltage. A steady or zero voltage reading indicates the control board isn’t transmitting properly.
6. Restart and Test the System
After completing all checks:
- Turn the system back on.
- Observe operation.
- Monitor for recurring error.
If the error disappears, the issue is resolved.
7. Perform Advanced Diagnostics (If Needed)
Some Carrier models offer diagnostic modes.
- Run system tests.
- Check error logs.
- Observe startup sequence. This helps identify deeper issues.
Additional Tips: Fix Carrier AC E1 Error Not Working
- How to Reset Carrier AC E1 Error Properly: Follow this detailed reset method: Turn off the AC using the remote, Switch off the main power supply, Turn off the circuit breaker, Wait at least 5 minutes, Turn power back on, and Restart the AC. This ensures a full system reset rather than a partial restart. Some models also include reset buttons or remote-based reset options. Refer to your Carrier AC E1 error manual for model-specific steps.
- Is E1 Error Dangerous for Your AC?: No—but it should not be ignored.
An E1 error is a safety mechanism designed to prevent serious damage. It protects the compressor, electrical circuits, and internal components. However, ignoring it can worsen the issue, and long-term faults may increase repair costs.
- Can You Fix E1 Error Yourself or Call a Technician?: You can fix it yourself if it’s caused by a temporary glitch, filters are dirty, or wiring is slightly loose. Call a technician if the error keeps coming back, the AC shuts down frequently, the PCB or sensors are damaged, or you’re unsure about electrical checks. You can book a technician, visit a Carrier AC service center, or look for a local Carrier AC repair service near you.
- Cost to Fix Carrier AC E1 Error: Costs vary depending on the issue:
- Reset or cleaning → Minimal cost;
- Wiring repair → Moderate;
- Sensor replacement → Medium;
- PCB replacement → Higher.
- Fixing early prevents expensive repairs later.
- Related Carrier AC Error Codes (Quick Comparison): It’s important not to confuse E1 with other codes:
- E1 → Communication or sensor fault;
- E3 → Fan (specifically indoor fan speed out of control) or system protection issue;
- EC → Refrigerant leakage detection;
- F1 → Temperature sensor fault (specifically the outdoor ambient temperature sensor T4).
Always verify the exact code before troubleshooting.
FAQs
What does E1 error mean on Carrier AC? It indicates a communication or sensor-related issue between indoor and outdoor units.
How do I reset E1 on my air conditioner? Turn off power, wait 5–10 minutes, and restart the system.
Is E1 error dangerous for my AC? No, it’s a protective feature—but should be addressed quickly.
How much does it cost to fix Carrier E1 error? It depends on the issue, ranging from simple fixes to PCB replacement.
Can I fix E1 error myself or do I need a technician? Basic fixes can be done at home, but persistent issues require professional help.
Carrier AC E1 Error Solution
The E1 error in Carrier AC may look serious at first, but it’s usually a manageable issue caused by communication, sensor, or electrical problems. Start with simple troubleshooting like resetting and cleaning before moving to advanced diagnostics. Regular maintenance, proper cleaning, and timely inspection can help you avoid recurring errors, improve AC performance, and extend the lifespan of your unit.
Also, by following these troubleshooting steps, you should be able to resolve the issue quickly and effectively. If you continue to experience problems with the Carrier AC not working, reaching out to customer support or a technician is always a good final step.
However, we hope this guide helped you fix the issue and keep your cooling system running smoothly—even during peak summer. Feel free to share your experience or any other methods you’ve found useful in resolving this error!
Visit Our Post Page: Blog Page