
Take control of your Facebook privacy in 2025 with clear, step-by-step guidance. Learn how to make your profile completely private to non-friends and stay invisible to the public.
If you’ve ever wondered just how much of your Facebook life strangers can actually see, you’re not alone. Privacy on Facebook often feels like navigating a maze — full of confusing options, hidden menus, and frequent updates that shift where everything lives. But the good news is this: you can take complete control of your privacy with the right steps and a clear plan.
This guide is designed to be your calm, expert walkthrough — helping you make your Facebook completely private to non-friends while ensuring your friends can still interact with you normally. You don’t need to be tech-savvy; you just need to follow along carefully.
Why You Should Make Your Facebook Account Private from Strangers
Facebook is a social space meant for connection, but it also exposes a lot more about you than you might realize. If your privacy settings are open, people you don’t know — even bots or scammers — can see your posts, photos, or personal details.
Taking control of your privacy doesn’t mean isolating yourself; it means deciding who can access your digital life.
Here’s why it’s essential to make your profile private:
- Protect your personal information: Your birthday, phone number, and workplace are goldmines for scammers and identity thieves.
- Avoid unwanted attention: By hiding your content, you prevent strangers from viewing your photos, status updates, and personal milestones.
- Control your audience: Decide who sees what. Every photo, post, and comment is shared only with the people you trust.
- Stay off public search engines: Once your settings are configured, your Facebook won’t appear on Google, Bing, or similar platforms.
- Peace of mind: You can relax knowing your information is visible only to friends.
Think of these privacy settings as your digital shield — one that filters out noise, unwanted access, and potential risks.
Understanding Facebook Privacy Settings for Non-Friends
At the heart of Facebook’s privacy system is the Audience and Visibility control. Every action you take — from posting a photo to adding your workplace — includes an audience selector, letting you choose who can see it.
Here’s what the options mean:
- Public: Anyone, anywhere (even outside Facebook) can see the content.
- Friends: Only people on your friend list can view it.
- Friends of Friends: Visible to your network and their connections — a gray area best avoided for privacy.
- Only Me: Fully private; only you can view it.
- Custom: Create lists to share with or exclude specific people.
Some elements, like your name, profile picture, cover photo, and username, are always public so people can identify you. However, you can limit what personal information appears beside them.
Important Tip: Use the “View As” feature to preview your profile from the perspective of a stranger. This is one of the most powerful tools to confirm your privacy settings are actually working.
Step 1: How to Make Your Facebook Profile Unsearchable to Non-Friends
Your first step toward privacy is controlling how people find you. Facebook’s search and contact settings let you restrict who can locate your profile through your contact information.
Follow these steps:
- Click your profile picture > Settings & Privacy > Settings.
- In the left-hand column, select Privacy.
- Under How People Find and Contact You, adjust:
- Who can look you up using the email address you provided? > Select Only Me.
- Who can look you up using the phone number you provided? > Select Only Me.
- Scroll down to “Do you want search engines outside of Facebook to link to your profile?” > Uncheck the box.
When this is complete, your Facebook won’t appear in Facebook’s public search or external engines like Google.
Expert Note: This doesn’t affect your visibility to existing friends — they can still find and message you normally. The change only impacts non-friends, marketers, and search crawlers.
Pro Tip: Use a private email address and avoid linking your phone number to Facebook. These details are often used by people-search websites to locate profiles.
Step 2: How to Limit What Non-Friends Can See on Your Facebook Profile
Even if you’re unsearchable, strangers can still view parts of your profile — depending on your privacy setup. Facebook allows you to control visibility for almost every detail of your profile, from your location to your friends list.
Here’s what to do:
- Go to your Profile > About section.
- Click Edit next to each piece of information (like Education, Work, City, Relationship Status).
- Click the Audience Selector icon and set everything to Friends or Only Me.
- Check your Photos and Albums:
- Set older or tagged photos to Friends or Only Me to prevent public viewing.
- Restrict old posts:
- Navigate to Settings > Privacy > Limit Past Posts.
- Select Limit to automatically make all old “Public” posts visible only to friends.
Why this matters: A simple search can reveal your old public posts, which may include personal locations, opinions, or photos you no longer want visible. Limiting past posts is one of the most effective privacy fixes you can make in minutes.
Extra Advice: Avoid displaying personal details like your city, employer, and family members. These data points are often used for profiling or phishing scams.
Step 3: Manage Timeline and Tagging Settings for Complete Facebook Privacy
Your Timeline and Tagging controls govern what others can post or tag you in — and whether that content appears on your profile. Without proper control, friends (or even strangers through mutuals) can tag you in posts that are visible to the public.
Take control with these steps:
- Open Settings & Privacy > Settings > Profile and Tagging.
- Enable “Review posts you’re tagged in before they appear on your profile.”
- Change “Who can post on your profile?” > Only Me.
- Set “Who can see what others post on your profile?” > Only Me or Friends.
- Under Tagging:
- Set “Who can see posts you’re tagged in on your profile?” > Friends.
- Set “Who can see tags when others tag you?” > Only Me.
Why it matters: Even if your posts are private, someone else tagging you in a public post can make your name or content visible to their entire network. Turning on review features gives you full approval power.
Pro Tip: Check your Activity Log regularly. It lists all tags, mentions, and interactions — an excellent way to ensure nothing slips through.
Step 4: Lock Your Facebook Profile to Make It Private from Strangers
The Lock Profile feature offers an instant, one-click privacy overhaul. It’s perfect for users who want comprehensive privacy without going through every single setting manually.
When your profile is locked:
- All public posts automatically switch to Friends Only.
- Your profile and cover photos show limited previews.
- Story and post visibility are restricted to friends.
- Tagging permissions and profile interactions are locked down.
To lock your profile:
- Go to your Profile Page.
- Click the three dots (⋯) next to Edit Profile.
- Select Lock Profile.
- Confirm the action.
Important: If you don’t see the Lock Profile option, it may not be available in your country yet. In that case, manually apply all steps from this guide for the same effect.
Reassurance: Locking doesn’t affect your interactions with friends — it simply makes everything else off-limits to outsiders.
Step 5: How to Use “View As” to See What Non-Friends Can View
Once your settings are adjusted, test them. The “View As” feature shows exactly what a non-friend or the public can see when they visit your profile.
Here’s how:
- Go to your Profile Page.
- Click the three dots (⋯) near Edit Profile.
- Select View As.
- Browse through your timeline, About section, and photos.
Pro Tip: Make “View As” part of your regular routine. Use it every time you change your profile picture, upload a photo, or adjust settings. It’s your best confirmation tool to ensure your privacy settings are still solid.
Step 6: Review and Update Facebook Privacy Settings Regularly
Facebook updates its interface and privacy policies frequently. Even if you’ve perfected your settings today, new features or system changes might alter them tomorrow.
To maintain strong privacy:
- Run the Privacy Checkup Tool: It provides a guided review of your visibility settings and security preferences.
- Review your Activity Log: Check for old posts, likes, and comments that might still be visible publicly.
- Hide your Friends List: Go to your profile > Friends > Edit Privacy > set to Only Me.
- Check your Default Audience: Ensure new posts default to Friends instead of Public.
- Audit App Permissions: Remove apps and websites you no longer use.
- Review “Off-Facebook Activity”: This tool shows how your browsing data is used — you can disable it for extra security.
- Limit Past Posts: Use this feature periodically after new Facebook updates.
Reminder: Privacy isn’t a one-time setup. It’s an ongoing habit — like locking your door before bed. A few minutes of regular maintenance can save you from years of exposure.
Frequently Asked Questions About Facebook Profile Privacy
1. Can my friends still find me if I make myself unsearchable?
Yes. Existing friends can always find you and send messages. These settings only affect strangers.
2. Does this hide my profile from Google search?
Yes. Disabling “search engine linking” ensures your Facebook profile doesn’t appear in search engine results.
3. Can I make my posts visible to friends only?
Absolutely. Use the audience selector each time you post, or set your default post audience to Friends in Privacy Settings.
4. Does locking my profile make it completely private?
It hides nearly everything from non-friends. Some basic elements, like your name and profile picture, remain visible for identification.
5. How do I check what others see on my profile?
Use the “View As” feature. It’s the easiest way to confirm your current privacy level.
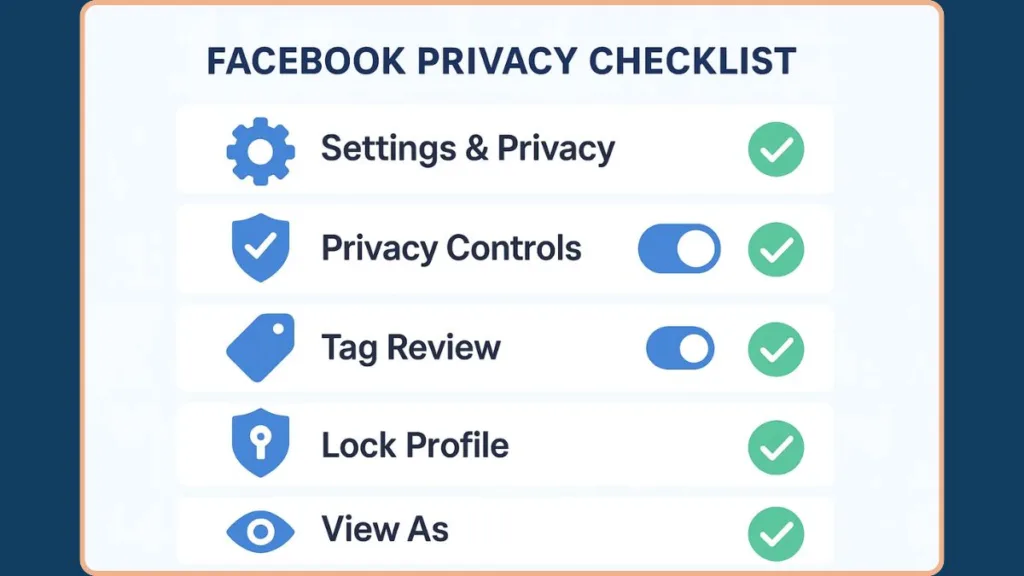
Facebook Privacy Checklist: Make Profile Private to Non-Friends
- Go to Settings & Privacy > Settings > Privacy
- Change Who can look you up > Only Me
- Turn off external search engine linking
- Limit past public posts
- Review profile info visibility for Friends or Only Me
- Enable timeline and tag review
- Use View As to confirm privacy
- Lock your profile for maximum protection
- Run regular Privacy Checkups
Conclusion: How to Make Facebook Completely Private and Secure in 2025
Your Facebook profile is your digital home — and privacy is the lock on your door. Following these steps ensures that only the people you trust have access to your personal information.
Remember, privacy is not a one-time task. Facebook updates often, and revisiting your privacy settings regularly keeps you ahead of the curve.
You now have the tools to protect your information, manage your audience, and take full control of your digital footprint.
Stay calm, stay informed, and enjoy Facebook — securely, privately, and confidently — on your own terms.
Official Facebook Privacy & Safety Resources
View and Adjust Your Facebook Privacy Settings: This is your starting point for all things privacy. Learn how to control who can see your profile info, posts, friends list, and more using the Audience and Visibility tools.
Facebook Privacy Checkup Tool: A simple, guided walkthrough that helps you review and update your most important privacy settings in just a few minutes. Perfect for quick check-ups or after updates.
Control Who Can See What’s on Your Facebook Profile: See exactly how your profile looks to non-friends with the View As feature. This page explains how to limit profile info and posts to Friends Only or Only Me for full privacy.
Set a Default Audience for Your Posts: Avoid accidentally sharing something publicly. This guide shows how to make sure your posts default to Friends instead of Public — helping you control visibility automatically.
Hide Your Friends List from Non-Friends: Want to keep your connections private? Learn how to control who can view your friends list — and how to make it completely invisible to strangers or non-friends.
Manage Third-Party Apps and Websites Connected to Your Account
Over time, apps and websites can gain access to your Facebook data. Here’s how to review permissions, remove old integrations, and keep your account secure.
Meta Privacy Center: An all-in-one privacy hub that covers Facebook, Instagram, and other Meta services. Learn how your data is used, how to adjust ad preferences, and how to manage off-Facebook activity safely.
Visit Our Post Page: Blog Page