
Are you looking to stay safe from fire and lava in Minecraft? Let’s learn how to make a Fire Resistance Potion 8 minutes in Minecraft with this step-by-step guide, including ingredients, brewing tips, and potion variations.
Exploring the Nether, navigating lava pools, or facing fiery mobs in Minecraft can be challenging, but with the right potion you’ll be much better prepared. While the standard potion lasts 3 minutes, the 8-minute version provides extended protection for deeper adventures.
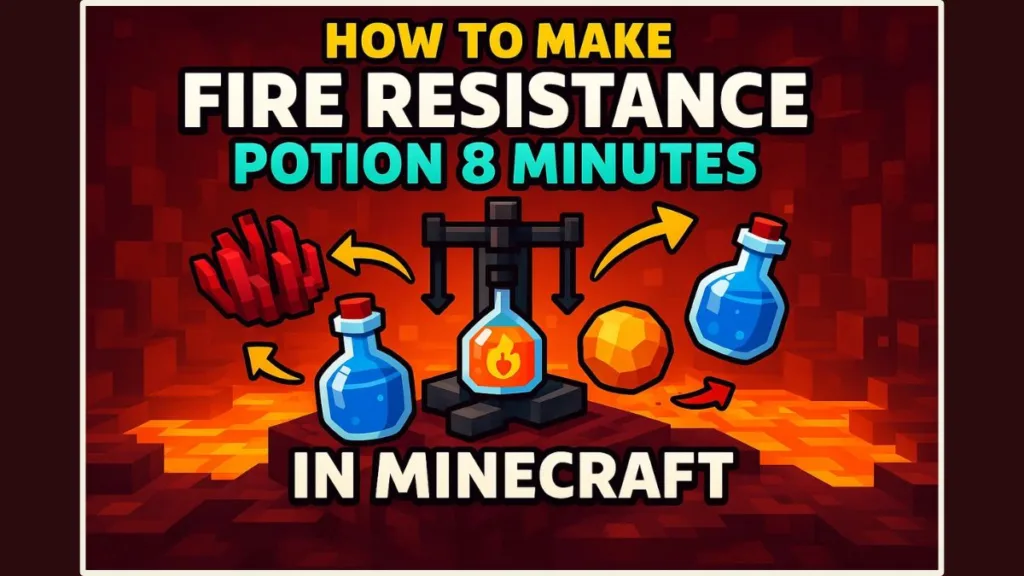
This guide walks you through a step-by-step tutorial on how to brew the Fire Resistance Potion 8 minutes, plus detailed tips, variations, and common mistakes to avoid for the most efficient brewing experience.
Essential Ingredients to Make Fire Resistance Potion 8 Minutes in Minecraft
Before you start brewing, gather all the necessary ingredients and tools. Having everything ready ensures your brewing process is smooth and efficient.
Water Bottle and Nether Wart for Awkward Potion
- Water Bottle – the foundational base for all potions. Make sure your bottles are filled and ready for brewing.
- Nether Wart – this key ingredient transforms your Water Bottle into an Awkward Potion, the essential base for all effect potions, including fire resistance. Without Nether Wart, you cannot progress in the potion-making process.
Magma Cream and Redstone Dust for the Extended Effect
- Magma Cream – provides the fire resistance effect. Magma Cream is typically obtained from Magma Cubes in the Nether, but it can also be crafted from Slime Balls combined with Blaze Powder. Using Magma Cream ensures that your potion will prevent all fire and lava damage.
- Redstone Dust – extends the potion’s duration from 3 minutes up to a full 8 minutes, making it ideal for long exploration trips, boss fights, or extensive lava navigation.
Blaze Powder and Brewing Stand for the Brewing Setup
- Blaze Powder – fuels the Brewing Stand, and must be placed in the fuel slot to activate the brewing process. Running out of fuel mid-brew can interrupt your potion creation.
- Brewing Stand – the essential tool where potion brewing takes place. Ensure it is set up on a stable surface with enough fuel for multiple potions.
Optional Ingredient for Splash Potion Variation
Gunpowder – allows you to convert your Fire Resistance Potion into a Splash Potion, making it throwable. This is particularly useful for team-based adventures, area protection, or helping companions in dangerous zones.
Tip: Keep extra Blaze Powder, Redstone Dust, and Magma Cream ready. It’s much easier to brew multiple potions at once without interruptions, which is crucial for extended Nether exploration.
Step-by-Step Guide to Brewing Fire Resistance Potion 8 Minutes in Minecraft
Here’s the full, detailed process to create your extended Fire Resistance Potion (8:00):
Fuel the Brewing Stand
Place Blaze Powder in the fuel slot. Without proper fuel, the Brewing Stand will not operate, halting the potion-making process. Make sure you have enough Blaze Powder for multiple batches if planning a long expedition.
Make the Awkward Potion
Add a Water Bottle into one of the bottom slots of the Brewing Stand, then place Nether Wart in the top slot. Once brewing finishes, your Water Bottle becomes an Awkward Potion, the essential first step in potion-making. (Yes, Awkward Potion is necessary for all Fire Resistance Potions.)
Add Magma Cream for Fire Resistance
Next, place Magma Cream in the top slot. After brewing, your potion transforms into a Fire Resistance Potion (3:00) — providing basic protection from fire and lava. Ensure the brewing process completes fully before proceeding to the next step to avoid potion errors.
Extend the Duration with Redstone Dust
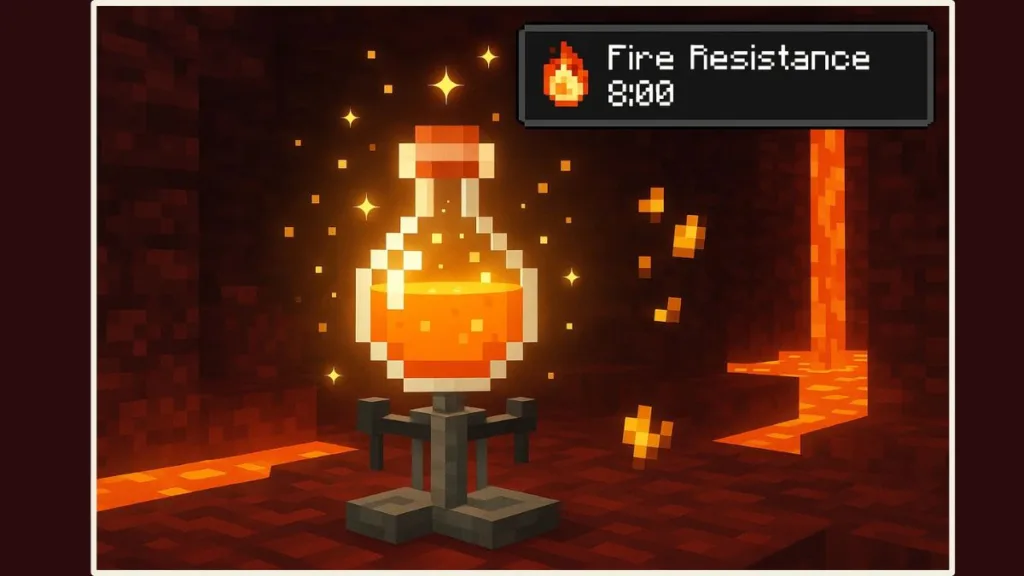
Finally, take the 3-minute potion and add Redstone Dust in the top slot. This converts it into the Fire Resistance Potion (8:00) — giving you 8 full minutes of protection. Redstone Dust essentially magnifies the potion’s effect duration, which is critical for extended gameplay or resource collection in lava-heavy areas.
Outcome: You now have a potion that shields you from fire and lava for a full 8 minutes, giving ample time to explore, fight, and gather resources safely.
Optional Variations of Fire Resistance Potion in Minecraft
Create a Splash Potion of Fire Resistance
By adding Gunpowder, you turn the potion into a Splash Potion of Fire Resistance, which can be thrown. This is particularly useful for supporting teammates, protecting yourself in tricky combat situations, or applying effects to areas with multiple players or mobs.
3-Minute vs 8-Minute Fire Resistance Potion Comparison
- The 3-minute potion is sufficient for short trips or single lava encounters.
- The 8-minute potion is essential for extended Nether exploration, large lava pools, or boss fights. Its longer duration ensures uninterrupted protection during longer activities, making it the preferred choice for serious adventurers.
Other Related Potions
Once you’ve mastered the Fire Resistance Potion, consider brewing other extended potions like Strength Potion (8 minutes) or Swiftness Potion (8 minutes). Using a combination of these potions can greatly enhance your combat efficiency and exploration speed, especially in dangerous areas of the Nether.
Tips & Tricks for Using Fire Resistance Potion 8 Minutes Effectively
Follow the Correct Brewing Order
Always adhere to the sequence: Water Bottle > Awkward Potion > Magma Cream > Redstone Dust. Skipping steps or changing the order can result in a potion that does not work correctly.
Carry Multiple Potions
Stock up on multiple Fire Resistance Potions, especially the 8-minute version. When exploring high-risk zones like magma seas, Nether Fortresses, or lava caves, backups ensure you remain protected even if the first potion runs out.
Use Splash Potions Strategically
Splash Potions can be thrown to provide instant protection to yourself and allies. They are perfect for co-op play, emergency situations, or when multiple players need protection at the same time.
Safely Explore Lava and Nether Areas
With an 8-minute Fire Resistance Potion, you can safely swim in lava, navigate dangerous areas, and gather rare resources. This also allows you to focus on combat or resource collection rather than constantly worrying about fire damage.
Timing and Planning
Drink the potion just before entering dangerous areas to maximize its full 8-minute effect. Combining the potion with Fire Protection-enchanted armor adds another layer of safety, making survival in high-risk environments much more manageable.
Potion Management
Keep potions organized in your hotbar for quick access. If exploring long distances or dangerous areas, consider carrying extra Redstone Dust and Magma Cream for mid-expedition brewing or potion replacement.
Common Mistakes to Avoid When Brewing Fire Resistance Potion 8 Minutes
- Forgetting Nether Wart, which prevents the potion from forming.
- Adding Redstone Dust before Magma Cream, invalidating the potion extension.
- Running out of Blaze Powder, which stops brewing.
- Misjudging Splash Potion durations in certain editions — they may differ slightly.
- Forgetting that the potion protects only from damage while active: if it expires, fire or lava damage resumes.
Extra Tip: Test a small batch first to ensure all ingredients are correct and the brewing process is functioning as expected. This avoids wasting valuable resources.
Related Potions & Minecraft Recipes to Try Next
After mastering the 8-minute Fire Resistance Potion, expand your potion collection with:
- Strength Potion (8 minutes) – boosts melee combat efficiency.
- Swiftness Potion (8 minutes) – improves movement speed for exploration or escapes.
- Splash or Lingering Potions – useful for cooperative or tactical gameplay scenarios.
Using multiple potion types together enhances survival, resource gathering, and combat performance in challenging Minecraft environments.
Conclusion on Making Fire Resistance Potion 8 Minutes
Brewing the 8-minute Fire Resistance Potion in Minecraft is simple once you understand the ingredients, brewing order, and enhancements. With this potion, exploring the Nether, surviving lava lakes, and facing fiery challenges becomes far easier and more strategic.
Prepare your potions, plan your journey carefully, and enjoy the ultimate fireproof adventure with confidence.
Extra Tip: Combine your Fire Resistance Potion with Fire Protection armor and a few backup potions for maximum survival efficiency in the most dangerous areas. This layered approach ensures you can explore freely without worrying about environmental hazards.
Useful Resources for Brewing Fire Resistance Potion in Minecraft
If you want to master potion brewing in Minecraft, these official resources are super helpful:
- Brewing Basics: Check out the Brewing page on the Minecraft Wiki. It explains all the ingredients, modifiers, and how brewing mechanics work. Perfect if you want to understand the foundation before crafting your potions.
- Potion Guide: Visit the Potion article for a full overview of all potion types, their effects, and practical tips for using them in your game.
- Brewing Stand Tips: The Brewing Stand page dives into how to use the stand, fuel management, and step-by-step brewing guidance.
Visit Our Post Page: Blog Page