
Learn how to reinstall your camera driver on Windows 10 & 11 with this simple, step-by-step guide. Get back your web camera working again quickly and easily.
A malfunctioning webcam can bring video calls, online meetings, and content creation to a sudden halt. Often, the issue isn’t the hardware itself but the camera driver—the software that allows Windows to communicate with your camera. If your webcam is not working, following a structured approach to reinstall the camera driver can resolve most problems.
This detailed guide walks you through Windows 10 and Windows 11 step by step, helping you restore your built-in or external webcam efficiently.
Why Your Webcam May Stop Working
Before diving into the fix, it’s useful to understand why your camera might be failing. Common causes include:
- Outdated or corrupted driver software: Windows drivers can sometimes become incompatible after updates or due to system errors.
- Driver removal or accidental deletion: Deleting drivers, even unintentionally, can prevent your camera from functioning.
- Windows update conflicts: Certain updates may interfere with driver compatibility.
- Hardware detection issues: Your built-in webcam or external camera might not be recognized correctly, preventing normal operation.
Understanding the root cause helps you pick the correct solution, whether it involves an automatic reinstall, a manual update, or troubleshooting specific errors like camera error code 0xA00F4244. By identifying the source of the problem, you can avoid repeating the same steps unnecessarily and ensure a permanent fix rather than a temporary workaround.
Prepare Your System Before Reinstallation
A little preparation makes the reinstall process safer and smoother. Follow these steps before modifying drivers:
- Create a system restore point so that you can undo changes if anything goes wrong.
- Ensure that external cameras are connected securely. For built-in webcams, confirm they are enabled in your BIOS or device settings.
- Note your camera’s make and model. This is useful if you need to download drivers from the manufacturer’s support page.
- Close any camera-dependent apps before making changes, as they can interfere with driver updates.
- Consider temporarily disabling antivirus or security software during driver reinstallation, as these can sometimes block the process.
Taking these precautions helps prevent common issues such as driver corruption, failed installations, or conflicts with other software.
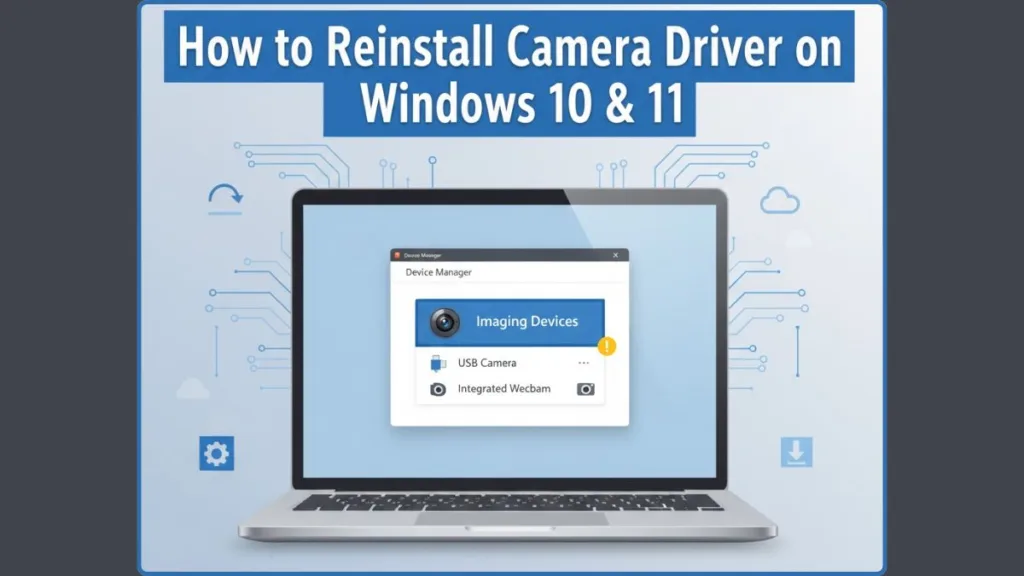
Step 1: Access Device Manager in Windows 10 and 11
The Device Manager is your central hub for managing all hardware components. Accessing it is straightforward:
Windows 10:
Press the Start button, type Device Manager, and select it from the results.
Windows 11:
Press Start, type Device Manager, and click the top result.
Once open, expand Imaging Devices or locate your built-in webcam or external camera. This is where you will begin the process of uninstalling and reinstalling the driver. Familiarity with Device Manager is key for troubleshooting other hardware issues, making this a useful skill beyond just fixing your camera.
Step 2: Uninstall the Camera Driver
Removing the existing driver ensures that Windows can start fresh. Follow these instructions carefully:
- Right-click on your camera device in Device Manager.
- Select Uninstall device from the menu.
- If available, check the option “Delete the driver software for this device”. This completely removes old driver files.
- Restart your computer to allow changes to take effect.
What Happens When You Uninstall the Driver
Uninstalling the camera driver temporarily disables the webcam. This is normal and necessary for a clean reinstall. After restarting, the camera will not function until a new driver is installed, which is why the next steps are critical.
By fully removing the driver, you eliminate the possibility of corrupted files or misconfigurations that might be causing webcam not detecting errors or camera driver error messages.
Step 3: Reinstall or Update the Camera Driver
After removing the driver, there are two primary methods to reinstall it: automatic and manual.
Automatic Reinstallation
- Upon restarting, Windows often detects the camera and reinstalls the driver automatically.
- If the camera does not appear, in Device Manager, right-click your computer name and select Scan for hardware changes. This triggers Windows to locate the device and reinstall the driver.
Manual Reinstallation
- Right-click the camera > Update driver > Browse my computer for driver software.
- Navigate to the folder where your downloaded driver is located (from the manufacturer’s support page).
- Follow the prompts to complete installation.
Why Manual Reinstallation May Be Needed
Manual installation is particularly useful if the automatic process fails or if your laptop uses specialized drivers. It ensures that the exact driver compatible with your hardware is installed, reducing the risk of errors. Always download drivers from trusted sources to avoid malware or incompatible files.
Step 4: Troubleshoot Common Camera Issues
Even after reinstalling, some problems may persist. Use these tips to address common issues:
- Webcam not detected: Disconnect and reconnect your external camera, or ensure your built-in webcam is enabled.
- Driver errors: Run Windows Update to check for optional updates related to the camera driver.
- Camera error code 0xA00F4244: Often fixed by reinstalling the driver or using Device Manager to scan for hardware changes.
- Advanced troubleshooting: Verify Windows registry entries related to imaging devices, especially if the camera still isn’t detected.
- Check privacy settings: On Windows 10 and 11, ensure that camera access is enabled for the apps you want to use.
By combining these steps, most users can resolve persistent issues without needing professional assistance.
Step 5: Verify Your Camera is Working
After completing the reinstall:
- Open the Camera app or any video conferencing software like Zoom or Teams.
- Confirm that your camera is detected and functioning properly.
If the camera works, you have successfully reinstalled the driver. If not, revisit troubleshooting steps or consider checking the manufacturer’s website for updated driver versions or support documentation.
Conclusion: Simple Steps to Fix a Non-Working Camera
Reinstalling a camera driver on Windows 10 or 11 is a reliable method to address a variety of webcam problems. The process can be summarized in four key steps:
- Open Device Manager and locate your camera.
- Uninstall the camera driver and restart your PC.
- Reinstall or update the driver, either automatically or manually.
- Test your camera to ensure it’s working correctly.
Following this guide provides a step-by-step, easy-to-follow solution that restores both built-in webcams and external cameras, ensuring smooth operation for video calls, streaming, or recording.
FAQ
How do I force Windows to reinstall my camera driver?
Uninstall the driver in Device Manager, restart your PC, and let Windows scan for hardware changes.
Where is the camera driver located on my computer?
Windows manages most drivers automatically, but you can download the latest version from your manufacturer’s support page.
Why is my camera not showing up in Device Manager?
Ensure the camera is connected, enabled in BIOS for built-in webcams, and that Windows privacy settings allow camera access.
How do I install an unlisted driver in Device Manager?
Choose Update Driver > Browse my computer for driver software > Let me pick from a list of available drivers and follow the instructions.
Visit Our Post Page: Blog Page