
Learn how to reset your AirPods when one side isn’t working. Follow our step-by-step guide to troubleshoot and fix common AirPods issues.
AirPods have become one of the most popular and convenient wireless earbuds in recent years. However, like any piece of technology, they can sometimes run into problems.
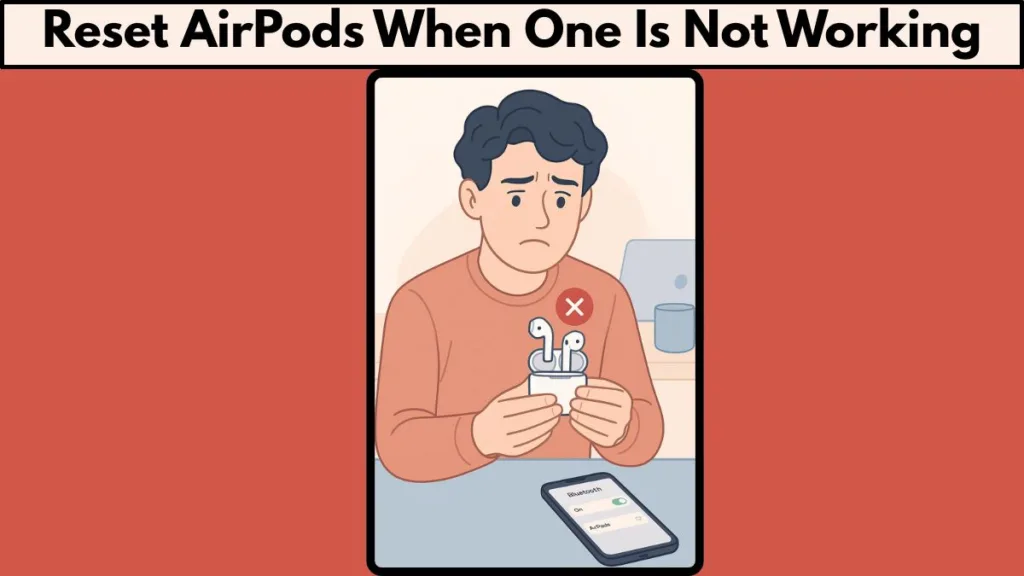
One of the most common issues users encounter is when one AirPod stops working, leaving you with only sound in one ear. If you’ve experienced this frustrating issue, you’re not alone. But don’t worry – resetting your AirPods could be the simple solution you need to get both earbuds working again.
The Solution: A Full Reset for AirPods When One Stops Working
How to Reset AirPods When One Side Isn’t Working
If your AirPod isn’t working, and you’ve tried all other solutions without success, it’s time to follow this method that ensures a fresh start for both AirPods. This technique will involve two key steps: fully discharging both AirPods and their case, and performing a hard reset once they’ve been charged back up.
Step 1: Fully Discharge Both AirPods and Their Charging Case
The first thing you need to do is completely drain both AirPods and the charging case. By using your AirPods until the batteries are fully depleted, you force the electronics to turn off completely. This ensures that any residual charge or temporary firmware states are cleared.
Here’s what you need to do:
- Use the AirPods until they’re dead. Ensure that both AirPods are completely out of battery, and the charging case is also drained. This may take a while, depending on how much charge is left, so be patient.
- Avoid charging them during this step. Let them completely run out of power to ensure that the firmware and battery management systems reset properly.
Once both AirPods and the case are completely drained, move on to the next step.
Step 2: Perform a Hard Reset After Recharging
After your AirPods and case are completely drained, the next step is to recharge them and perform a hard reset. This process ensures that both AirPods are re-paired and fully reset.
Follow these steps:
- Plug in the charging case. After your AirPods and case are drained, plug the case into a power source and allow them to charge for about 5–10 minutes.
- Open the case lid. Once they’ve had some time to charge, open the lid of the charging case.
- Press and hold the setup button. On the back of the charging case, press and hold the setup button until the status light starts flashing amber, then turns white. This process may take about 15 seconds.
- Re-pair your AirPods. Once the light flashes white, it’s time to reconnect your AirPods to your device. Open your device’s Bluetooth settings, find your AirPods, and select them to pair.
Why This Works
Lithium-ion cells, like the ones in your AirPods, do not have a “memory,” meaning the battery itself won’t suffer from problems like overcharging or draining. However, the tiny electronics responsible for managing charging and Bluetooth pairing can get stuck in a faulty state. These glitches can prevent one of your AirPods from functioning correctly, even if the battery is still charged.
By fully draining both the AirPods and the charging case, you turn off all circuits, forcing them to reset. Once they’re plugged back in and recharged, the internal electronics will have a fresh start, ensuring that everything works properly.
After you’ve performed the hard reset (holding the setup button until the light flashes amber, then white), your AirPods will be re-paired with your device, and the issue should be resolved.
Conclusion: Final Fix for Resetting AirPods When One Side Isn’t Working
When one of your AirPods stops working, especially after being exposed to water or moisture, it’s easy to get frustrated. A simple reset might not always do the trick, but by fully draining both AirPods and their case, and performing a hard reset once they’re charged back up, you can resolve most issues. This method works by clearing any glitches or errors in the internal circuitry, ensuring your AirPods are reset and functioning like new.
Visit Our Post Page: Blog Page