
Discover how to use the Range Finder in BF6 like a pro and master long-range sniping with ease. Learn step-by-step how to equip the attachment, calibrate your scope, zero in on targets, and consistently land precise headshots in Battlefield 6.
Perfect for snipers and DMR users aiming to dominate every map and improve accuracy.
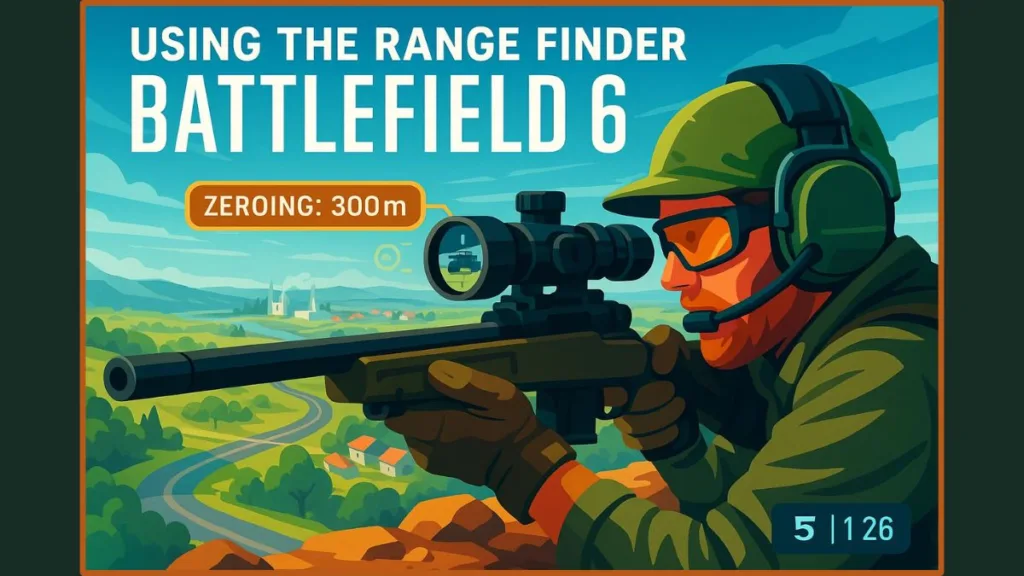
Sniping in Battlefield 6 (BF6) goes far beyond fast reflexes. To consistently land headshots at long distances, players must master weapon mechanics, understand bullet drop, and optimize attachments for accuracy. The Range Finder is one of the most essential tools for sharpshooters, automatically calculating distances to targets and adjusting your scope’s zeroing so bullets hit precisely where your reticle is aimed.
Whether you’re positioning yourself on the open fields of Operation Firestorm or tackling elevation changes in Mirak Valley, the Range Finder provides a significant advantage in long-range engagements. While some players also use the SOFLAM gadget for vehicle spotting, this guide focuses on the Range Finder attachment for sniper rifles and DMRs, detailing activation, optimal usage, troubleshooting, and advanced tips.
Understanding the Range Finder in BF6: How It Works and Why It’s Essential
The Range Finder is a sniper rifle and DMR attachment designed to enhance long-distance precision. Its core function is to automatically calibrate your scope’s zeroing based on the distance to your target. This eliminates guesswork from bullet drop, allowing bullets to hit exactly where your crosshair is positioned.
When activated, the HUD displays the zeroing distance above your ammo count in the bottom-right corner. The Range Finder supports distances from 100m to 500m, adjustable in 100m increments, and cannot zero below 100m. Shots fired at distances under 100m will behave as though zeroed at 100m, which can feel slightly off at very close ranges.
Important Tip: Only magnified scopes are compatible. Iron sights and 1x optics will not show zeroing or range information, so proper scope selection is crucial to fully utilize the attachment.
Compatible Sniper Rifles and DMRs for the Range Finder in BF6
Not every rifle supports the Range Finder. Here’s a detailed breakdown:
Sniper Rifles:
- M2010 ESR
- SV-98
- PSR
DMRs:
- M39 EMR
- LMR27
- SVK-8.6
- SVDM
Attachment Slot: Right Accessory
Attachment Points: 10
Unlock Requirement: Weapon Mastery Rank 4
While the Range Finder improves scope alignment and shot precision, it does not provide aim assist. Players must still actively track moving targets and time their shots accurately.
Step-by-Step Guide to Equipping the Range Finder in Battlefield 6
Equipping the Range Finder is simple but requires careful planning to maintain an optimal loadout:
- Open the Weapon Customization Menu.
- Navigate to the Right Accessory slot.
- Select the Range Finder once unlocked.
- Confirm your loadout and enter a match to test calibration.
Pro Tip: Balance your Attachment Points carefully. If your build includes a suppressor, DLC bolt, or other essential attachments, make sure equipping the Range Finder does not compromise overall efficiency.
How to Activate and Use the Range Finder Effectively During Matches
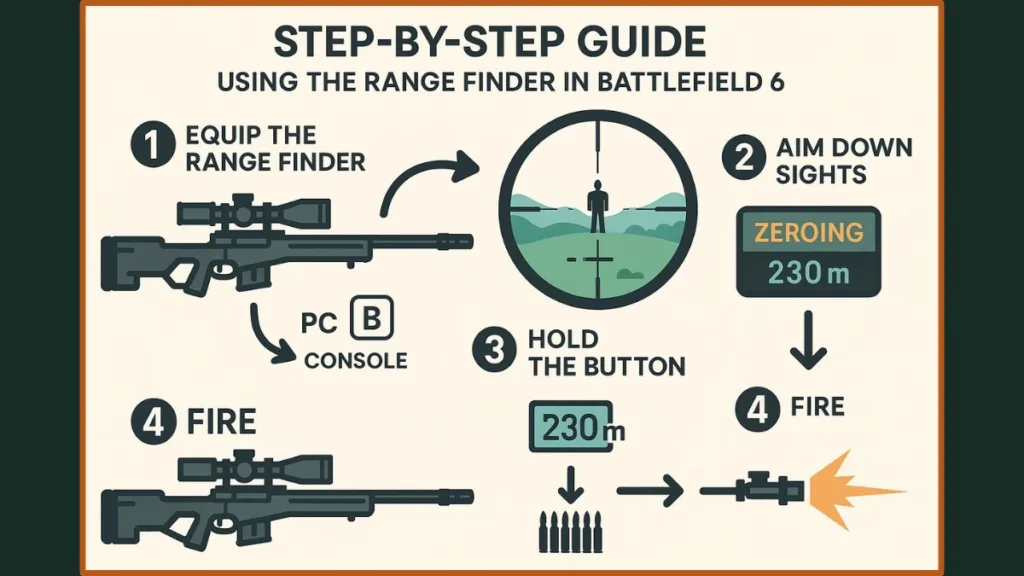
Once equipped, the Range Finder becomes essential for long-range engagements. Follow these steps:
- Aim Down Sights with a sniper rifle or DMR that has a magnified optic.
- Activate the Range Finder:
- PC: Hold the
Bkey - Console: Hold Down on the D-Pad
- PC: Hold the
- Monitor the HUD: The zeroing distance appears above your ammo count.
- Fire with Confidence: Your reticle now represents the exact impact point of your shot.
Pro Tip: Re-zero frequently as distances and elevations change. A 100m zero will not align for a 350m target. Understanding terrain, elevation, and distance effects is crucial for repeatable long-range accuracy.
How to Manually Zero Your Scope Without the Range Finder
If the Range Finder is not yet unlocked, manual zeroing using the Ping System can still provide precision:
- Ping the target location to estimate distance.
- Step the scope in 100m increments up to 500m using the zeroing button (PC:
B, Console: Down on D-Pad). - Match the zeroing value to the pinged distance.
- Aim directly and fire.
This method is slower and slightly less precise than automatic zeroing, but it saves Attachment Points for other upgrades and enhances understanding of bullet trajectory and map awareness.
advanced Tips for Achieving Consistent Long-Range Hits in BF6
Mastering the Range Finder and zeroing system in Battlefield 6 (BF6) is only the beginning. To truly dominate at long range, you need to refine your mechanics, environmental awareness, and timing. Below are advanced strategies that separate good marksmen from true sharpshooters, helping you convert every sightline into a threat zone.
Re-Zero Frequently as You Reposition
Even small changes in terrain elevation or engagement distance can alter your bullet’s flight path. Make it a habit to re-zero your rifle whenever you shift positions, especially on large open maps like Orbital or Renewal.
- Use the ping system to identify the new distance quickly.
- Hold B on PC or Down on the D-pad on consoles to instantly recalibrate.
- Keep your HUD zero value in sight — it should always align with your estimated target distance.
Account for Bullet Drop and Travel Time
Every rifle in BF6 has its own bullet velocity and drop rate, meaning your shot will take time to reach distant targets.
- Lead moving targets slightly based on their direction and speed.
- At 400 m or beyond, compensate for travel time by firing a fraction ahead of where the target is moving.
- Practice with your favorite rifle (like the M2010 ESR or M39 EMR) in custom matches to learn its specific drop curve.
Tip: Use the Range Finder’s distance readout as a visual cue — the longer the range, the more you’ll need to predict movement and bullet drop.
Pair with High-Magnification Optics
To get full value from your zeroing, use magnified scopes — preferably 6x, 8x, or 12x optics. These scopes display precise reticle markings, allowing you to adjust for wind sway, bullet drop, and target motion.
- Avoid 1x or 2x optics, as they don’t display zeroing data or long-range clarity.
- The 12x scope works best for sniper-exclusive roles, while 6x–8x gives a balance of range and peripheral awareness.
Control Breathing and Weapon Sway
Snipers often lose accuracy because of scope sway. Before firing, hold your breath (Shift key on PC) to steady your aim. This small habit can drastically improve precision at extreme ranges.
Combine breath control with short, deliberate trigger pulls instead of rapid firing — even semi-automatic DMRs like the M39 benefit from rhythmic pacing.
Use Cover and Elevation to Your Advantage
Positioning is key to consistent long-range performance. The higher your vantage point, the less bullet drop you’ll experience relative to your target.
- Climb ridges, rooftops, or cranes for superior sightlines.
- Keep natural cover between you and enemies — rocks, dunes, or wreckage — to minimize your silhouette.
- Always relocate after a kill to avoid sniper counter-fire from the kill cam.
Pair Range Finder Data with Spotting and Team Intel
Your Range Finder isn’t just for solo play — it becomes far more powerful when combined with squad coordination.
- Ping enemy positions to share range data instantly with teammates.
- If a Recon teammate is using SOFLAM, coordinate to mark distant vehicles and infantry simultaneously.
- Call out distances verbally or through quick chat to help your squad align shots.
This synergy transforms a single sniper into a teamwide overwatch asset, giving your squad a precision advantage.
Learn Each Rifle’s Zeroing Sweet Spots
Not all rifles perform equally at every range. Experiment to find optimal engagement ranges:
- M2010 ESR: Best between 200 m – 500 m — minimal drop and fast bullet velocity.
- M39 EMR: Most effective from 100 m – 300 m — great for suppressive mid-range fire.
- NTW-50: Heavy bullet impact but slow handling, ideal for vehicle and extreme-range sniping.
The more familiar you are with your rifle’s behavior, the easier it becomes to predict bullet paths even without precise range data.
Practice Target Transition and Reaction Timing
Once your aim and zeroing are aligned, focus on speed and adaptability:
- Practice transitioning between multiple targets while maintaining breath control.
- Try leading one moving target, firing, then quickly shifting to another.
- This builds muscle memory and reaction timing, allowing faster follow-ups during chaotic firefights.
Factor in Environmental Conditions
BF6’s dynamic maps include wind effects, dust storms, and vehicle explosions, all of which can obscure vision or slightly alter bullet travel. Use these elements tactically:
- Dust or fog can conceal your position while sniping.
- Storm gusts may cause minimal drift at long range — aim slightly compensating for movement direction.
- Avoid firing through heavy debris or glass; it can alter bullet path and impact accuracy.
Build a Long-Range Routine
Consistency in Battlefield 6 sniping comes from repetition and awareness. A simple yet effective three-step mental routine can help:
- Ping your target or estimate distance.
- Calibrate zeroing with your Range Finder.
- Confirm HUD distance and fire using breath control.
Repeat this sequence every time you set up a shot. It may sound basic, but this disciplined pattern separates casual snipers from consistent long-range experts.
Map Recommendations: Use the Range Finder on long sightline maps like Operation Firestorm or Mirak Valley to leverage its full potential.
Troubleshooting Common Range Finder Problems in BF6
Even experienced players may face issues. Common troubleshooting tips include:
- Attachment Not Working: Verify a magnified scope is equipped. Reload the match or switch weapons if necessary.
- Input Errors: Hold the activation button instead of tapping it.
- Distances Under 100m: Zeroing defaults to 100m, potentially affecting close-range accuracy.
- Unlock Verification: Ensure the weapon has reached Mastery Rank 4 and the Range Finder is equipped in the Right Accessory slot.
Remember: The Range Finder calibrates distance but does not aim for you. Target tracking and timing remain essential.
SOFLAM in BF6: Complementary Range-Finding Gadget for Tactical Advantage
While the Range Finder attachment focuses on personal accuracy and zeroing for sniper rifles and DMRs, the SOFLAM (Special Operations Forces Laser Marker) operates on a broader, more team-oriented level.
It’s not just a spotting tool — it’s a tactical gadget designed for coordination, long-range engagement, and vehicle counterplay in Battlefield 6 (BF6). Understanding how it works helps you maximize both solo and squad performance.
What Is the SOFLAM in BF6?
The SOFLAM is a Recon class gadget that functions as a laser designator. When deployed, it allows players to spot and “paint” enemy targets — particularly vehicles — making them lockable by team members using guided weapons such as the Javelin launcher or other air-to-ground missile systems. Once a target is designated, the entire squad can see the lock symbol, enabling precise coordination during combat.
Key Functions and Benefits
- Range-Finding Precision: Like the Range Finder attachment, the SOFLAM displays target distance in meters, allowing Recon players to gauge the perfect sniping or spotting distance.
- Target Designation: When an enemy vehicle or aircraft is tagged with the SOFLAM, friendly players with lock-on weapons can instantly acquire a target lock — dramatically increasing hit probability.
- Stealth Recon Support: The SOFLAM operates remotely, meaning you can deploy it and monitor from a safe distance. It continuously scans and marks targets without exposing your position.
- Team Awareness Boost: Marked targets are visible to all teammates on the HUD, making it easier for coordinated attacks and area denial strategies.
How to Equip and Use the SOFLAM Effectively
- Equip SOFLAM as a Recon Gadget: Select it in the gadget slot from your loadout screen before deployment. The SOFLAM replaces other Recon gadgets like the Drone or Motion Sensor.
- Deploy for Maximum Vision: Set it up on high ground, rooftops, or ridgelines for wide visibility. Its effectiveness depends on placement — avoid dense foliage or blind spots.
- Spot and Designate Targets: Look through the SOFLAM lens and aim at enemy vehicles or air targets. Once locked, the laser marker will continuously track them even through limited cover.
- Coordinate with Teammates: Communicate with Engineers or teammates using guided launchers. When you paint a vehicle, they can immediately fire for a guaranteed lock-on. This synergy is especially powerful in vehicle-heavy maps.
- Use as a Range Reference for Sniping: Even if you’re not designating vehicles, the SOFLAM’s distance readout can double as a makeshift range finder for long-range sniping. This is especially handy before you unlock the Range Finder attachment itself.
Best Practices for Battlefield Efficiency
- Pair the SOFLAM with the Javelin: This classic combo is the most efficient anti-vehicle tactic in BF6. While you mark the target, your teammate locks on and fires.
- Stay Mobile and Reposition Often: The SOFLAM is stationary — once it’s spotted, it can be destroyed. Move after firing or use multiple placements to cover different angles.
- Combine with Spotting Tools: Use manual pings or drone reconnaissance to stack intel and maintain battlefield awareness.
- Keep Battery and Cooldown in Mind: The SOFLAM operates for a limited duration before overheating or requiring redeployment. Use it strategically during key vehicle pushes or air assaults.
SOFLAM vs. Range Finder: Key Differences
| Feature | SOFLAM | Range Finder Attachment |
|---|---|---|
| Type | Recon Gadget | Weapon Attachment |
| Purpose | Team spotting and target designation | Individual scope zeroing |
| Primary Users | Recon Class | Snipers & DMR users |
| Effective Range | Long range (vehicles/aircraft) | 100m–500m for scoped rifles |
| HUD Feedback | Displays target distance & lock status | Shows zeroing value above ammo |
| Usage Style | Deployed remotely | Used directly through optics |
When to Choose the SOFLAM Over the Range Finder
If your role leans toward team coordination and vehicle denial, the SOFLAM is the superior choice. It enables your squad to control airspace and choke points, turning team fights in your favor. However, if your focus is long-range infantry sniping and personal accuracy, the Range Finder attachment offers more individual precision.
In short, the SOFLAM is the tactical companion to the Range Finder. Together, they cover both sides of the battlefield equation — team utility and personal accuracy — ensuring that no shot or missile goes to waste in Battlefield 6.
Frequently Asked Questions About the Range Finder
How do I unlock the Range Finder in BF6?
Reach Mastery Rank 4 with compatible rifles or DMRs, then equip it in the Right Accessory slot.
What button activates the Range Finder?
PC: Hold B
Console: Hold Down on the D-Pad
Can I zero below 100m?
No. Zeroing bottoms out at 100m; shots below this distance behave as if zeroed at 100m.
Do I need a magnified scope?
Yes. Iron sights or 1x optics do not display zeroing or range information.
What is SOFLAM used for?
It designates enemy vehicles for lock-on launchers, not sniper rifles.
Conclusion: Mastering the Range Finder for BF6
The Range Finder is a critical tool for any sniper or DMR user in Battlefield 6. Mastering its use—including careful equipping, zeroing, re-zeroing, and combining with pings and high-zoom optics—ensures consistent, accurate long-range shots. Practicing across different maps, learning terrain effects, and understanding your weapon’s behavior with zeroing transforms sniping from guesswork into a precise, skill-based strategy.
Equip the Range Finder, refine your zeroing habits, and dominate the battlefield with confidence, one perfectly calibrated shot at a time.
Useful Resources
Loadout Creation and Weapon Classes – Official EA Guide: Learn how to build effective loadouts, choose compatible attachments, and understand weapon classes in Battlefield 6. This official EA guide breaks down the system clearly so you can make the most of your sniper or DMR setup.
Progression in Battlefield 6 – Weapon & Vehicle Unlocks: Get a full overview of how weapon mastery works in BF6, including how to unlock attachments like the Range Finder. It’s a great resource for players who want to track their progress efficiently and understand how upgrades impact performance.
Battlefield 6 Support Hub – EA Help Center: For troubleshooting tips or technical questions, the EA Help Center provides official support articles and community discussions. Perfect if your Range Finder isn’t showing up or you’re having issues with keybinds and in-game settings.
Visit Our Post Page: Blog Page