
Can’t find the deactivate button in 2026? Learn how to deactivate Facebook Lite using this quick, no-nonsense guide. Take back your digital privacy and stay in control today.
If you are staring at your screen wondering how to deactivate fb lite and feeling like you’re losing your mind, take a deep breath. You aren’t doing anything wrong. Meta has spent the last few years aggressively centralizing their settings into the Meta Accounts Center, and in the process, they have made simple privacy controls feel like a digital scavenger hunt.
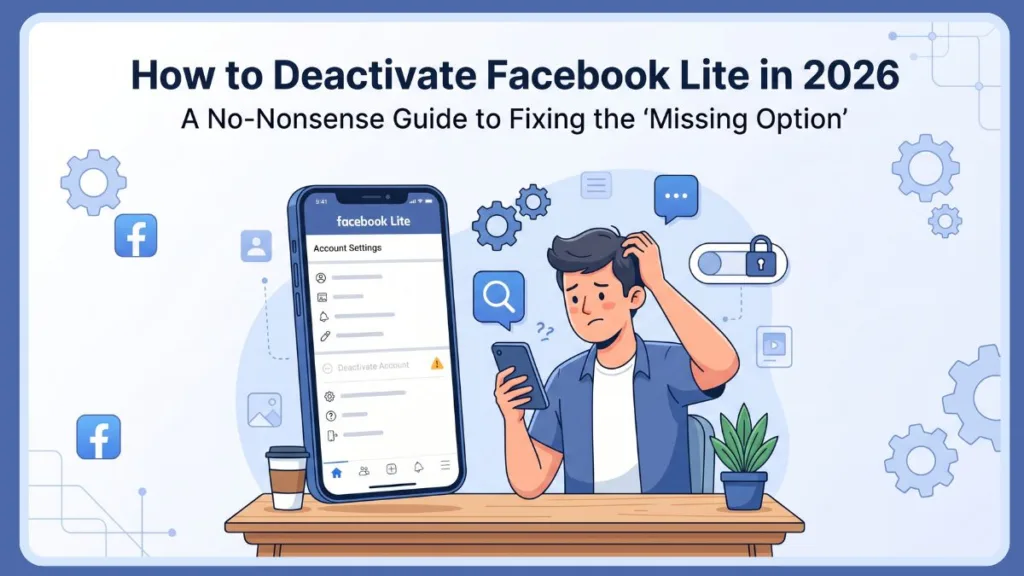
On forums and in highly active discussions on Reddit, the consensus is clear: the settings are being intentionally buried, labels like “Your Facebook Information” are being swapped for “Personal Details,” and the Facebook Lite app—designed for speed—often leaves these critical buttons out entirely. This guide is designed to cut through that noise and give you the direct path back to your privacy.
Why the Deactivation Option is Hiding from You
The frustration usually stems from a specific design shift. Meta’s transition to the centralized Accounts Center means that deactivation is no longer a top-level menu item. Furthermore, because Facebook Lite is a “low-resource” app, it frequently fails to render the complex sub-menus required for account management.
If you feel like the option is “missing,” it’s likely because of one of these three factors:
- The “Personal Details” Pivot: Meta has moved account ownership controls under a menu that sounds like it’s just for your phone number and email.
- App Version Lag: If your Lite app isn’t the absolute latest 2026 build, it may be pointing to a server-side setting that no longer exists.
- Regional UI Variations: Depending on your location, the “Account Ownership” tab might be tucked behind an extra layer of security menus.
The Master Path: How to Deactivate FB Lite (2026 Update)
If the app is behaving, this is the exact sequence of taps you need. Forget what the old tutorials told you; this is the current architecture:
- The Hamburger Menu: Tap the three horizontal lines in the top right.
- Settings Gear: Scroll down to “Settings & Privacy” and tap Settings.
- The Accounts Center Hub: Look for the box at the very top labeled Accounts Center. Tap any part of that box.
- The Hidden Gate: Tap on Personal details (this is where most people get lost).
- Control Center: Tap Account ownership and control.
- Final Step: Select Deactivation or deletion, pick your profile, and choose to deactivate account.
The Expert’s Shortcut: If the app is glitching or the buttons aren’t appearing, don’t waste time troubleshooting the app. Open your phone’s browser (Chrome or Safari or Edge) and go directly to https://www.facebook.com/deactivate_delete_account. This link bypasses the app’s UI entirely and takes you straight to the source.
Clearing the Confusion: Will Everything Be Deleted?
The most common fear users have when taking a break is data loss. Let’s set the record straight on the mechanics of a deactivated account temporarily Facebook status:
- Will deactivating Facebook delete everything? No. Your profile, photos, posts, and videos are simply “put on ice.” They become invisible to the public, but they remain perfectly safe on Meta’s servers.
- Does deactivating Facebook delete everything permanently? No. Deactivation is a pause button. Nothing is permanently removed unless you specifically choose the “Delete” path and let the 30-day timer expire.
- Will deactivating Facebook delete messages? No. Your message history remains in your friends’ inboxes. Interestingly, you can even choose to keep using Messenger as a standalone app while your main Facebook profile stays deactivated.
How to Delete a Facebook Account Forever
If you have decided that a temporary break isn’t enough, you need to know how to delete Facebook Lite account settings permanently. The process is almost identical to deactivation, but with a few critical caveats:
- Follow the same path: Settings > Accounts Center > Personal Details > Account Ownership.
- Select Delete Account instead of deactivate.
- The 30-Day Rule: Once you confirm, your account enters a “scheduled for deletion” state. If you log back in at any point during the next 30 days, the process is canceled.
- Data Backup: Before you learn how to delete Facebook Lite for good, I strongly recommend using the official Download Your Information tool in the Settings menu to save your photos and memories.
What to Do if the Option is Missing
If you are following the steps but the menus simply aren’t there, this is a known limitation of the “Lite” ecosystem. Here is how to fix it:
- Switch to a Browser: This is the most reliable fix. The Facebook Lite app is often too “light” to handle account ownership changes. Log in via facebook.com on a mobile browser.
- Use the Standard App: If you have the storage space, download the main Facebook app just to perform the deactivation. It has a more robust menu system.
- Clear Cache: Sometimes the Lite app stores an old version of the Settings menu. Go to your phone’s App Settings > Facebook Lite > Storage > Clear Cache, then try again.
FAQ: Quick Hits for Fast Answers
Q: Can I reactivate whenever I want? Yes. To end a temporary deactivation, simply log back into the app with your email and password. Everything will restore instantly.
Q: How to delete Facebook Lite if I forgot my password? You must recover your account first. Use the Forgot Password link on the login screen to reset your credentials before you can access the deactivation menus.
Q: Will my friends be notified that I deactivated? No. You will simply disappear from their friends list and search results. There is no automated notification.
Q: Does deactivating Facebook delete everything on my Instagram? Not unless you have specifically linked them and chosen to deactivate both. Within the Accounts Center, you can manage each profile independently.
Visit Our Post Page: Blog Page
Discover more from Izoate
Subscribe to get the latest posts sent to your email.