
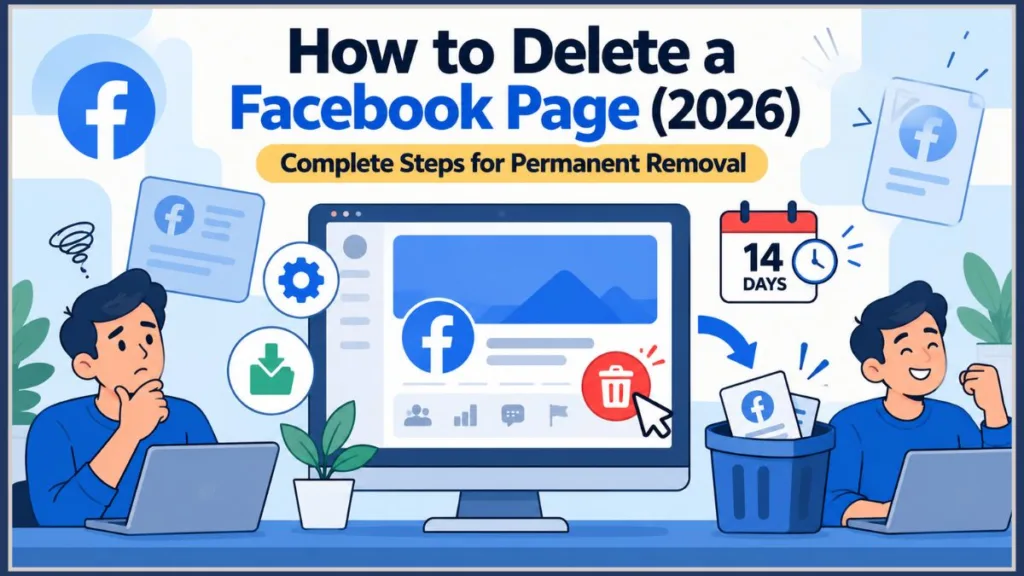
Want to shut down a Facebook Page for good in 2026? Here’s how to permanently delete a Page you manage, what Meta’s 14-day cancellation window actually means, and when unpublishing or deactivating is the smarter move instead.
Running a Facebook Page has become second nature for businesses, creators, communities, and side projects everywhere. But pages have a way of piling up — an old business Page you’ve since rebranded, a test Page that never went anywhere, or a duplicate you created by mistake while switching between profiles. When a Page has outlived its purpose, keeping it around usually causes more confusion than it’s worth.
The tricky part is that deleting a Facebook Page is not the same as deleting your Facebook account, even though both actions live inside the same login. That mix-up trips up a lot of people, especially anyone managing more than one Page from a single profile. Below, you’ll find the full process for permanently deleting a Page, what to do before you start, the alternatives Meta gives you, and what to do if the delete option seems to have vanished.
Why You Might Want to Delete a Facebook Page
There’s no single reason people decide to remove a Page — it usually comes down to one of these situations:
- Business closure or rebrand: The company, product, or brand the Page represented no longer exists under that name.
- Duplicate Pages: You accidentally created a second Page while setting things up, and now two versions of the same business exist.
- Abandoned projects: A Page made for a short-term campaign, event, or side hustle that never took off.
- Privacy concerns: A personal-interest or hobby Page you no longer want tied to your name.
- Cleaning up your profile switcher: Old Pages cluttering the See all profiles menu every time you log in.
Whatever the reason, Meta gives you several distinct tools for dealing with an unwanted Page: permanent deletion, unpublishing, deactivation, merging, and ownership transfer. Picking the right one matters, because only deletion is truly irreversible.
What Actually Happens When You Delete a Facebook Page in 2026
Before you go looking for the delete button, it helps to understand what deletion actually triggers, because it isn’t instant.
Meta’s own Help Centre states it plainly: when you request that Facebook delete your Page, they’ll deactivate your Page immediately, but it won’t be permanently deleted until 14 days have passed. During that window, the Page is hidden from public view, yet it still technically exists, and the deletion request can be cancelled.
A few things worth knowing upfront:
- You need full control access. Meta requires the highest level of admin permission to delete a Page. If you only have editor, moderator, or task-level access, the option won’t be available to you.
- A Page with no full-control admin is auto-deleted. If your Page doesn’t have at least one person with full control, it will be automatically deactivated and scheduled for deletion.
- You’ll likely be asked to re-enter your password. This is a standard security check before the request goes through.
You may come across older guides or third-party articles quoting a 30-day grace period instead of 14 days. Meta’s current official documentation specifies 14 days, so treat that as the number to plan around.
Before You Permanently Delete: What to Do First
Because deletion starts a countdown you can’t pause, it’s worth spending a few minutes on prep before you touch the delete button — especially for a Page with any real history behind it.
Download your Page’s data: Switch into the Page, click its profile photo in the top-right corner, and go to Settings & privacy > Settings > Privacy > Facebook Page Information. Next to Download Profile Information, click View to choose your format (HTML or JSON) and media quality, then request the file. This export is separate from your personal account’s data download, so make sure you’re acting as the Page — not your personal profile — before starting.
Check what’s connected to the Page: A Page rarely exists in isolation. Before deleting it, review whether it’s linked to:
- An Instagram business account (disconnecting it first avoids leaving Instagram in a broken state)
- WhatsApp Business integrations
- A Meta Ads account with active or paused campaigns
- Third-party apps or scheduling tools (Buffer, Hootsuite, Zapier, and similar) that pull data through the Page
Deleting the Page can cut off access for any of these connected tools, so disconnect or reconfigure them first if you still need them elsewhere.
Consider transferring ownership instead: If the Page still has value — an audience, ad history, or business record — but you personally don’t want to manage it anymore, you can add another admin with full control and step back yourself, rather than deleting something someone else might still need.
How to Delete a Facebook Page Permanently (Step-by-Step)
Here’s the process using Facebook’s current New Pages Experience, which almost every Page has now been migrated to.
On Desktop
- Log in to Facebook using the personal account that manages the Page.
- Click your profile photo in the top-right corner and select See all profiles.
- Choose the Page you want to delete. Your interface will switch to “act as” that Page — you’ll see the Page’s photo replace your personal one in the top corner.
- Click the Page’s profile icon, then go to Settings & privacy > Settings.
- In the left-hand menu, click Access and control.
- Select Deactivation and deletion, then choose Delete Page.
- Click Continue and follow the on-screen prompts, entering your password if asked.
Once confirmed, the Page is deactivated right away and enters its 14-day countdown to permanent removal.
On the Mobile App
- Open the Facebook app and tap the menu icon (three lines).
- Tap Pages, then select the Page you want to remove.
- Tap the gear-shaped Settings icon.
- Scroll to Access and control (or Privacy, depending on your app version) and tap it.
- Select Deactivation and deletion, then Delete Page.
- Confirm the request when prompted.
Tip: If the mobile layout doesn’t match these steps, switch to Desktop Site mode in your phone’s browser — the menu structure is more consistent there than in the native app, which Meta updates frequently. Downloading Page data is also easier to complete on desktop, since large exports can be slow over mobile data.
How to Cancel a Pending Deletion
Changed your mind before the 14 days are up? You can still get the Page back.
- Log in and switch into the Page that’s pending deletion.
- Go to Settings & privacy > Settings > Access and control.
- Look for a notice that the Page is scheduled for deletion, along with a Cancel Deletion option.
- Confirm the cancellation, and the Page restores with its content, followers, and history intact.
Warning: Once the 14-day window closes, this option disappears and the deletion becomes permanent. If you’re on the fence, act well before the deadline rather than waiting until the last day.
Key Points to Remember
- Deletion isn’t instant — the Page deactivates immediately but stays recoverable for 14 days.
- You need full control admin access to delete a Page; lesser roles can’t trigger it.
- Deleting a Page does not delete your personal Facebook account.
- Connected tools — Instagram, ads accounts, third-party apps — can lose access once the Page is deleted.
- Once the 14-day window passes, the Page and its content are not recoverable.
- If several people manage the Page, deletion affects everyone’s access, not just yours.
Don’t Want to Delete It? Unpublish, Deactivate, or Merge Instead
Permanent deletion isn’t always the right call, especially if there’s any chance you’ll want the Page again — or if the real problem is a duplicate rather than an unwanted Page.
Unpublishing (older Pages) hides the Page from everyone except admins while keeping every post, photo, and follower intact. You can republish it anytime with no data loss.
Deactivating (New Pages Experience) does essentially the same job under a different name on newer Pages — it hides the Page publicly while preserving all of its content, ready to reactivate whenever you choose.
Merging Pages is worth considering if your real issue is two Pages for the same business rather than one Page you no longer need. Facebook allows eligible duplicate Pages representing the same business to be merged, combining likes/followers and check-ins into a single destination Page. It’s worth knowing what doesn’t carry over: posts, photos, reviews, ratings, and the username from the Page you merge away are not preserved — only the Page with more likes survives as-is, and the merge can’t be undone. If you want to keep specific posts or reviews, save or repost them before merging rather than after.
To unpublish or deactivate:
- Switch into the Page.
- Go to Settings & privacy > Settings > Access and control (or Privacy > Facebook Page visibility on some New Pages Experience accounts).
- Select Unpublish Page or Deactivate Page.
- Confirm the change.
Good to know: Neither unpublishing nor deactivating removes followers, content, or insights. It simply switches the Page’s visibility off until you turn it back on.
Ask yourself one question before deleting: would I ever want this Page back, or does a similar Page already exist that this one should merge into? If either is true, deletion probably isn’t the right tool.
What If You Can’t Find the Delete Option?
A missing delete button is one of the most common frustrations Page owners run into. Usually it comes down to one of these:
You’re still on your personal profile: The Page’s settings only appear once you’ve switched into the Page itself using See all profiles. Check the profile photo shown in the top corner — if it’s your personal photo instead of the Page’s, you haven’t switched yet.
You don’t have full control access: Editor, moderator, advertiser, and other limited roles can’t see the deletion controls. Confirm your access level, or ask whoever holds full control to either delete the Page or upgrade your permissions.
You’re looking at the wrong Page: If you manage several Pages with similar names, it’s easy to open the one you actually want to keep. Double-check the Page name, profile picture, and recent posts before continuing.
Facebook has updated the menu layout again: Meta periodically reshuffles where Page settings live. If a guide tells you to look for a menu item that isn’t there, search for the general Access and control or Deactivation and deletion area instead of hunting for one exact label.
The Page is tied to a Meta Business Suite setup: Pages connected to a business portfolio can have layered permissions. Having the ability to post or run ads doesn’t automatically mean you have the access needed to delete the Page — check with whoever administers the business portfolio.
Deleting a Page vs. Deleting Your Facebook Account
This distinction trips up a lot of people, so it’s worth spelling out clearly.
Your personal Facebook account is the login you use every day. A Facebook Page is a separate presence you manage through that account — you can create, run, and delete several Pages without ever touching your personal profile.
Deleting a Page removes that specific Page only: Your login, friends list, personal posts, and Messenger history stay exactly as they were.
Deleting your account is a much bigger action that removes your entire Facebook presence, including every Page, group, and piece of content tied to that login. If your actual goal is closing one old Page — not leaving Facebook altogether — stick to the Page-deletion steps above rather than the account-deletion process.
Limitations to Know Before Deleting a Facebook Page
- You can’t speed up the 14-day window. Once deletion is requested, that waiting period is fixed.
- You need full control access, which isn’t available to every Page manager.
- Content isn’t downloadable after deletion completes. Export photos, posts, insights, or ad history before you start the process, not after.
- Connected accounts can break. Instagram, WhatsApp Business, and ad campaigns tied to the Page may lose access once it’s gone.
- Interface labels shift over time. Menu names like Access and control or Deactivation and deletion can move or get renamed as Meta updates the Pages experience.
- Business Pages need extra care. If other administrators still rely on the Page, deletion affects their access too — confirm with your team before proceeding.
Final Thoughts on Deleting a Facebook Page
Removing a Facebook Page you no longer need is a straightforward process once you know where the controls live and what the 14-day window means for your data. To recap:
- Prepare first — download your Page data and check what’s connected to it before you start.
- Switch into the Page before looking for any deletion settings — they won’t appear on your personal profile.
- Use Delete Page only when you’re certain you won’t need it again.
- Use Unpublish, Deactivate, or Merge if there’s any chance you’ll want the Page back, or if a duplicate Page is the real issue.
- Act quickly if you change your mind — Cancel Deletion only works within the 14-day period.
- Remember that deleting a Page never touches your personal Facebook account.
If you run into a missing delete button or unclear permissions along the way, work through the checks above one at a time rather than guessing — it usually comes down to switching into the right profile or needing full control access.
Frequently Asked Questions (FAQ)
Q1: How long does it take to permanently delete a Facebook Page?
Meta deactivates the Page immediately once you request deletion, but it isn’t permanently removed until 14 days have passed.
Q2: Can I recover a Facebook Page after deleting it?
Yes, but only within the 14-day cancellation window. After that period ends, the Page and its content can’t be restored.
Q3: Does deleting a Facebook Page delete my personal account too?
No. Page deletion and account deletion are completely separate processes. Your personal profile stays active.
Q4: What happens to my Instagram account or ads when I delete a Facebook Page?
Connections tied to the Page — a linked Instagram business account, WhatsApp Business setup, or active ad campaigns — can lose access once the Page is deleted, so it’s best to review and disconnect them first.
Q5: Why can’t I find the delete option on my Page?
The most common causes are being on your personal profile instead of the Page, not having full control access, or Facebook having moved the setting to a different menu.
Q6: What’s the difference between deleting, unpublishing, deactivating, and merging a Page?
Deleting starts a permanent, 14-day countdown to removal. Unpublishing and deactivating both hide the Page from the public while keeping all content and followers intact and can be reversed anytime. Merging combines a duplicate Page’s likes and check-ins into your main one — but its posts, photos, and reviews are lost in the process.
Visit Our Post Page: Blog Page
Discover more from Izoate
Subscribe to get the latest posts sent to your email.