
Looking for the Empty Disk? Here is how to fight Spamton NEO in 5 steps. Beat the Deltarune Chapter 2 secret boss on both normal and Snowgrave routes!
If you’ve spent any time in the Deltarune community, you know that creator Toby Fox loves hiding incredibly tough, lore-heavy secret bosses behind cryptic puzzles. In Chapter 2, that boss is Spamton NEO. Hiding deep beneath the Queen’s Mansion, locating him requires a lot of backtracking, puzzle-solving, and knowing exactly where to look.
A lot of players get completely lost trying to figure out where to take the Empty Disk or how to unlock the mansion’s basement. Plus, the fight itself completely changes depending on whether you are doing a normal playthrough or the sinister Snowgrave route.
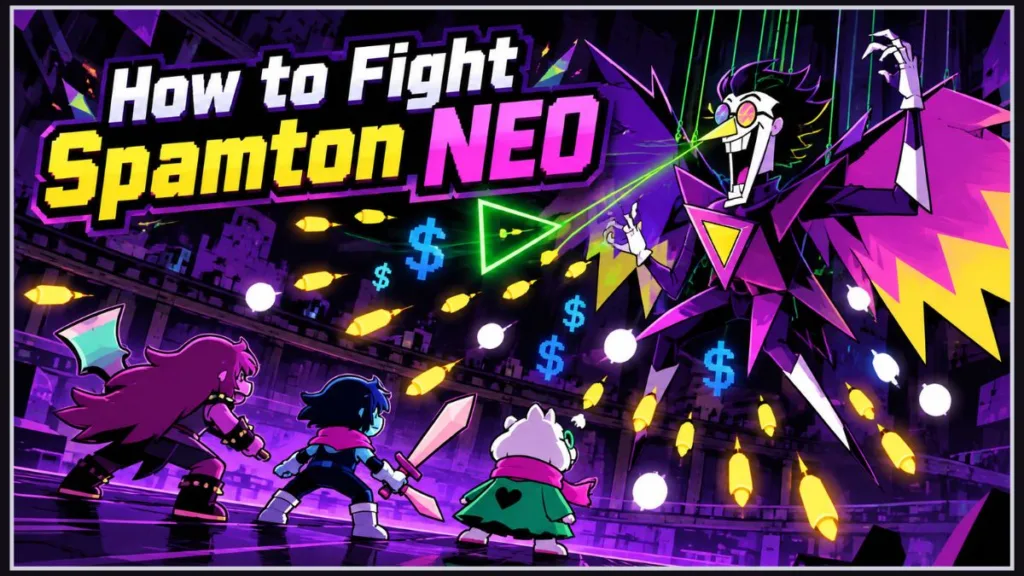
After spending countless hours digging into the mechanics, testing different strategies, and reading through massive Reddit walkthrough threads of players sharing their own pain points, I’ve put together the ultimate step-by-step walkthrough. Here is exactly what you need to do to unlock, survive, and beat Spamton NEO.
The One Rule You Can’t Break: Don’t Attack Spamton Early
Before we even get to the mansion, there is a massive trap you can fall into early in Chapter 2. When you first encounter the regular version of Spamton in the dumpster alleys of Cyber City, you have a choice to make.
Crucial Warning: Do not defeat Spamton by attacking him in your first encounter. If you empty his HP using violence, he gets angry and permanently locks you out of his shop. You must accept his deal through the ACT menu.
Once you accept his deal, he will vaguely invite you to his storefront in the Trash Zone. If you accidentally attacked him, you unfortunately have to reload an older save to complete this quest.
Step 1: Find the Hacker’s Blue Checkmarks
While navigating the Cyber Field early in the chapter, you will run into a cursor-faced NPC called the Hacker. He asks you to find his three blue checkmarks. While some players have noted that you can technically guess where the secret door is later without him, getting his help makes the process guaranteed and stress-free.
Here is exactly where to find them:
- The Tasque Chest: From the Hacker, head south and take a right. Dodge the falling lines and keep heading south until you hit a room with roaming Tasque enemies. In the bottom-right corner of this room is a red chest containing the first checkmark.
- The Teacup Ride: Progress forward until you reach an area with three teacup rides. Take the leftmost teacup ride up, collecting the arrows on the way to reveal the second checkmark.
- The Spelling Puzzle: Right past that teacup ride, you’ll find a room with keyboard keys on the floor and a password on a screen. Walk over the keys to spell out exactly GIASFELFEBREHBER. There is no penalty for messing up—just step off and try again. When you get it right, the final checkmark appears.
Talk to the Hacker again. He will promise to help you later and will automatically move to the Queen’s Mansion.
Step 2: Buy the KeyGen from Spamton’s Shop
Once you reach the Queen’s Mansion and unlock the hub area with the Warp Doors, use the door to teleport back to the Trash Zone.
Walk all the way to the left, through a hole in the north wall, and enter Spamton’s shop. His inventory is mostly junk, but you are looking for the KeyGen.
Buying Tip: The price of the KeyGen fluctuates wildly—sometimes it’s a few Kromer, sometimes it’s thousands. Just wait for the price to drop to a low number (usually under 100) and buy it.
Step 3: Find the Secret Room in the Queen’s Mansion
Teleport back to the Mansion. Progress through the first floor normally until you reach the room with the stoplight puzzle and the speeding cars.
Use the switches to stop the traffic and navigate the puzzle. However, when you reach the end of the traffic, do not go upstairs to the second floor. Instead, head to the right. You will enter a room filled with statues of the Queen in a “Thinker” pose.
If you collected the checkmarks, the Hacker will be pacing back and forth in this room. Watch him closely. When he stops pacing, his head will turn from a triangle cursor into a pointing hand cursor. Walk to the exact spot on the wall he is pointing at and interact with it. A hidden switch will trigger, opening a secret pathway to the south.
Step 4: The Basement Teacup Ride
Head through the newly opened shortcut, which loops back to the mansion lobby, and interact with the locked gate. Use the KeyGen you just bought to open the door, and head downstairs into B1F.
Save your game at the save point immediately! You are about to face a teacup ride that has ruined many players’ runs.
Take the teacup ride down to deactivate the forcefield, and then ride it back up. The ascent is basically a bullet-hell mini-game.
Survival Strategy: The best advice from the Deltarune Reddit community is to stop trying to dodge everything. Focus heavily on dodging the first two obstacles, but when the electric spheres stop moving and form static patterns, stay completely still. Let yourself take one or two hits. You will take way more damage trying to weave through the static sections than if you just accept a single hit.
Step 5: The Empty Disk and the Loaded Disk
Once you survive the teacup ride, head to the right, past the now-deactivated force field. Enter the rightmost door.
You will find a dark room with a broken, discarded robot body hanging on the back wall. Interact with the glowing spark on it to receive the Empty Disk.
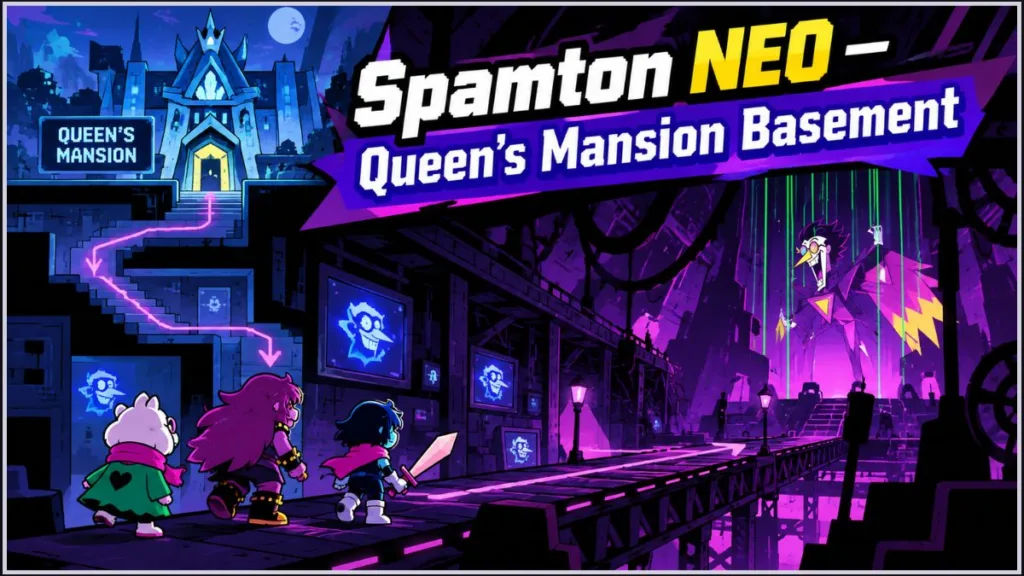
Now, you have to backtrack. Walk all the way out of the basement, use the Warp Door in the lobby, and return to Spamton in the Trash Zone. Talk to him, and he will transfer himself into the item, turning it into a Loaded Disk. His shop will now permanently close.
Take the Warp Door back to the Mansion, head all the way back down into the basement, and insert the Loaded Disk back into the broken robot body.
Nothing will happen at first. But the moment you turn around and try to leave the room, the pathway will block, and the Spamton NEO boss fight will begin.
How to Beat Spamton NEO (Normal Route)
When you fight Spamton in the basement, you have your full party (Kris, Susie, and Ralsei). Your SOUL turns yellow, introducing the Big Shot mechanic. Holding down the confirm button charges your SOUL, allowing you to fire a massive blast.
Here is how to survive his most chaotic attacks:
- The Telephone Spider: When Spamton shoots phones at you from his hands, firing a charged Big Shot will actually knock his hands backward, giving you much more room to maneuver.
- The Pipis (Blue Eggs): He frequently fires blue oval-shaped eggs called Pipis that explode into smaller projectiles. Don’t try to dodge the explosions—use a charged shot to destroy multiple Pipis before they even burst.
The F1 Trick: Just like in your very first encounter with him, pressing F1 on your keyboard (or pressing the right stick on a controller) will summon a tiny Spamton Angel that heals your party for a massive amount of HP. You can only use this once per fight, so save it for an absolute emergency.
Pacifist vs. Violent Outcomes
Like the Chapter 1 Jevil fight, your reward depends entirely on how you choose to win.
The Pacifist Way (Sparing): If you want to spare him, do not use the FIGHT command. Instead, use Kris’s Snap or SnapAll ACTs to systematically cut his wires. You can speed this up by using Ralsei’s healing and having Susie defend to build TP for SnapAll. Once you cut the final string, he shuts down peacefully.
- Reward: The Dealmaker (an incredible armor piece that boosts defense, magic, and money earned) and a Shadow Crystal.
The Violent Way (Fighting): If you choose to attack and deplete his HP to zero, his mechanical body will attempt to transform into “Spamton EX” before violently exploding.
- Reward: The PuppetScarf (a weapon for Ralsei that, according to the Deltarune Wiki’s item stats, massively boosts his attack power to rival Susie’s) and a Shadow Crystal.
The Snowgrave Route Difference
If you decided to go down the dark, manipulative Snowgrave (Weird) route by forcing Noelle to freeze her enemies in the City, the Spamton NEO encounter changes entirely.
In this route, the basement sidequest does not exist. As detailed in IGN’s Snowgrave route walkthrough, Spamton NEO completely takes over the Queen’s Mansion and replaces Queen as the final boss of Chapter 2.
The Solo Challenge: The most terrifying difference in the Snowgrave route is that Kris has to fight Spamton NEO completely alone. You do not have Ralsei to heal you or Susie to deal damage. Because you are alone, grazing his bullets closely is mandatory to build up your TP meter so you can cast FriedPipis to heal yourself.
Toward the end of the Snowgrave fight, his defense will skyrocket, and your normal attacks will only do single-digit damage while he infinitely spams Pipis at you. Stop fighting. You must survive and use the ACT command several times in a row to finally end the battle.
The Completionist’s Save File Trick
If you are a completionist, you might be frustrated that triggering the Snowgrave route locks you out of the basement fight, meaning you can’t get the Dealmaker and the PuppetScarf on the same run.
The community developed a brilliant save file strategy for the Spamton NEO ending so you don’t have to replay the entire game from scratch:
- Start a normal playthrough and progress to the Trash Zone. Save your game on File 1.
- Keep playing normally until right after the Berdly boss fight in the City. Save your game on File 2.
- Use File 2 to trigger the Snowgrave route. This allows you to experience the intense solo Spamton NEO final boss fight.
- When you are done, load up File 1 again. You can now play the rest of the game normally, complete the basement puzzle, and choose between the Pacifist or Violent outcomes to get the item you missed!
Visit Our Post Page: Blog Page
Discover more from Izoate
Subscribe to get the latest posts sent to your email.