
Blocked by the Vanguard UEFI Secure Boot error on Windows 11? Learn how to safely restore your BIOS keys and fix Valorant without ruining your PC.
You finally upgraded your rig to Windows 11, downloaded your favorite tactical shooter, and clicked launch—only to be blocked by a wall of text: “This version of Vanguard requires UEFI Secure Boot to be enabled in order to play.”
“I haven’t changed anything, and suddenly my game is locked out.” — Every PC gamer experiencing the Vanguard Secure Boot error.
It is incredibly frustrating. You know your PC meets the hardware requirements, yet the Riot client refuses to cooperate. This specific Vanguard UEFI Secure Boot error is directly tied to Microsoft’s strict security demands for Windows 11, which Riot Games has fully embraced to keep their competitive ecosystem clean.
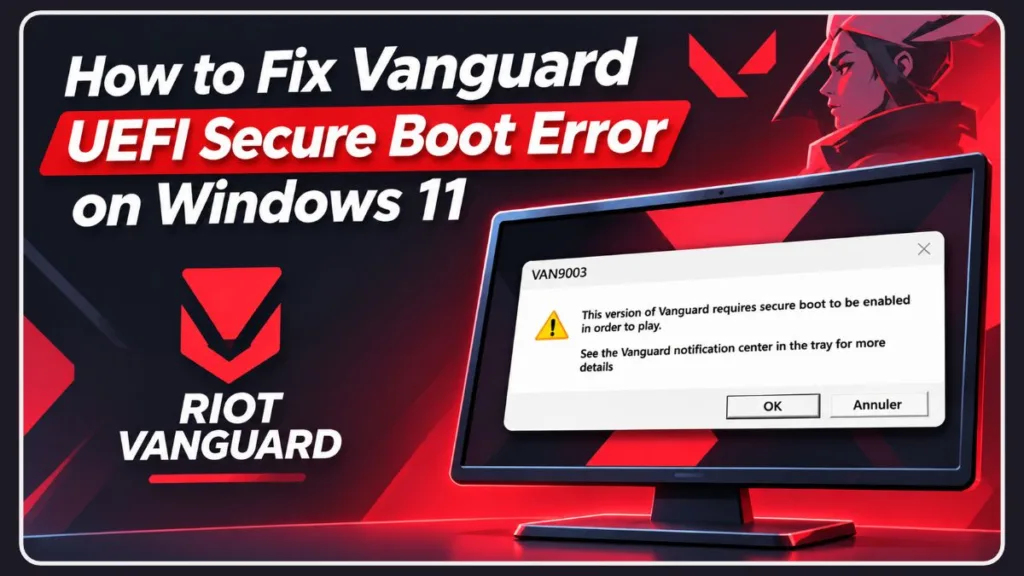
Before you reboot and start wildly changing firmware settings—which can actually result in a computer that refuses to load Windows—let’s break down exactly what is happening, why the anti-cheat is suddenly so demanding, and how to properly fix it step-by-step.
Why Does Vanguard Suddenly Require UEFI Secure Boot Anyway?
To understand the fix, you need to know why the software is throwing a fit in the first place. Riot Vanguard operates at the kernel level, the deepest layer of your operating system. It performs deep, boot-level security checks to ensure no sophisticated cheats are loading in the background before your OS even finishes starting up.
If you are seeing error codes like VAN 9001, VAN 9003, or VAN: STATUS_SB_POLICY, it means Vanguard looked at your motherboard’s security configuration and didn’t trust it. On Windows 11, the anti-cheat strictly checks for three critical features before it gives the green light:
- UEFI Boot Mode: The modern replacement for old-school BIOS. It is required for the system to handle advanced security protocols.
- Secure Boot: A security standard that ensures your PC only boots using software trusted by the Original Equipment Manufacturer (OEM).
- TPM 2.0 (Trusted Platform Module): A cryptographic hardware chip on your motherboard that securely stores encryption keys.
If any of those three elements are missing, misconfigured, or simply unreadable by Windows, the game simply will not launch.
Step 1: The Windows Pre-Check (Do This Before Touching Your BIOS)
Do not jump straight into your BIOS. Often, what your motherboard is doing and what Windows thinks it is doing are two entirely different things. We need to see exactly what the operating system is reporting to Vanguard.
Checking Your BIOS Mode and Secure Boot State
- Press Windows + R on your keyboard to open the Run dialog.
- Type msinfo32 and hit Enter to pull up your System Information.
- Scroll down the main list until you find BIOS Mode. For the game to work, this needs to say UEFI. If it says Legacy, you have a fundamental boot configuration issue.
- Look slightly below that for Secure Boot State. This must report as On.
Checking Your TPM 2.0 Status
Since Secure Boot and TPM go hand-in-hand for Windows 11 users, you should verify your TPM module is active while you are on the desktop:
- Press Windows + R again.
- Type tpm.msc and press Enter.
- Look under Status in the middle pane. It should explicitly say “The TPM is ready for use.”
- Check the Specification Version in the bottom right corner—it must be 2.0.
If your system says Secure Boot is Off, or if you already know you turned it on in the firmware but Windows still says it is off, keep reading. We have the exact solutions for both scenarios.
Step 2: The Real-World Fixes for Vanguard’s Boot Errors
Based on what you found in the system information menus above, here are the real-world solutions to get past the Vanguard startup error safely.
Fix 1: The “But It’s Already Enabled in BIOS!” Bug (Restoring Your Keys)
This is the single most common headache on Reddit and gaming forums. You reboot, check your settings, and verify that the feature is absolutely turned on, yet you still get a Valorant UEFI Secure Boot error.
Why does this happen? The digital certificates (Secure Boot keys) that Windows uses to verify the boot process frequently get corrupted, wiped, or outdated during major OS upgrades or BIOS flashes. Sometimes your firmware will even give you a vague error message stating that “Secure Boot can be enabled when the system is in user mode.”
To fix this synchronization issue and force Windows to read the BIOS correctly:
- Restart your computer and press the designated hotkey (usually Del, F2, or F11) repeatedly to enter your motherboard’s firmware menu.
- Navigate to the Security or Boot tab.
- Look for a setting called Secure Boot Mode and change it from Custom to Standard.
- If that option isn’t there, look for a Key Management section and click Restore Factory Keys or Reset Secure Boot Keys.
- Save and Exit (Usually F10).
Saving these changes forces Windows to recognize the updated security state, resolving the mismatch so Vanguard can finally see it.
Fix 2: Moving from Legacy to UEFI (Warning: Read Carefully)
If your initial msinfo32 check showed a Legacy BIOS mode, you need to disable a feature called the CSM (Compatibility Support Module) in your firmware to switch over to full UEFI mode.
CRITICAL WARNING: If your copy of Windows was originally installed on an older MBR (Master Boot Record) partition style, simply turning off CSM will break your system. Your PC will enter an endless boot loop because it no longer knows how to read the hard drive without Legacy support.
How to safely check your drive partition before changing BIOS settings:
- Right-click the Windows Start Button and select Windows Disk Management.
- Right-click on your main OS drive (usually Disk 0) on the far left grey box and select Properties.
- Go to the Volumes tab.
- Check the Partition style.
- If it says GUID Partition Table (GPT), you are safe to reboot into BIOS, disable CSM, and enable Secure Boot.
- If it says Master Boot Record (MBR), you must stop here. You will need to use a tool like Microsoft’s MBR2GPT utility to convert the drive over to GPT first. Only after the drive is successfully converted is it safe to disable CSM in the BIOS.
Fix 3: Update Your Motherboard BIOS Firmware
If you have verified that your drive is GPT, Secure Boot is enabled, and your keys are restored, but the error persists, you are likely dealing with a known firmware bug. Many early Windows 11 motherboard BIOS versions had broken Secure Boot reporting.
Navigate to your motherboard manufacturer’s support page on another device, download the latest BIOS update to a USB flash drive, and use your motherboard’s built-in flash tool to update the system. This often permanently resolves stubborn VAN: STATUS_SB_POLICY errors.
Fix 4: The “Run as Administrator” Hail Mary
Sometimes, the simplest tricks bypass the headache entirely. A handful of the community has found that simply right-clicking the Riot Client shortcut on the desktop, selecting Properties, navigating to the Compatibility tab, and checking Run this program as an administrator pushes the software past the security hangup. It doesn’t solve the underlying firmware configuration, but if it gets you into the match, it’s worth trying first.
Where to Find the Secure Boot Setting on Every Major Motherboard
Every manufacturer designs their menus differently, making it incredibly frustrating to find specific toggles. If you need to enable the feature but can’t find it, here are the standard navigation paths for the major hardware brands:
- ASUS: Press F7 for Advanced Mode > Navigate to the Boot tab > Secure Boot > Ensure OS Type is set to Windows UEFI Mode.
- Gigabyte: Go to the Boot tab > find Secure Boot Enable and toggle it on. You may need to disable CSM support entirely first for the Secure Boot option to even appear.
- MSI: Head to Settings > Advanced > Windows OS Configuration > toggle the Secure Boot requirement to On.
- ASRock: Go to the Security tab > Select Secure Boot > Set to Enabled. (If it says “Active”, you are good to go).
- Acer / HP / Dell (Laptops & Pre-builts): Typically found under the Security or Authentication tabs. Pro-Tip: You often need to set an Administrator Password in the firmware before the Secure Boot toggle unlocks.
Quick Answers to Common Vanguard & Secure Boot Questions
Is Secure Boot the exact same thing as TPM 2.0? No, they are different technologies that work together. TPM 2.0 is a physical (or firmware-based) security chip that stores encrypted keys. Secure Boot is a software protocol that checks those keys to ensure no unauthorized software loads before Windows. Vanguard requires both to be active.
Can I fix this Vanguard error on a Mac? Unfortunately, no. If you are running Windows 11 via Boot Camp on an Intel Mac, you will not be able to play. Apple’s hardware does not support the TPM 2.0 or secure firmware requirements demanded by Riot Vanguard, making the game incompatible with that specific setup.
How can I bypass a Secure Boot violation entirely? You cannot bypass this on Windows 11. Riot’s anti-cheat enforces strict compliance at the kernel level. If the environment isn’t completely secure, the client will shut down the launch process immediately.
Does Valorant require these settings if I stay on Windows 10? Generally, no. The aggressive enforcement of these specific boot configurations is directly tied to the architecture of Windows 11. If you are running an older machine on Windows 10, the game is far more lenient regarding your firmware settings, meaning you can often play with Secure Boot disabled.
What happens if I disable Secure Boot after passing the Vanguard check? If you successfully boot the game, close it, and then disable Secure Boot in your BIOS again, Vanguard will instantly catch the change on your next reboot. You will receive the exact same error code the next time you try to launch the Riot Client.
Visit Our Post Page: Blog Page
Discover more from Izoate
Subscribe to get the latest posts sent to your email.