
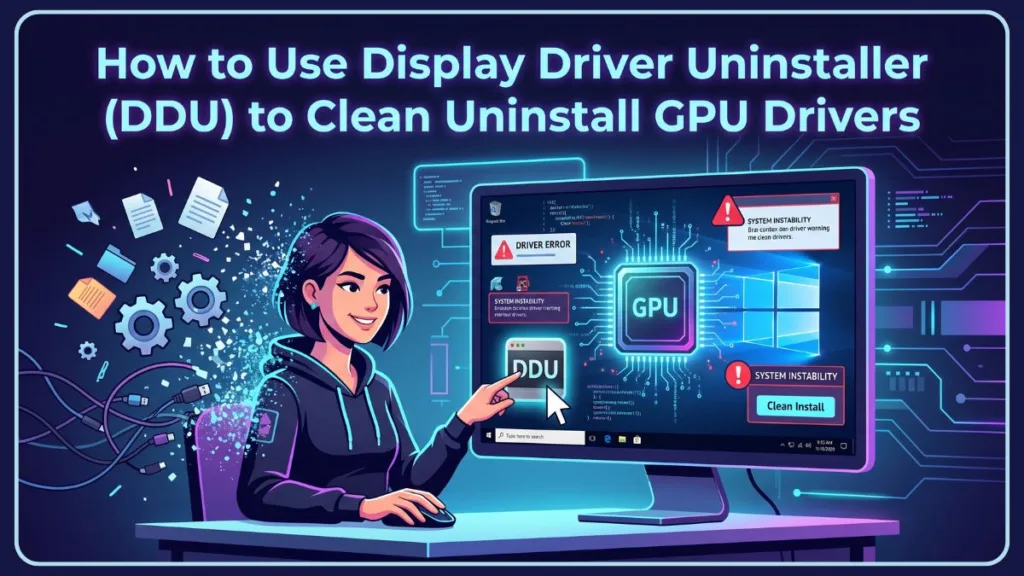
Struggling with GPU driver issues or crashes on Windows 11/10? Learn how to use Display Driver Uninstaller (DDU) to clean uninstall GPU drivers using simple steps. From removing NVIDIA, AMD, or Intel drivers completely to fixing driver conflicts and preparing for a fresh install. Get your system running smoothly today.
If you are reading this, chances are you are not having a great time with your PC right now. Whether you are staring at a black screen after a driver install, fighting a display adapter not working error, or pulling your hair out over PC stuttering after a driver update, graphics card issues can be incredibly frustrating. The standard Windows uninstaller often leaves behind a hidden mess of broken files and registry keys, trapping you in a cycle where your new drivers simply refuse to cooperate.
Take a deep breath—your hardware is likely fine. You just need the right tool to clean up the software mess.
Enter Display Driver Uninstaller (DDU). While the name sounds highly technical, it is a perfectly safe, widely trusted solution that will give your system the fresh start it desperately needs. In this guide, we will walk you through exactly how to achieve a clean driver installation in Windows without putting your PC at risk.
What is Display Driver Uninstaller (DDU) and Why Do You Need It?
Display Driver Uninstaller, developed by the tech-savvy team at Wagnardsoft, is a specialized driver removal utility designed to scrub your system clean. When a standard uninstall fails, DDU digs deep into your system to wipe out all GPU driver leftovers, including stubborn registry keys, leftover installation folders, and cached files in the Windows driver store.
Think of it as bulldozing an old, crumbling house before building a new one, rather than just painting over the cracks.
When should you actually use it?
- Switching GPU AMD to NVIDIA (or vice versa): If you are changing hardware brands, DDU prevents cross-brand GPU driver corruption by ensuring no old files conflict with your new card.
- Fixing Installation Errors: If a driver uninstall failed in Windows or your display driver keeps failing to install, DDU clears the roadblock.
- Building or Upgrading: It is one of the foundational best practices of GPU driver installation to ensure peak performance right out of the gate.
Pre-Flight Checklist: How to Prepare for a Safe and Clean GPU Driver Removal
Before we touch the uninstaller, we need to prep the environment. Do not skip these steps!
- Get the Tools: Secure the DDU download directly from the Display Driver Uninstaller official website to ensure you get the legitimate Wagnardsoft DDU tool. We highly recommend grabbing the DDU portable version, as it simply extracts to a folder without requiring a full system installation.
- Download New Drivers Now: Head to the NVIDIA, AMD, or Intel website and download the latest graphics drivers for your card. Save the installer to your desktop. You will need this ready before you wipe your current drivers.
- Create a Restore Point: As a golden rule of PC maintenance, always create a system restore point before driver removal. DDU is very safe, but having a failsafe provides peace of mind.
- Pull the Plug: You must disconnect the internet before driver install. If your PC is online when it restarts without a graphics driver, Windows Update will panic and aggressively try to download a generic (and often outdated) driver in the background, ruining your clean install. Unplug your Ethernet cable or disable your Wi-Fi.
How to Use DDU: Step-by-Step Guide for Windows 10 & Windows 11
Step 1: Boot into Windows Safe Mode
For DDU to do its job properly, you need to use it in Safe Mode. Windows Safe Mode driver removal ensures that third-party apps, anti-cheat software, and Windows itself aren’t actively using the files DDU is trying to delete.
If you aren’t sure how to boot into safe mode in Windows 11, simply hold down the Shift key while clicking “Restart” from your Start Menu. Navigate to Troubleshoot > Advanced Options > Startup Settings, click Restart, and press 4 or F4 to enable Safe Mode. (Note: If you use BitLocker, have your recovery key ready!)
Step 2: Running the DDU Driver Uninstaller
Once in Safe Mode, open the folder where you extracted DDU and run the executable.
- A settings menu will pop up on the first launch. If you are a beginner, leave the default options checked and click “Close”.
- On the main interface, look to the right side. Select your device type (GPU).
- Select your specific device from the drop-down menu to initiate either an NVIDIA driver cleanup, an AMD Radeon driver removal, or an Intel graphics driver uninstall.
Step 3: Choosing the Right Removal Option
You will see three main buttons on the top left. Choose the one that matches your situation:
- Clean and restart: Choose this if you are keeping your current graphics card but need to fix a faulty driver or perform a routine clean update. DDU will wipe the files and reboot you back into normal Windows.
- Clean and shutdown: This is the mandatory choice if you are physically switching from NVIDIA to AMD drivers (or upgrading to a new card). DDU will wipe the files and turn your PC completely off, allowing you to safely open your case and swap the hardware.
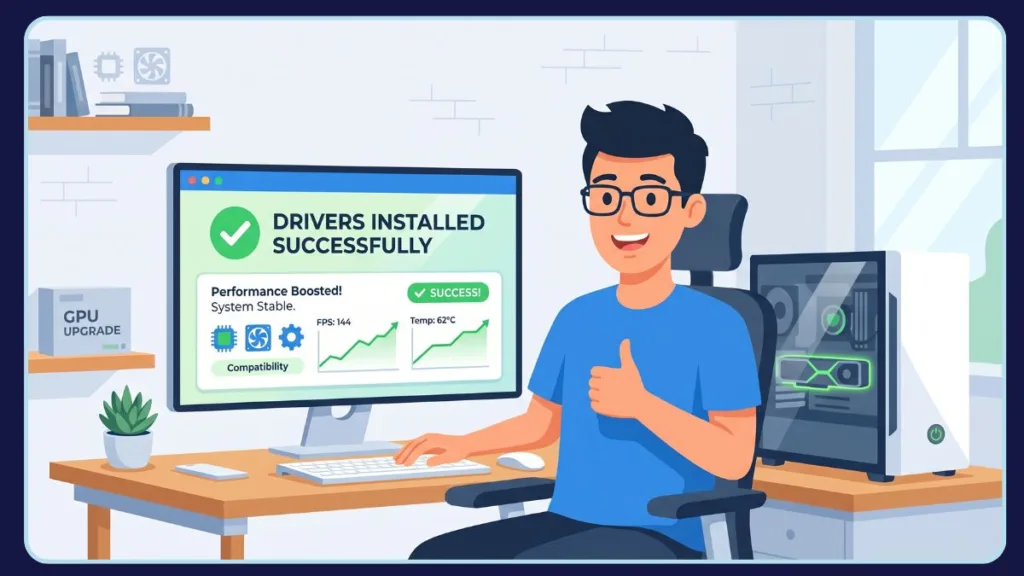
The Aftermath: Doing a Clean GPU Driver Install
When your PC boots back up into normal Windows, don’t panic if your screen resolution looks terrible and everything is stretched out. This is exactly what is supposed to happen! It means the GPU driver uninstaller did its job, and your PC is currently running on Microsoft’s basic display adapter.
Since you smartly disconnected from the internet and pre-downloaded your new drivers in the Pre-Flight Checklist, simply double-click that NVIDIA or AMD installer on your desktop. Follow the prompts, let the screen flicker a few times as the new drivers hook in, and once the installation is complete, you can safely reconnect to the internet.
Frequently Asked Questions
Is Display Driver Uninstaller safe to use? Yes, when used correctly in Safe Mode. It is widely regarded as the best GPU driver cleaner by PC enthusiasts and creates a highly stable, blank-slate environment for new drivers.
Do I need to use DDU every time I update my GPU drivers? No. For routine, monthly driver updates, the standard “Express Install” is usually fine. Only use DDU for major hardware changes, or if you are actively seeking a GPU driver conflict fix because you are experiencing game crashes after a GPU driver update.
What happens if I use DDU without disconnecting from the internet? Windows Update will detect that you are missing a display driver and immediately try to install a generic or outdated version in the background. This will clash with the fresh drivers you are trying to install manually, putting you right back where you started.
Can DDU remove audio drivers too? Yes. While mostly used for graphics, DDU includes tools for Realtek audio driver cleanup and Soundblaster removal if you are experiencing severe audio stuttering tied to your motherboard’s sound drivers.
Is DDU better than uninstalling from Device Manager? Absolutely. Relying on a Device Manager uninstall driver method almost always leaves behind orphaned registry entries and cached files in the driver store. DDU removes these completely, ensuring a true clean slate.
Conclusion: A Clean Slate for Your Graphics Card
You did it! While dealing with display adapter errors and black screens can feel like a tech nightmare, you’ve successfully navigated the fix like a pro. By using Display Driver Uninstaller, you’ve completely eradicated those stubborn, corrupt files and given your system the ultimate fresh start. Your PC is now fully optimized and ready to handle whatever games or demanding workloads you throw at it, completely glitch-free.
Now, over to you! Did DDU finally solve that frustrating stuttering issue you were experiencing? Or are you using this guide to prep your system for a massive, next-gen GPU upgrade? Drop a comment below and let us know which graphics card you are switching to, or ask any questions if you hit a snag during the process. We’re here to help!
Visit Our Post Page: Blog Page
Discover more from Izoate
Subscribe to get the latest posts sent to your email.