
Struggling to open a team email? Learn how to manually add a shared mailbox in Outlook with this step-by-step guide for Desktop, Web, and Mobile apps.
If your IT department just granted you access to a central team email—such as sales@company.com or support@company.com—your first priority is figuring out how to open that inbox alongside your personal work messages.
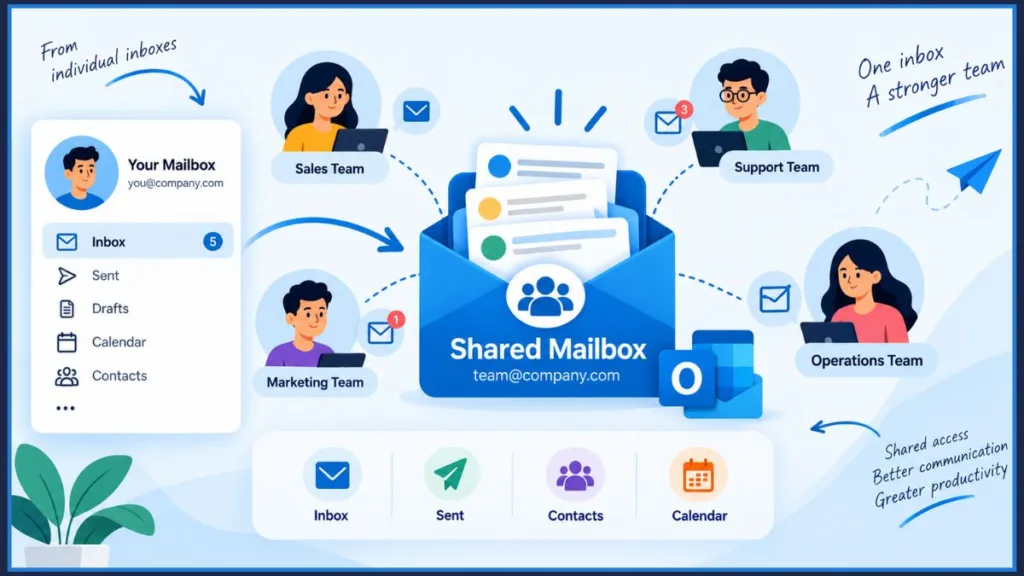
Managing multiple email accounts in one platform significantly improves your daily productivity. When set up correctly, a shared mailbox provides a central hub that allows your team to reply to customer requests from the next available person, share a unified contact list, and coordinate schedules using a group calendar.
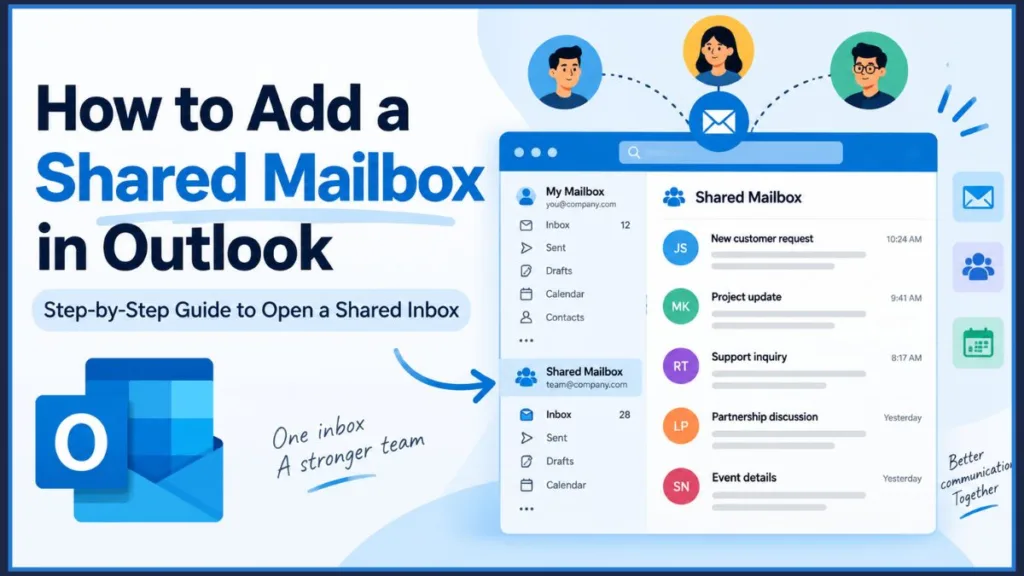
Whether you’re using the streamlined Outlook 365, the Classic desktop client, Outlook on the Web (OWA), or the mobile app, each version provides a reliable way to connect these additional mailboxes. In this guide, we’ll walk through exactly how to get your shared inbox set up so you can access all your important communications in one place.
Why Isn’t My Shared Mailbox Showing Up Automatically?
If you were just notified that you have access to the team email, you might be frustrated to open Outlook and find that the folder is completely missing.
Normally, any shared mailbox you are given access to is automatically added to your account through a Microsoft feature called automapping. However, there is often a server delay between the moment you are granted access and the moment it appears on your screen.
Quick Tip: If you don’t see the new inbox right away, simply close the Outlook application entirely and open it again to force a refresh.
If you have restarted the app and you are still not seeing the new folder—or if the automatic mapping feature simply isn’t working for your organization—you will need to connect the folder manually.
What You Need to Know Before Adding the Inbox Manually
Before you attempt to manually add the shared folder, you need to verify two critical requirements. If you do not meet these criteria, the manual steps provided later in this guide will not work:
- You must be on an Exchange network: You need a Microsoft Exchange account to add a shared inbox. You cannot do this with a standard, personal Outlook account. If you do not see the menu options mentioned in the steps below, you likely aren’t using an Exchange account.
- You need backend permissions: You cannot grant yourself access to a shared mailbox. Your IT administrator must assign your specific user account Full Access on the backend before you can proceed.
Important Note: A shared mailbox does not have its own login credentials. You do not need a separate password, nor can you set one. You will always log in using your standard, personal work email and password.
How to Manually Connect a Shared Mailbox
If the folder didn’t appear automatically after a restart, you will need to add it yourself. Make sure you are viewing the Mail tab before starting these steps. Eventually, the shared Inbox folder will appear in the left-hand navigation pane, right under your primary account name.
Because Microsoft’s interface varies across different devices, choose the instructions below that match your specific software version.
Connecting to New Outlook (Outlook 365)
Adding a shared mailbox in the newer, streamlined Outlook 365 interface is highly useful for modern teams that need to handle emails efficiently without forwarding messages back and forth.
- Open the App: Launch the New Outlook application on your PC or Mac.
- Go to Settings: Click on the Settings icon (⚙️) in the top-right corner of the window. Then, click on View all Outlook settings.
- Select Accounts: In the settings menu, navigate to the Accounts tab.
- Add the Mailbox: Under the Connected Accounts section, click on Add Account. Enter the exact email address for the shared mailbox you want to connect (for example, info@company.com).
- Save and Finish: Follow the on-screen prompts to finish the authentication process. Click Continue, then OK once the mailbox has been added. It will immediately appear in your account list.
Adding an Additional Account in Classic Outlook Desktop
If you use the Classic Outlook desktop client, linking the mailbox allows for seamless email access without needing to constantly log in and out of different web portals.
- Open Outlook: Launch the Classic Outlook program on your desktop.
- Go to the File Tab: Click on the File tab located in the top-left corner of the main ribbon.
- Select Account Settings: Click the large Account Settings button, and then select Account Settings again from the dropdown menu. (Tip: Look for the button with an icon of a blue person in a square and a small orange gear).
- Choose Your Email Account: In the window that pops up, select your primary email account (the one that was officially granted access to the shared mailbox) and click Change.
- Click More Settings: Click on the More Settings button, then navigate to the Advanced tab. (This is the middle tab situated between General and Security).
- Add the Mailbox: Under the Mailboxes section, click Add (located to the right of your additional mailboxes list) and type in the shared mailbox’s display name or exact email address.
- Save and Close: Click OK, then Next, and finally Finish to close the account properties windows.
- Restart Outlook: The shared mailbox will now display at the bottom of your Folder pane.
Troubleshooting Missing Buttons: If Outlook restricts you from clicking the Add button during Step 6, you are likely facing an IT policy restriction, attempting the process on a standard personal account rather than an Exchange environment, or using outdated software. Ensure your app is updated to the latest version, and verify with your IT desk that manual mailbox additions are allowed on your network. (Note: On some older versions, the add menu is below the tab list and features an icon of a hand and a piece of paper).
Opening a Shared Folder in Outlook on the Web (OWA)
If you frequently work remotely, hot-desk, or check your email on different devices, integrating the mailbox into your web browser is the most flexible option.
- Sign in to Outlook Web: Go to Office 365 in your web browser and open the Outlook web app.
- Locate your Folders: Look at your left-hand sidebar.
- If you use Exchange Online: Right-click the Folders header.
- If you use Exchange on-premises: Right-click the name of your primary mailbox (usually your own name or email address).
- Add Shared Folder: Select Add shared folder from the context menu that appears.
- Enter the Info: Type the name or the email address of the team mailbox and click Add.
- Save and Finish: The folder will now permanently display in your left-hand pane, neatly nested right under your main mailbox folders.
Browser Sync Issues: If the added mailbox is not syncing properly in your web browser (for instance, the folder appears but new incoming emails aren’t loading), your browser session may be stuck. Try logging out of Microsoft 365 completely and logging back in to force the server to refresh your connection.
Setting Up the Mobile App (iPhone, iPad, & Android)
Managing team communications on the go requires adding the inbox directly to your smartphone or tablet.
- Open the mobile Outlook app and tap your profile picture in the top corner of the screen. (If you haven’t uploaded a photo, it will show your initials).
- Tap the Add Account button. This is located on the left-hand side of the pane and features a gray envelope icon with a blue plus sign.
- Select Add Shared Mailbox from the pop-up menu.
- If you have multiple email addresses signed into the app, choose the specific email address that has been granted backend access to the shared mailbox.
- The shared folder is now successfully added to your mobile account!
How to Send an Email from the Shared Address
Once you have successfully opened the inbox and can read incoming messages, your next logical task is to reply to them.
To maintain a professional appearance and keep replies within the group thread, you must ensure your outgoing emails are sent from the shared address rather than your personal work email.
In Classic or New Outlook Desktop:
- Open a new message or hit reply on an existing thread.
- Look at the From field at the top of the draft. It must display the name or email address of the shared mailbox. If it shows your personal name, click the dropdown arrow to change it.
Tip for Desktop Users: If you don’t see the From field at all, select the Options tab in your top ribbon and click From to make it permanently visible for all future emails.
In Outlook for Web:
- Click the New Message button.
- Click the 3-dots menu located at the top or bottom of the drafting window and choose Show From.
- Ensure the From field displays the team address. Type your recipient’s address and your message, then press Send.
Accessing the Shared Team Calendar
A major benefit of a team inbox is having a unified calendar to manage group appointments, shifts, and schedules.
Fortunately, once you have successfully connected the email using any of the methods above, the shared calendar is usually added to your account automatically. Simply click the Calendar icon in Outlook, look at your left-hand navigation pane under Shared Calendars or Other Calendars, and check the box next to the team mailbox name to view its events right alongside your personal schedule.
Still Can’t See or Expand the Shared Folder?
If you completed the manual setup steps perfectly but the folder is still completely missing from your sidebar—or if Outlook throws a persistent error saying it cannot expand the folder—you are dealing with a backend permission error.
First, force a fresh sync by completely restarting the app. If the folder still refuses to load, your backend settings are preventing access. You will need to contact your IT support desk and ask them to verify your status.
What to tell IT: “I am trying to manually add a shared mailbox, but Outlook will not let me expand the folder. Can you please verify in the Exchange Admin Center that my specific user account has been successfully granted Full Access?”
Frequently Asked Questions (FAQ)
Do I need a password to access a shared mailbox? No, you do not need a separate password, nor can you set one. A shared mailbox does not have its own login credentials. You will always log in and authenticate using your own standard work email and password.
How long does it take for a shared mailbox to appear? If your IT department just granted you access, it can take up to 60 minutes for Microsoft’s servers to sync the permissions. Usually, the inbox will automatically appear in your folder list (a process called automapping) after you restart your Outlook application.
Why won’t Outlook let me add a shared mailbox? If the “Add” button is missing or you receive an error, you are likely facing one of three issues: your organization’s IT policy restricts manually adding accounts, you are using a standard personal Outlook account rather than the required Exchange account, or your app needs to be updated.
How do I add a shared mailbox to my calendar? Once you successfully add the shared mailbox to your email view, the shared calendar is usually added to your account automatically. Click the Calendar icon in Outlook, look under Shared Calendars or Other Calendars in the left-hand pane, and check the box next to the team name to view it.
Why is my shared mailbox not showing in New Outlook? If you followed the setup steps in New Outlook but the folder is completely missing, force a fresh sync by restarting the app. If it still doesn’t appear, your IT administrator has not successfully granted your specific account “Full Access” permissions on the backend.
Visit Our Post Page: Blog Page
Discover more from Izoate
Subscribe to get the latest posts sent to your email.