
Stuck in the UEFI BIOS? Learn how to install Windows 10 from USB on an ASUS motherboard, configure the right BIOS settings, and install the required drivers.
Installing Windows 10 on a new PC with an ASUS motherboard can feel intimidating when you are staring at a complex BIOS screen instead of the familiar Windows desktop. Don’t worry—this is completely normal. The process is highly standardized and fairly straightforward once you know the correct order.
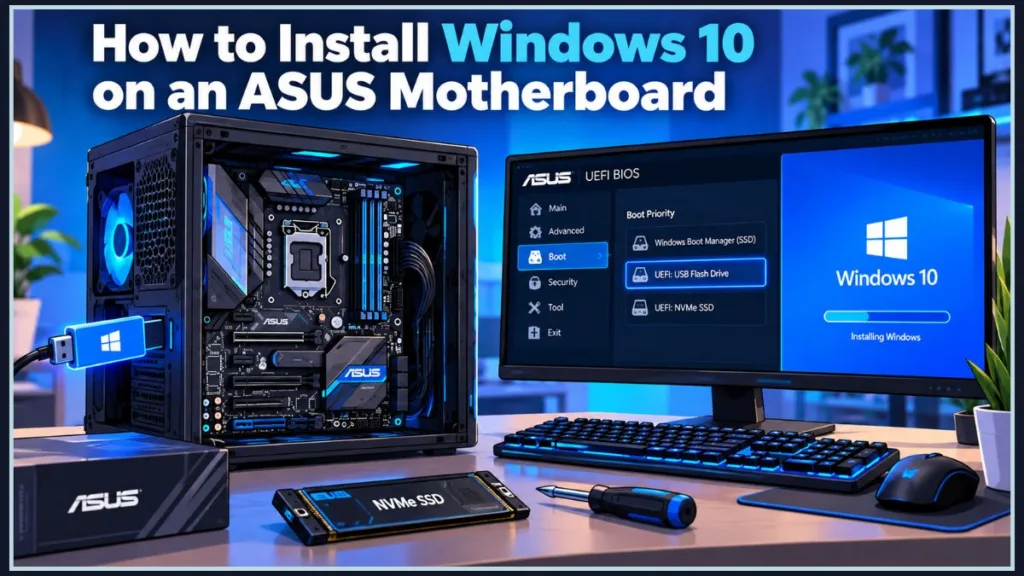
You need to create a Windows 10 installation USB, tell the motherboard to boot from it, configure a few key UEFI BIOS settings, and install the appropriate ASUS motherboard drivers once Windows is running.
This guide walks you through the entire process, step by step, so you can install Windows 10 with confidence.
Important Note for 2026: Windows 10 reached the end of regular Microsoft support on October 14, 2025. Microsoft no longer provides normal security updates or technical support for it. If your hardware supports it, we highly recommend Windows 11. However, if you specifically need Windows 10 for software compatibility or hardware requirements, this guide will show you exactly how to get it running safely.
Get Everything Ready Before Installing Windows 10
Before you change anything in the BIOS, get everything ready first. A clean installation is much easier when you already have the required tools prepared.
You will need:
- An ASUS motherboard with a compatible CPU and RAM installed correctly.
- An SSD or NVMe drive installed to hold Windows.
- A blank USB flash drive with at least 8 GB of space. Warning: Everything on this drive will be erased.
- Access to another working computer with internet access.
- Your exact ASUS motherboard model number, found on the box, the board itself, or in the BIOS.
Step 1: Turn a USB Drive Into a Windows 10 Installer
Your first step is to prepare the Windows installer on your working computer.
- Visit Microsoft’s official Windows 10 download page.
- Download the Windows Media Creation Tool and run it as an administrator.
- Accept the license terms and select Create installation media for another PC.
- Select your preferred language, Windows edition, and architecture, which is usually 64-bit.
- Choose USB flash drive and select your connected blank USB.
- Allow the tool to download the required files and finish the setup.
Once the process finishes, safely eject the USB.
You now have a bootable Windows 10 installer ready for your new ASUS PC.
Step 2: Start Your ASUS PC From the Windows 10 USB
This is where many first-time PC builders get stuck.
You may have a perfectly working USB, yet the PC keeps booting back into the BIOS. The reason is simple: you need to explicitly tell the motherboard to use the USB first.
- Start with your new PC powered off and connect your newly created Windows 10 USB.
- Turn on the PC and repeatedly tap the Delete or F2 key as the system starts.
- You will arrive at the ASUS UEFI BIOS screen. If you see a simplified screen called EZ Mode, press F7 on your keyboard to switch to Advanced Mode.
Choose the USB as Your ASUS Boot Device
Don’t change random BIOS settings. You have two easy options:
- Method 1: Boot Override (Recommended): Navigate to the Save & Exit or Boot menu. Look for Boot Override and click directly on your USB flash drive. The PC will immediately force a boot from the USB.
- Method 2: Change Boot Priority: Go to the Boot section and look for Boot Option #1. Change this from your internal SSD to your Windows installation USB.
Step 3: Check the ASUS BIOS Settings That Actually Matter
You do not need to change dozens of settings to install Windows.
However, if you are having trouble, verify these common settings in Advanced Mode (F7):
- ASUS Motherboard Secure Boot: For a normal modern installation, leave Secure Boot alone. Do not disable it just because you are installing Windows 10. Only change this if you are actively troubleshooting a boot failure.
- ASUS Motherboard CSM Support: CSM (Compatibility Support Module) is for older legacy hardware. For a modern Windows 10 install on an SSD/NVMe, keep CSM disabled so you can use the faster, more secure UEFI mode.
- Fast Boot: If your PC is skipping past the BIOS too quickly for you to press Delete, or if it is struggling to recognize the USB, navigate to the Boot tab and set Fast Boot to Disabled.
- Do I need to update my BIOS? Generally, no. Do not update your BIOS just to install Windows unless ASUS specifically recommends it for your processor compatibility.
Step 4: Walk Through Windows 10 Setup
Once the PC successfully boots from your USB, you will see the Windows Setup screen.
- Select your Language, Time, and Keyboard layout, then click Next.
- Click Install Now.
- Enter your Windows 10 product key, or click “I don’t have a product key” if your motherboard has a digital license tied to it from a previous install.
- Accept the license terms.
- When asked which type of installation you want, select Custom: Install Windows only (advanced). This ensures a clean installation.
Step 5: Select the Drive for Your Windows 10 Installation
Slow down here.
This screen shows your available drives. Choosing the wrong drive or deleting the wrong partition can permanently erase data.
If your SSD is brand new, it should simply say Drive 0 Unallocated Space. Click on it, click Next, and Windows will handle the rest.
If you are reinstalling on an old drive, select the old Windows partitions and click Delete until only Unallocated Space remains.
Warning: This permanently destroys all data on those partitions.
What to Do When Windows Setup Cannot Find Your SSD
Don’t panic if your drive list is completely empty.
This is incredibly common on modern Intel systems from 11th Gen to 14th Gen. Windows simply lacks the Intel Rapid Storage Technology (IRST) driver to “see” your motherboard’s storage controller.
- Go to the ASUS support page for your exact motherboard on a second computer.
- Download the Intel IRST driver, extract the folder, and put it on a separate USB drive.
- Plug that USB into your new PC. On the empty Windows Setup screen, click Load Driver.
- Browse to your USB, select the IRST folder, and load it. Your SSD will magically appear.
Step 6: Finish Windows Setup and Install the ASUS Drivers
Windows will copy files and restart a few times.
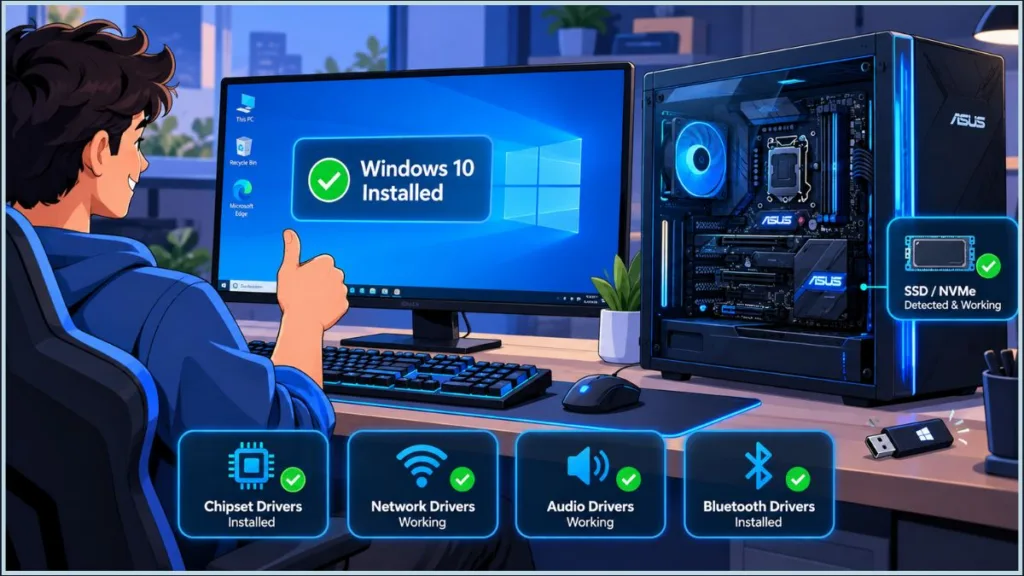
Once you finally reach the desktop, your job is not quite done. Windows has generic drivers, but you need ASUS’s specific drivers to make sure your motherboard runs perfectly.
Install the ASUS Drivers in the Right Order
Go to the official ASUS Support website, search for your exact motherboard model, and download the drivers for Windows 10.
Install them in this order:
- Chipset Drivers: Do this first. This allows Windows to properly communicate with the motherboard.
- LAN / Wi-Fi Drivers: Get your internet working smoothly.
- Audio Drivers: Ensure your headphone jacks and speakers work properly.
- Bluetooth & Other Utilities: Install these last.
Should You Install Every ASUS Driver? No. Only install what you actually need. Avoid optional bloatware or utilities unless you know what they do.
Alternatively, if your motherboard supports it, you can download ASUS DriverHub, which will automatically scan your PC and offer a one-click Install All option for missing drivers.
As another excellent alternative, you can download the MyASUS app to automatically detect, download, and manage your motherboard drivers directly from Windows.
Frequently Asked Questions About Installing Windows 10 on ASUS Motherboards
How do I get my ASUS motherboard to boot from USB?
Enter the ASUS UEFI BIOS by pressing Delete during startup. Press F7 for Advanced Mode, navigate to the Boot menu, and use Boot Override to select your USB drive directly.
Why is my ASUS BIOS skipping the Windows 10 installation?
Your boot priority is likely set to the empty internal hard drive instead of the USB, or you have Fast Boot enabled. Enter the BIOS, disable Fast Boot, and ensure the USB is set as Boot Option #1.
What is Unallocated Space?
Unallocated space is raw storage on your drive that has not been formatted yet. During a custom Windows installation, simply select the unallocated space and hit Next—Windows will automatically format it and create the correct partitions for you.
How do I install drivers on my ASUS motherboard?
Navigate to the official ASUS Support Site, type in your exact motherboard model name, such as ROG STRIX B650-A, select Windows 10 as your OS, and download the Chipset, LAN, and Audio driver .exe files. Run them like normal programs and restart your PC.
Visit Our Post Page: Blog Page
Discover more from Izoate
Subscribe to get the latest posts sent to your email.