
Blocked because Valorant says HVCI must be enabled? Find out exactly why Vanguard is triggering VAN9005 and VAN9006 restrictions and how to clear the error.
Few things are as frustrating as launching Valorant for a competitive match only to be stopped cold by a popup reading: “VAN restriction: your account does not meet requirements.”
If you are locked out with a prompt stating that HVCI must be enabled (frequently paired with error code VAN9005 or VAN9006), your system is failing Riot Vanguard’s hardware and kernel security checks. To combat direct memory access (DMA) cheats and ring-0 exploit injections, Vanguard requires modern Windows systems to run Virtualization-based Security (VBS) alongside Hypervisor-Protected Code Integrity (HVCI), TPM 2.0, and Secure Boot.
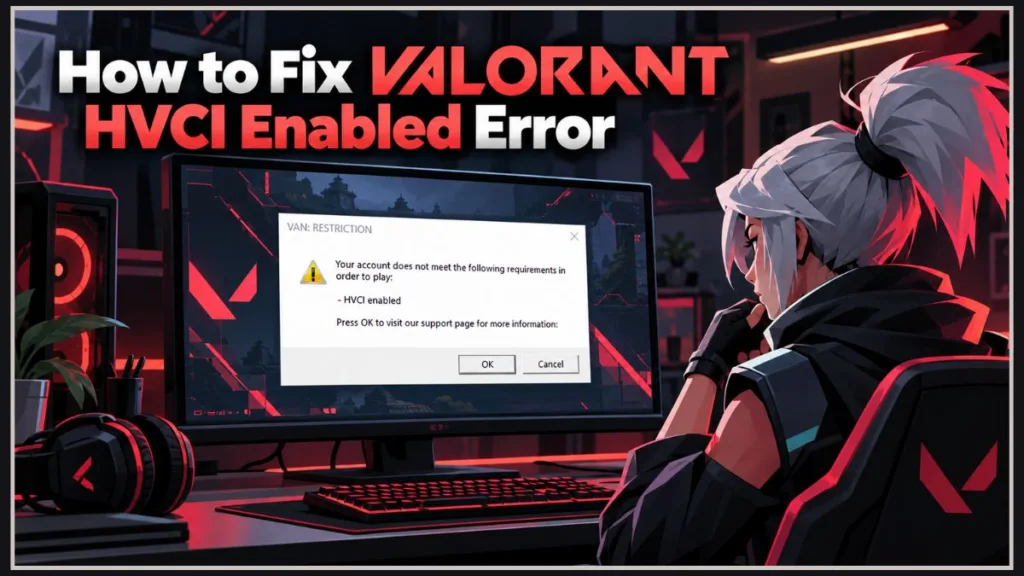
This guide covers everything required to resolve the Valorant HVCI enabled error, eliminate conflicting drivers, properly configure your BIOS/UEFI, and restore your matchmaking access.
What Causes the Valorant HVCI Error and VAN Restrictions?
To resolve the problem permanently, it helps to understand what Vanguard monitors during system boot:
- Hypervisor-Protected Code Integrity (HVCI): Known in Windows as Memory Integrity, this security feature uses hardware virtualization to isolate core operating system processes so unsigned or malicious drivers cannot inject code into kernel space. You can read more about how Windows handles this in Microsoft’s official Core Isolation documentation.
- Virtualization-based Security (VBS): The foundational Windows architecture that creates an isolated subsystem to host HVCI.
- TPM 2.0 & Secure Boot: Security standards used by Vanguard to establish a Hardware Root of Trust. Secure Boot ensures only signed bootloaders run at startup, while the Trusted Platform Module (TPM) handles hardware-level cryptographic verification.
Useful Information: According to Riot Games’ official Vanguard Restrictions support page, Vanguard restrictions do not mean your account is banned. They simply indicate that your operating system configuration currently fails the minimum security baseline required to prevent hardware spoofing and unauthorized kernel modifications.
How Do You Check If Virtualization and TPM Are Currently Active?
Before altering system files or rebooting into your motherboard settings, run a quick diagnostic to identify which specific security layers are missing.
1. Check VBS and Boot Configuration via System Information
- Press
Windows Key + R, typemsinfo32, and press Enter. - Under the System Summary tab, inspect the following entries:
- BIOS Mode: Must display UEFI. If it shows Legacy, Secure Boot cannot function.
- Secure Boot State: Must display On.
- Virtualization-based security: Scroll down to locate this line. If it reads Running, the feature is active. If it reads Not enabled or Enabled but not running, software or firmware adjustments are required.
Tip: If Virtualization-based security says “Enabled but not running,” Windows wants to use VBS, but CPU virtualization is disabled in your motherboard’s BIOS settings.
2. Verify TPM 2.0 Status
- Press
Windows Key + R, typetpm.msc, and press Enter. - Under the Status section, verify whether it states: “The TPM is ready for use.”
- Check the Specification Version in the bottom-right corner. It must read 2.0.
How Do You Turn On Memory Integrity for Valorant?
If your system diagnostics indicate that VBS is merely toggled off inside Windows, turning it on in Windows Security is the quickest way to apply a Core Isolation fix.
- Open the Start Menu, search for Core Isolation, and click the matching result.
- Locate the toggle switch labeled Memory Integrity.
- Flip the toggle to On.
- Restart your computer when prompted.
Tip: If the toggle turns on smoothly and your PC restarts without error, launch the Riot Client immediately. If the toggle is greyed out or fails with an “Incompatible Drivers” notification, Windows has detected obsolete software on your drive.
How Do You Resolve Incompatible Drivers Blocking Memory Integrity?
Windows prevents Memory Integrity from activating if it discovers legacy kernel-mode drivers that do not adhere to modern hypervisor security standards. You cannot enable HVCI for gaming until these drivers are updated or deleted.
The primary culprits are often leftover components from old anti-cheat utilities (such as XignCode3 or nProtect GameGuard) or dated peripheral software. As noted in a popular troubleshooting thread on r/ValorantTechSupport, the file xhunter1.sys is frequently flagged.
Step-by-Step Driver Removal
- In the Core Isolation window, click Review incompatible drivers.
- Expand each driver to find the Published Name (e.g.,
oem11.inf) and the Driver Name (e.g.,xhunter1.sysorwdcsam64.sys). - Check for official updates: Open Device Manager, locate the related hardware, right-click it, and select Update driver.
Warning: Before deleting or force-removing drivers, create a System Restore Point. Type “Create a restore point” into the Windows Start Menu, click Create, and name it. If an essential peripheral stops responding after removal, you can roll back the changes instantly.
Method A: Clean Removal via Command Prompt (Recommended)
- Open the Start Menu, search for Command Prompt, right-click it, and choose Run as administrator.
- List all third-party driver packages installed on your machine:DOS
pnputil /enum-drivers - Locate the matching Published Name identified during the Windows scan (e.g.,
oem11.inf) and remove it:DOSpnputil /delete-driver oem11.inf /uninstall /force
Method B: Manual File Deletion
- Open File Explorer and navigate to
C:\Windows\System32\drivers. - Locate the flagged
.sysfile (such asxhunter1.sys). - Delete the file and empty the Recycle Bin.
- Return to Core Isolation, toggle Memory Integrity to On, and restart your PC.
Configuring BIOS Settings: How to Enable Virtualization, Secure Boot, and TPM 2.0
If Memory Integrity is unavailable or your diagnostic reported VBS as “Enabled but not running,” your motherboard is blocking virtualization at the hardware level.
Warning: If your BIOS Mode is currently Legacy, your storage drive relies on the MBR partition scheme. Modern UEFI and Secure Boot require a GPT partition scheme. Switching your motherboard directly to UEFI without converting your drive will render Windows unbootable. Follow Microsoft’s MBR2GPT conversion guide inside Windows before changing this setting in BIOS.
1. Enabling CPU Virtualization (AMD SVM or Intel VT-x)
- Restart your PC and repeatedly press your BIOS setup key during startup (typically
Delete,F2, orF12). - Switch to Advanced Mode (often mapped to
F7). - Find your processor configuration:
- AMD Processors: Go to Advanced CPU Configuration or CPU Features, locate SVM Mode (Secure Virtual Machine), and select Enabled.
- Intel Processors: Go to CPU Configuration, locate Intel Virtualization Technology (VT-x), and select Enabled.
2. Enabling Firmware TPM 2.0
Most modern processors do not require a physical add-in module because hardware TPM functionality is embedded directly into the CPU. (If you are unsure if your PC supports this, check Microsoft’s TPM 2.0 requirements page).
- AMD Platforms: Navigate to Security or Trusted Computing and set AMD fTPM switch to Enabled or Firmware TPM.
- Intel Platforms: Navigate to Security or PCH-FW Configuration and set Intel Platform Trust Technology (PTT) to Enabled.
3. Turning On UEFI and Secure Boot
- Navigate to the Boot configuration menu.
- Set CSM Support (Compatibility Support Module) to Disabled or select UEFI Only.
- Enter the Secure Boot submenu and set the toggle to Enabled.
- Press F10 to save your modifications and boot back into Windows.
Tip: If Secure Boot displays as “Setup” or refuses to activate after disabling CSM, locate the option labeled Secure Boot Mode, set it to Standard, and select Restore Factory Keys or Install Default Secure Boot Keys.
What Should You Do If Memory Integrity Turns Off After Every Restart?
If Windows repeatedly reverts the Memory Integrity switch to Off upon rebooting even after all conflicting drivers are gone, the state can be enforced through the Windows Registry.
Warning: Incorrect modifications to the Windows Registry can impact system stability. Follow these steps carefully and avoid adjusting keys outside this path.
- Press
Windows Key + R, typeregedit, and hit Enter. - Navigate down the directory path to:Plaintext
HKEY_LOCAL_MACHINE\SYSTEM\CurrentControlSet\Control\DeviceGuard\Scenarios\HypervisorEnforcedCodeIntegrity - Locate the
EnabledDWORD value in the right pane. - Double-click
Enabled, change the Value data field to1, and click OK. - Restart your computer.
Does Enabling VBS and HVCI Impact Gaming Performance?
Because HVCI isolates critical system processes within a protected hypervisor environment, it introduces minor CPU scheduling overhead.
- On modern hardware (Intel 12th Gen or newer; AMD Ryzen 5000 series or newer), hardware acceleration features like MBEC (Mode-Based Execution Control) make the real-world difference unnoticeable (under 1–2%).
- On older platforms, you may experience a minor frame rate reduction of roughly 5–8% in CPU-heavy scenarios.
Tip: Because these security features are non-negotiable for launching Valorant, do not disable them to pursue marginal FPS gains. Instead, reclaim frames by enabling XMP / EXPO in your BIOS for optimal memory frequencies, setting Valorant to run in Exclusive Fullscreen, and closing unnecessary background applications.
Frequently Asked Questions
Can you play Valorant without Secure Boot and TPM 2.0?
On Windows 11, absolutely not. Vanguard universally requires both TPM 2.0 and active Secure Boot to build a secure execution chain against memory modification tools. While some older builds of Windows 10 operated with fewer restrictions, Riot continues expanding these security requirements across all operating systems.
Why did Vanguard suddenly trigger the VAN9005 restriction overnight?
Riot Games periodically updates its system compliance requirements in waves. If your setup worked previously and stopped suddenly, your account was not penalized; rather, Vanguard updated its integrity checks, and your current Windows installation lacked an active hypervisor or validated Secure Boot environment.
Why is the Core Isolation menu missing entirely from Windows Security?
If Core Isolation does not show up when searched, your Windows build is either significantly out of date or CPU virtualization is switched off at the motherboard level. Run all pending updates through Settings > Windows Update, reboot into your BIOS, and ensure that SVM Mode (AMD) or Intel VT-x is set to Enabled.
Visit Our Post Page: Blog Page
Discover more from Izoate
Subscribe to get the latest posts sent to your email.