
Looking for the Skate 3 Double Bridge Gap Location? Let’s ge to know where to find it, the route to take through the woods, and the tips you need to finally stick the landing.
If you’ve been scrolling through Skate 3 clips lately, chances are you’ve seen someone celebrating after finally landing the Double Bridge Gap. It’s one of the most talked-about gaps in the community, and if you’re new to it, you’re probably wondering exactly where it is and why everyone seems to take days to land it.
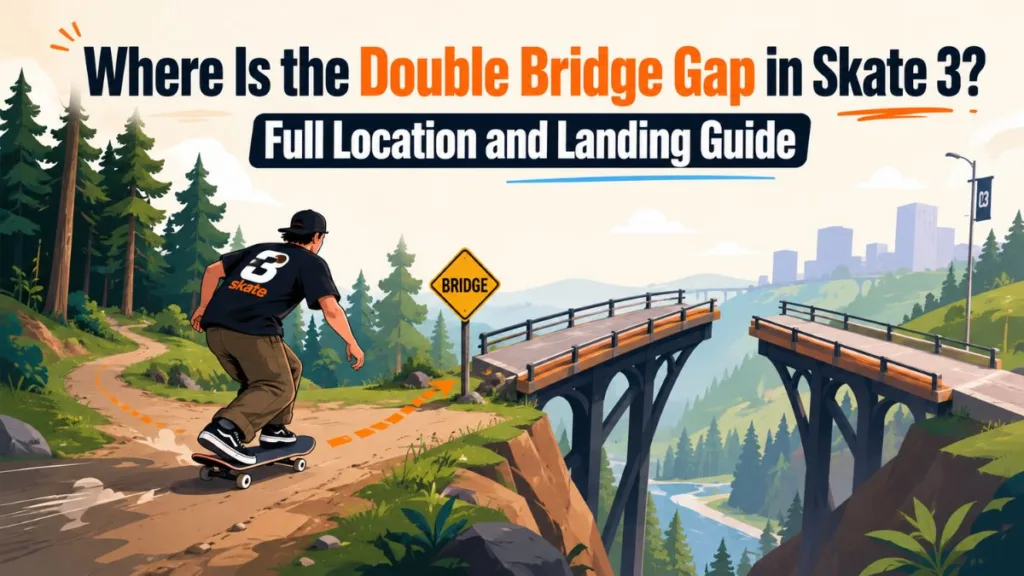
You’re in the right place. Below, you’ll find where to find the Double Bridge Gap, the exact route to run to get there, and what it actually takes to clear it without eating pavement over and over again.
What Is the Double Bridge Gap in Skate 3?
The Double Bridge Gap is a community-recognized gap that involves clearing two connected bridge sections in a single line, rather than just jumping one gap on its own. That’s where the “double” comes from — you’re not just clearing a gap once, you’re chaining two gap clears together before you land.
It’s become a bit of a rite of passage in the Skate 3 community. You’ll see plenty of creators posting their attempts, and a lot of them mention it taking hours (sometimes spread across multiple sessions) before they finally stick the landing.
That’s normal. This isn’t a gap you’re likely to clear on your first few tries, so don’t get discouraged if you’re bailing a lot early on.
Where Is the Double Bridge Gap Located?
The route to the Double Bridge Gap starts in a wooded area, not out in the open on a main road, which is exactly why so many players struggle to find it in the first place. The easiest way in is through the second ditch jump (the long flat one).
- From the second ditch jump, run east/right into the woods.
- Keep climbing up through the trees until you spot a flat spot — that’s your starting point for the run.
- From there, the route weaves through a sunny/shadow section in the woods before gapping out through the trees and eventually lining you up with the bridge itself, marked by a yellow “BRIDGE” road sign.
Because the entry point is tucked into the woods rather than sitting on a clearly visible landmark, it’s much easier to follow this as a step-by-step route than to try to spot it from a distance.
Step-by-Step: The Full Route (Community Walkthrough)
This is the full run, based on a detailed community walkthrough, step by step from the woods all the way to the landing.
- Find the flat spot in the woods. The easiest way in is to head to the second ditch jump (the long flat) and run east/right into the woods. Climb up until you see the flat spot — this is your starting point.
- Look for the sunny spot. Trick over the shadow here — it helps you get a rhythm going before the harder part of the run. Stay on the left side of the frame border while you do this. As soon as you land, ollie or trick again right away. Landing check: You should land somewhere on the left of the border, still in the shadow. From there, go right over the frame border.
- Time your push at the shadow-to-sunny corner. Once you see the shadowy corner of the frame where it meets the sunny part, pull hard right and take one push. Ollie as soon as your push is done — this is what gaps you through the trees.
- Clear the rock. You should be jumping near or over a rock right here. A stiffy or method grab can help keep you stable through this section. Landing note: Landing down in the transition here is optimal, but it’s still possible to save the run if you don’t land it perfectly.
- Line up for the bridge. On the flat between your landing and the bridge, an extra ollie or two here can help — it’s not confirmed whether it’s strictly necessary for keeping speed, but it doesn’t hurt. Jump close to the right of the bridge sign — this lines you up cleanly for the landing on the other side of the gap.
- Optional: style it out. Once you’ve got the route down consistently, some players like to throw a trick over the actual double bridge gap itself — think something like a 360 miracle whip — for extra style points once landing it reliably isn’t the problem anymore.
Common Mistakes and Why You Keep Bailing
- Not enough speed going in. This is the number one reason players fall short — literally. Missing the ollie/trick timing right after your first landing, or losing your push timing at the shadow-to-sunny corner, tends to cost you the momentum you need later in the run.
- Drifting past the frame border. The route depends on staying on the left side of the border through the sunny section and only crossing it at the right moment — drifting too early or too late throws off your line into the trees.
- Misjudging the rock section. Because this is a connected, multi-part gap, treating any one section like an isolated jump (with a pause or correction in between) usually kills your run before you even reach the bridge.
- Missing the bridge sign lineup. Jumping too far from the right of the bridge sign is one of the most common reasons players land the first part of the run cleanly but still miss the final landing.
Other Legendary Gaps and Challenges Worth Trying in Skate 3
Once you’ve landed the Double Bridge Gap, you’ll probably find yourself craving the next challenge. The Skate 3 community has plenty of other well-known gaps and multi-part challenges worth attempting once you’ve got a feel for chaining ollies, tricks, and precise pushes together the way this route requires.
Skate 3 vs. the New Skate Reboot — Quick Note
If you searched for this while also looking into the newer Skate reboot (the free-to-play skateboarding game that entered early access more recently), it’s worth knowing these are two different games. The Double Bridge Gap and the woods-to-bridge route covered in this guide are specific to the original Skate 3, not the new title. If you’re playing the reboot, gap locations and mechanics will be different.
Final Thoughts
The Double Bridge Gap isn’t easy, and that’s exactly why it’s earned its reputation in the Skate 3 community. Find the flat spot through the woods off the second ditch jump, stay disciplined about the frame border and your push timing, and line up on the right side of the bridge sign for your final landing.
It might take you a few attempts (or a few hours, based on what plenty of other players have experienced), but that’s part of what makes landing it feel so good.
Did you finally land it? Drop a comment with how long it took you, or share the route that finally worked — it might help the next person still grinding through their attempts.
Visit Our Post Page: Blog Page
Discover more from Izoate
Subscribe to get the latest posts sent to your email.